Chevron Quilt Pattern – Make Easy Placemats Two Ways
Chevron quilt free pattern. Easy chevron quilt pattern and instructions for placemats. Try this free placemat pattern that can be made two ways using half square triangles. Beginner quilters can easily make this chevron pattern if you can do half square triangles.
Chevron Quilt Pattern – Beginner Quilting Supplies
Here are some quilting tools and supplies I recommend. I make a small commission if you purchase through the links, this helps to support this free content. For more info, check out Supplies for Beginners (Best Tools To Start).
Rotary Mat Cutting Mat (Self-Healing Mat)
28 mm Rotary Cutter Replacement Blades
45 mm Rotary Cutter with Sharp Blade (start with this one)
45 mm Rotary Cutter Replacement Blades (start with this one)
60 mm Rotary Cutter Replacement Blades
4.5″ Square Ruler for half square triangles
12.5″ Square Ruler for blocks
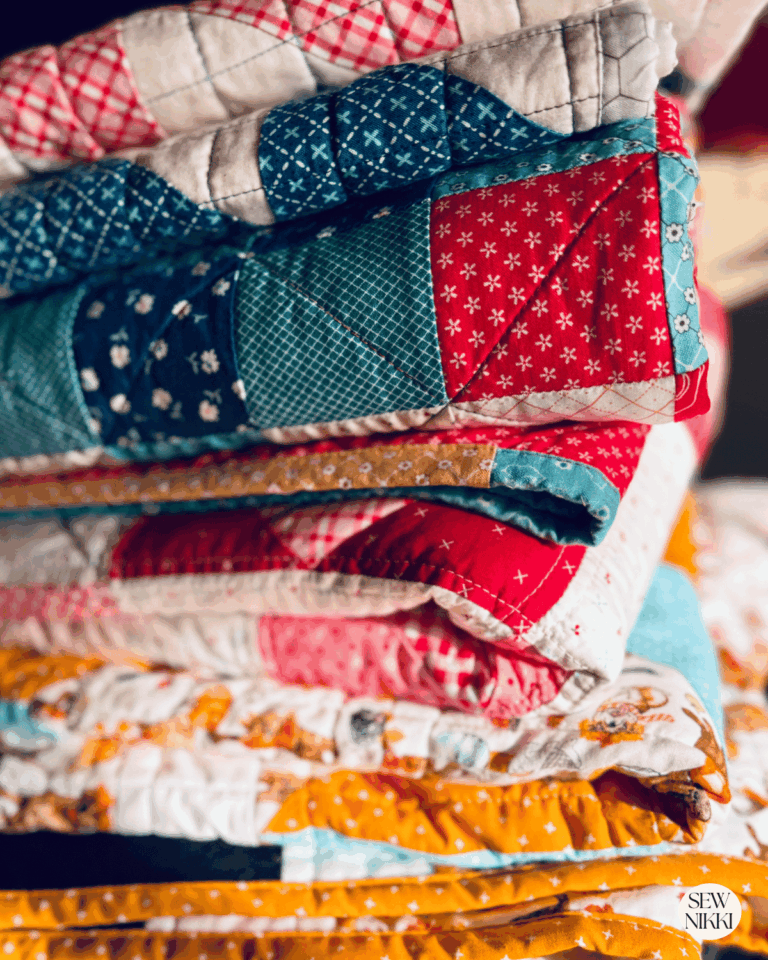
SAVE THIS PIN FOR LATER!
This post contains ads and affiliate links, which means I make a small commission at no extra cost to you. While the ads are annoying, it helps keep this blog going. See my full disclosure here.
MAKE SURE YOU CHECK THESE OUT!
After you read this post, make sure you also check out Learn How to Quilt for Absolute Beginners. It’s jam packed with information to make your first quilt. It also has links and resources that are so helpful when you’re first learning. There’s lots of free quilt patterns that are great for beginners and all skill levels too. So make sure you check this out, seriously don’t forget!
Make sure you grab a copy of my free Quilt Planning Journal. It’s filled with graph paper and note pages to help you design at least 4 quilt or sewing projects! Use it to jot down ideas, fabrics, patterns and inspiration all in one place. Or create your own patterns and share with others. Pin in fabric swatches, photos of your finished quilts and enjoy your creative process!
Chevron Quilt Pattern – Make Easy Placemats Two Ways
Fabric Requirements for 4 Placemats:
Charm pack is not recommended, use yardage instead. Here are yardage requirements.
1 yard background fabric (Prim Bee Background Clover Cottage by Lori Holt, Riley Blake Designs)
1 yard print fabric (Prairie Alpine by Lori Holt, Riley Blake Designs)
1/2 yard natural unbleached muslin or 4 fat quarters
Cutting Instructions:
24 – 3.5″ x 3.5″ background fabric squares
24 – 3.5″ x 3.5″ print fabric squares
4 – 2″ x WOF strips for border
4 – 2″ x WOF background strips for binding
1 – 21″ x 15″ Muslin for backing fabric or fat quarter
Each placemat quilt top will have 24 – 3″ x 3″ half square triangles, 2′ borders and 2″ binding strip.
Finished quilt size for each placemat is 18.5″ x 13 3/4″
Chevron Quilt Pattern – Free Placemat Pattern
Written Instructions:
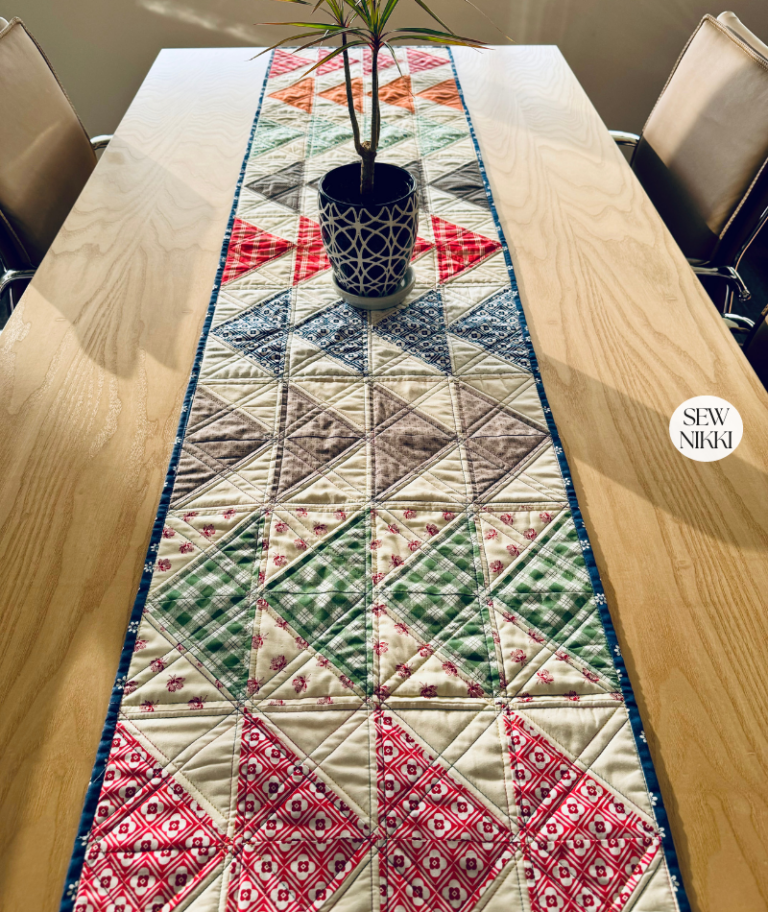
It takes two rows of half square triangles to get the chevron design. You can make this pattern two ways by flipping the second chevron design. Please refer to my photos for assembly diagram.
Here are two ways to sew up this chevron quilt pattern (see picture above). If you place rows 3 and 4 in different directions, it creates the pattern for the left placemat. The right placemat is the traditional layout.
Tip: The two patterns was an accident, so pay close attention to how you pin and attach the units together when forming the four rows. I got turned around and ended up with a different chevron pattern.
Make HST’s (Half Square Triangles)
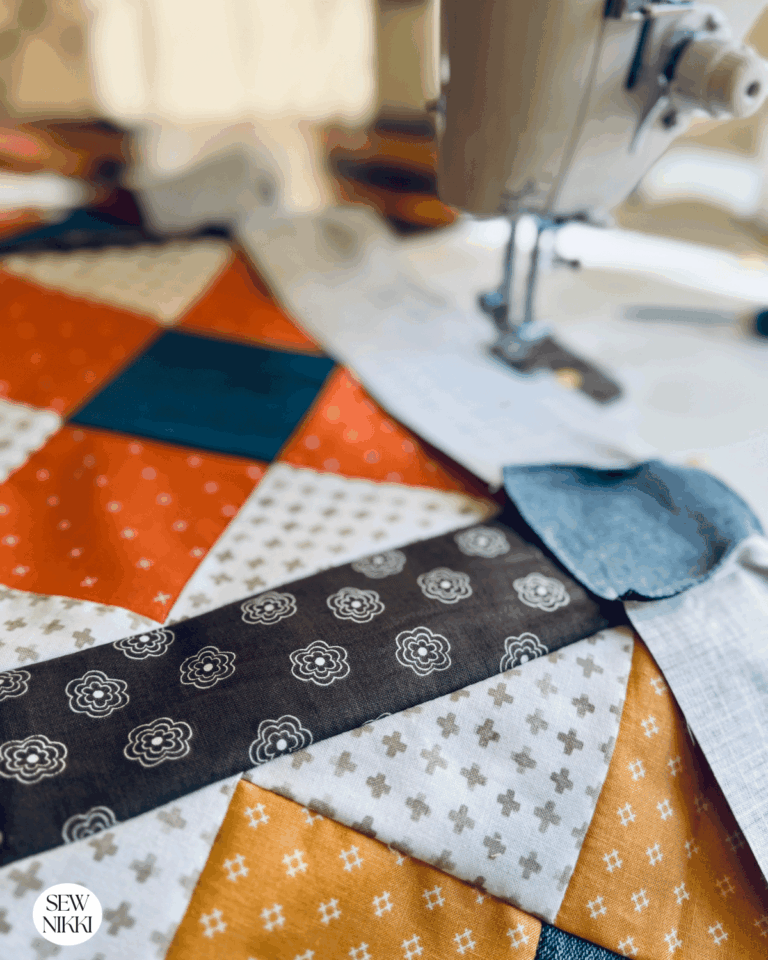
Using your background and print fabrics, take one square of each, right sides facing each other. Draw a diagonal line on the wrong sides of the background fabric. Sew diagonal seams along both sides of the line with 1/4 inch seam. Once you have all the hst done, take to the cutting mat and with your rotary cutter and quilt ruler, cut the units on the drawn line to form 2 hst’s. Square up each to 3 inch squares. When using the ruler, make sure the diagonal line in lined up to the seam, then trim to 3 inch squares.
Lay Out Units, Join To Form Rows
Each placemat will have 4 rows with 6 – 3 inch size hst. It takes two rows for form the chevron stripes in this placemat pattern. Please refer to the picture above for traditional chevron pattern layout. Tip: Make sure you nest the seams in opposite direction for best results. These units have a lot of fabric at the seams and you really need to press carefully to get your patchwork as flat as possible.
Sew Rows Together
Let’s begin. First, sew rows 1 and 2 together, right sides facing each other with seams nested. Second, sew rows 3 and 4 together, again with right sides facing each other with seams nested. Third, sew both units with two rows each together with right sides facing each other, seams nested. Press with iron really good before adding border.
Add Border
Now, take your straight strip sets of border fabric, cut 2′ x width of fabric, and attach to both sides of the placemat going horizontally. Sew borders using 1/4 inch seam allowance. Then, flip placemats and do the same thing but vertically.

I decided to use gold accent for my border because that was in my stash. You could also sew on a couple of borders but the they need to equal 2 inches before attaching to get the correct finished size for this free chevron quilt pattern.
Baste and Machine Quilt
Make a quilt sandwich with your muslin or fat quarter as the backing fabric, quilt batting in the middle and placemat quilt top on top all with right sides facing outwards. Baste with 505 Basting Spray.
Quilt on sewing machine with walking foot as desired. I started in the middle and sewed a 1/4 inch for straight line quilting, set to 3 on my knob down both sides of all seam lines horizontally and vertically.
Square Up Quilt
Square up the quilt corners with a square quilting ruler. Place the corner of the square ruler in each quilt top corner. Make beginning cuts in both corners, do this for all four sides.
Then take your straight ruler and finish trimming. Now add the binding.
Add Binding
Sew 2 strips of binding that are 2 inches by width of fabric. Starting on the back of the placemat, attach binding with 7″ of binding before you begin sewing. Place the raw edges of the binding up to the raw edges of the quilt and attach with 1/4 inch seam. Join the binding ends leaving 1/4 inch space with 1/4 seam allowance. Finish attaching to back side then press with iron.
Full tutorial on how to join binding ends and attach for beginners here.
Next, fold the binding over to the front side. Then, fold binding in half then onto quilt top and secure with sewing pins.
Take to sewing machine but this time line up the left side of your presser foot to the left side of the binding and get stitch as close to the left edge as possible to complete.
I don’t know about you but this is my first time using single layer binding and then folding over, loved it and loved the wider looking binding for this great pattern.
Get the digital pattern.
Just download and print the pattern so you have it handy. Get your copy here.
You May Like These Patterns Too
ABOUT SEW NIKKI
If this is your first time stopping by, welcome! I’m Nikki, a maker obsessed with quilting, crochet, and all things fabric. Here, you’ll find easy-to-follow patterns, helpful tutorials, and plenty of inspiration for your next handmade project. Grab your fabric (or yarn), and let’s create something beautiful together!
Creating this pattern was a challenge but very rewarding. It’s going to be one of my favorite cozy quilt designs because they are fun to make, especially quilting it and attaching the border. Loved those parts the best. These placemats are going into my Christmas gift lineup to make and give to friends and family if I can pull it off. Be sure to tag me on Instagram @sewnikki6 if you make these, would love to see your finished placemats.
Follow me on social media (Pinterest, Instagram, Facebook and Twitter) so you get notifications when I post new patterns and tutorials.


These are adorable and functional! Love how easy you make the process! Thank you
Thanks Juliea