Calculating Backing Yardage – Quilt Backing Chart
If you’ve ever stalled on finishing a quilt because you weren’t sure how much fabric to buy for the backing, you’re not alone. Calculating backing yardage can feel like a puzzle, especially if you’re working with different quilt sizes. That’s why I’ve put together this straightforward guide, complete with a quilt backing chart to make your life easier. It’s a very useful chart and I have helpful tips from real life to share with you too.

Quilt backs are a way to add personality and charm to the back of the quilt. The amount of yardage you need depends on what type of quilt back you want. There are scrappy pieced backs that use large yardage scraps to piece a backing large enough to fit your quilt top. There are simple backs that use one fabric only, either a wide fabric or sometimes sewing together two pieces of standard width fabric. Even if you are a seasoned quilter, determining how much yardage you need is still confusing.
In this post, I’ll show you how to calculate the amount of fabric for wide backings and standard. But most importantly, I’ll give you tips to help with the quilt math and ease your mind at the fabric check out counter. There’s nothing worse than not calculating the correct amount of backing fabric and being short!
MAKE SURE YOU CHECK THESE OUT!
After you read this post, make sure you also check out Learn How to Quilt for Absolute Beginners. It’s jam packed with information to make your first quilt. It also has links and resources that are so helpful when you’re first learning. There’s lots of free quilt patterns that are great for beginners and all skill levels too. So make sure you check this out, seriously don’t forget!
Make sure you grab a copy of my Quilt Planning Journal, filled with graph paper and note pages to help you design at least 4 quilts or sewing projects! Jot down ideas, fabrics, patterns, inspiration all in one place. Save your own patterns and share with others. Pin in fabric swatches, photos of your finished quilts and enjoy your creative process!
Quilt Backing Chart – Why Calculating Backing Yardage Matters
A quilt’s backing isn’t just the “other side” of your masterpiece, it’s part of the whole vibe. Whether you’re using a solid fabric, piecing a scrappy design, or creating a statement with a bold print, getting the yardage right saves time, money, and frustration.

How to Calculate Quilt Backing Yardage
This is the easiest way to figure out quilt backing yardage. The quilt batting sizes listed on the individual quilt batting packages help determine your yardage.
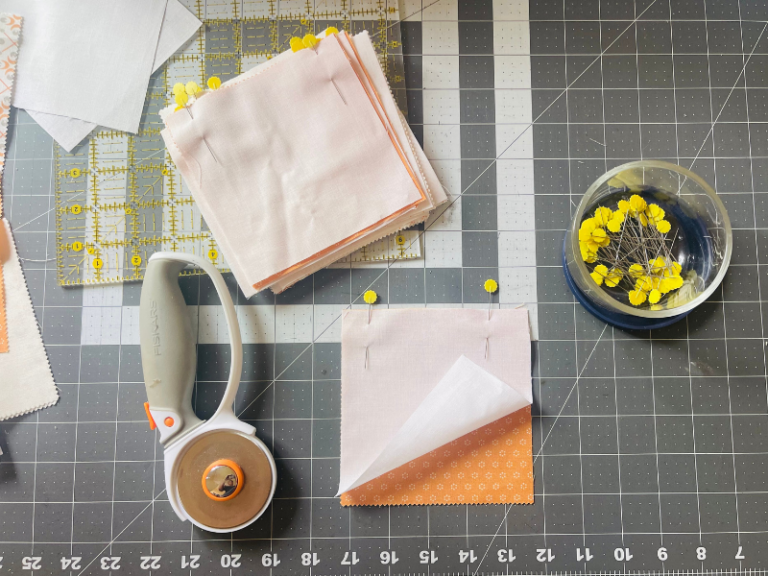
First thing you need to do is measure your quilt with a soft tape measure. Lay your quilt top on your bed, floor or table. Whichever one works best. Measure the width of your quilt top, from left to right. Then measure the length of the quilt top, top to bottom. Once you have the length measurement and width measurement, it’s time to select your precut batting package. Helpful tip: Once you know your quilt batting size, it will help you to buy your quilt backing yardage requirements.

Now don’t forget to add 6″ to 8″ to both measurement to allow for quilting and trimming. This goes for batting and backing. Both of these need to be larger to allow for any shifting when machine quilting.
Divide the width measurement with the extra inches for quilting and divide by fabric width. Standard quilting fabric is 42″ – 44″ wide. If your quilt is wider than this, you will need to piece the backing or use wide backing fabric.
Here’s the formula again for figuring out your quilt backing:
- Measure the quilt top: Get the width and length of your finished quilt.
- Add extra for quilting: Add at least 6″ to 8″ to both measurements (to allow for quilting and trimming).
- Divide by fabric width: Standard quilting fabric is 42-44″ wide. If your quilt is wider than this, you’ll need to piece the backing or use wide backing fabric.
Quilt Backing Chart for Common Sizes
Here’s a cheat sheet quick reference chart to make calculating backing yardage a breeze:
| Quilt Size | Quilt Top Dimensions | Backing Needed (in yards) | Number of Fabric Panels |
|---|---|---|---|
| Baby | 36″ x 52″ | 1 ⅝ yards | 1 |
| Lap | 50″ x 60″ | 2 ¼ yards | 1 |
| Twin | 70″ x 90″ | 5 yards | 2 |
| Full/Double | 85″ x 108″ | 6 yards | 2 |
| Queen | 90″ x 108″ | 6 yards | 2 |
| King | 108″ x 108″ | 9 yards | 3 |
Note: For pieced backing, fabric requirements may vary depending on the layout and width of the fabric. Number of fabric panels just means if you need to piece your standard width fabric or not. One panel means no, two panels means yes.
How to Use the Quilt Backing Chart
Let’s say you’re working on a twin-size quilt, and your finished top is 68″ x 88″:
- Add 8″ to both dimensions: 76″ x 96″.
- Divide by the fabric width (42″): You’ll need two panels, each 76″ long.
- Convert inches to yards: 76″ ÷ 36 = 2.11. Round up to 2 1/4 yards per panel. Total = 5 yards.
Quilt Backing Calculator
If you are still unsure how much fabric you need for your very large quilt top or your throw quilts, try out these handy quilt backing calculators. These are the top sites to help you get the info you need.
Now I never used these but I was able to google some quilt backing calculators if you are interested. One of I’m going to play around with this and save the site for future research and use.
Quilter’s Paradise: This site has a calculator with a drop down menu for calculating backing and batting, binding, border, sashing, and lots more.
DuckaDilly: This site has one quilt backing calculator which is very user friendly. You plug in your width measurement and length measurement along with the fabric width (standard or wide) and it gives you the total yardage needed. There’s also some backing layouts if you need to piece your fabrics together.
 Photo credit: DuckaDilly, Backing Calculator
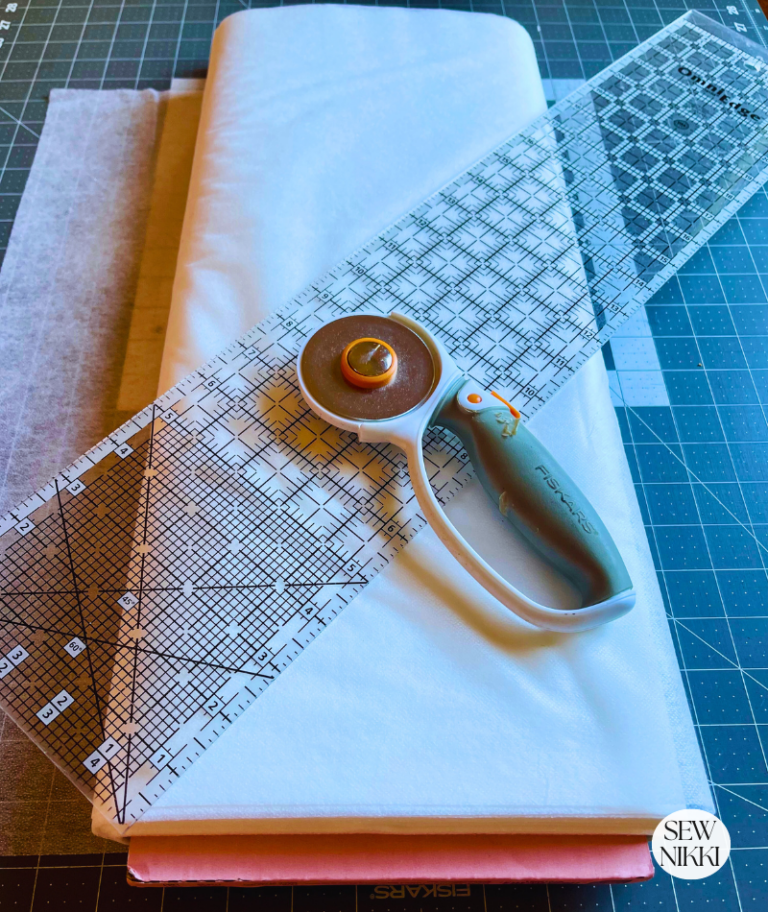
How to Piece Standard Width Fabric for Quilt Backing
Most quilting fabrics are 42-44″ wide, and when your quilt is wider than that, piecing is the way to go. Piecing quilt backing isn’t hard, but it does require a bit of planning. Here’s how to make it work like a charm:
Step-by-Step for Piecing Quilt Backing
- Measure your quilt top: Add 6-8″ to both the width and length of your quilt top dimensions to account for quilting and trimming.
- Determine the number of panels: Divide the quilt’s width by the fabric width (42″). Most large quilts will need 2 or 3 panels.
- Cut the fabric panels: Cut your fabric to the desired length, ensuring each panel is the same size. For example, if your quilt is 76″ x 96″, and you need two panels, cut two pieces of fabric 96″ long (2 3/4 yards each).
- Sew the panels together:
- Alignment: Place the fabric panels right sides together.
- Seam allowance: Use a 1/2 inch seam allowance for durability.
- Press seams open: Press the seams open to reduce bulk, especially if you’re quilting on a domestic machine.
- Trim the backing: Once pieced, trim the edges to ensure they are straight and square before layering your quilt.

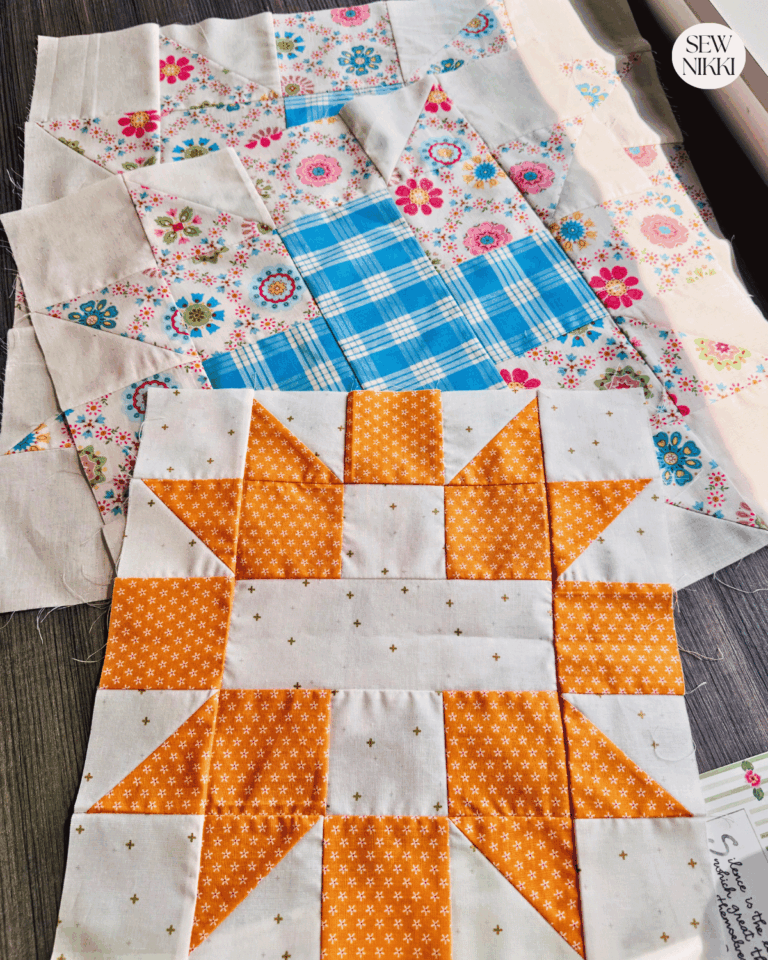
Choosing the Best Fabrics for Quilt Backing
The backing is the foundation of your quilt, so choose wisely. Here are some options:
- Cotton: Quilting cotton is the gold standard. It’s durable, easy to sew, and comes in countless prints and solids.
- Wide Backing Fabric: For large quilts, wide backing fabric (108″) eliminates the need for piecing, saving time and effort.
- Flannel: A soft, cozy option, great for winter quilts or baby projects.
- Muslin: A budget-friendly, neutral option for minimalists or utility quilts.
- Large Prints: These can make a bold statement on the back of your quilt.
Working with Large Print Fabrics
Large-scale prints can look stunning, but piecing them takes a little extra care. Here’s how to line up large prints for the backing:
- Select your print: Choose a fabric with a repeating design that is large enough to complement your quilt. Avoid prints with obvious flaws or irregular repeats.
- Plan your cuts:
- Identify the repeat length (the distance between identical sections of the print).
- Add extra yardage to ensure you can match the patterns when piecing.
- Match the pattern:
- Lay the panels side by side with a small overlap, ensuring the design lines up.
- Pin along the match points to hold the fabric in place.
- Sew with precision:
- Use a long stitch length for basting and check alignment before sewing permanently.
- Once satisfied, sew the seam with a ½” seam allowance and press open.

Pro Tips for Piecing Quilt Backing
- Directional prints: When working with directional fabric, make sure the design flows the way you want when the quilt is laid out.
- Seam placement: Offset seams from the center of the quilt for better balance and less noticeable joins.
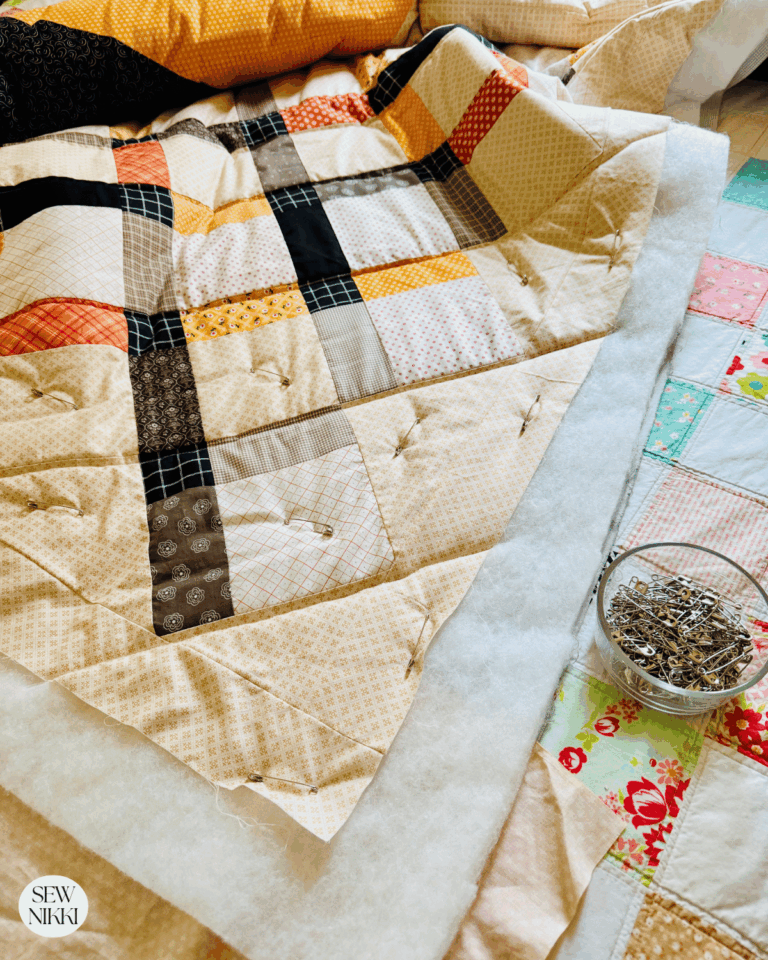
Longarm Quilting
If you decide to take your quilt top to a professional longarm quilter, here’s some things to keep in mind. Longarm quilters typically request that backing fabric be 3-4″ larger than the quilt top on all sides. Why is this necessary? It’s not just about being extra cautious! The extra fabric ensures there’s room to accommodate any shifting of the quilt sandwich during machine quilting. If the backing were the same size as the quilt top, there would be no margin for error, making it nearly impossible to quilt smoothly. As fellow quilters, we value fabric and do our best to avoid waste, but this extra margin makes all the difference for a beautifully finished quilt.
Backing Your First Quilt
If you are a beginner, using a single fabric with a small print is a wise choice. I would also recommend using wide fabric as your backing. Why? Because you won’t need to sew two panels of standard width fabric to get your backing wider. It will save time, money and frustration.
My personal choice for shopping as a beginner was Joann craft store or my local fabric shop and finding the wide backing fabric section. It’s important to note, most stores do not carry a lot of wide backing fabric. If you can’t find one that goes with the colors in your quilt top, opt for a grey or dark grey color with a slight pattern. Grey goes with any color and the print will hide your quilting lines as you get better at quilting.

For more ideas and tutorials on quilt backings, check out these related posts:
- How to Make a Pieced Quilt Backing
- How to Select Quilt Backing for Your Quilt Top
- Pieced Quilt Backing Ideas – Simple Quilt Backs
- Quilt Batting – How to Pick the Right One
- Straight Line Machine Quilting Patterns
Quilt Backing Chart – Quilting Supplies
Here are some quilting tools and supplies I recommend. I make a small commission if you purchase through the links, this helps to support this free content. For more info, check out Supplies for Beginners (Best Tools To Start).
Rotary Mat Cutting Mat (Self-Healing Mat)
28 mm Rotary Cutter Replacement Blades
45 mm Rotary Cutter with Sharp Blade (start with this one)
45 mm Rotary Cutter Replacement Blades (start with this one)
60 mm Rotary Cutter Replacement Blades
4.5″ Square Ruler for half square triangles
12.5″ Square Ruler for blocks
Save this pin for later!

This post contains ads and affiliate links, which means I make a small commission at no extra cost to you. While the ads are annoying, it helps keep this blog going. See my full disclosure here.
ABOUT SEW NIKKI
If this is your first time stopping by, welcome! I’m Nikki, a maker obsessed with quilting, crochet, and all things fabric. Here, you’ll find easy-to-follow patterns, helpful tutorials, and plenty of inspiration for your next handmade project. Whether you’re stitching up a cozy quilt, crocheting a vintage-inspired blanket, or diving into upcycled sewing, I’m here to make the process fun and stress-free. Grab your fabric (or yarn), and let’s create something beautiful together!
Getting your quilt backing right doesn’t have to be complicated. With this quilt backing chart and a little planning, you’ll be ready to finish your next project without second guessing yourself.
For more tips and free patterns, be sure to explore the rest of my blog.
Follow me on social media (Pinterest, Instagram, Facebook and Twitter) so you get notifications when I post new patterns and tutorials.


Totally saving this guide! I never know how much fabric I ever need!
Beautifully explained article. Thanks for sharing!
This is a very thorough post. Thanks for sharing!