Quilt Label Ideas & How to Sew Labels on Quilts
Are you finished with your quilt and looking for quilt label ideas and how to attach them? In this post, I will show you a variety of quilt label ideas for your next project. Then I’ll show you how to sew them onto a finished quilt.

I’m donating quilts to the “Wrap LA in Love Quilt Drive for the wildfire victims in Southern California. The quilts I’m donating really need a quilt label attached before I drop them off. It’s not just a personal touch, it’s letting the recipient know who made the quilt. I’m hoping whoever gets my quilts will love and use them a lot. I’m also hoping they reach out and we connect, even if it’s years later.
MAKE SURE YOU CHECK THESE OUT!
After you read this post, make sure you also check out Learn How to Quilt for Absolute Beginners. It’s jam packed with information to make your first quilt. It also has links and resources that are so helpful when you’re first learning. There’s lots of free quilt patterns that are great for beginners and all skill levels too. So make sure you check this out, seriously don’t forget!
Make sure you grab a copy of my free Quilt Planning Journal. It’s filled with graph paper and note pages to help you design at least 4 quilt or sewing projects! Use it to jot down ideas, fabrics, patterns and inspiration all in one place. Or create your own patterns and share with others. Pin in fabric swatches, photos of your finished quilts and enjoy your creative process!
Quilt Label Ideas – Look at the Variety
Satin Labels (Old School)
My labels are a single piece of satin cloth with a saying and my name. They do not fold in half and were bought online. I’ll be attaching the labels using a sewing machine, no hand stitching for this tutorial. I don’t like to hand stitch. My labels were purchased from NameMaker.
Embroidery Labels
You can also do hand-embroidered labels which is absolutely adorable but you need to know how to embroider. The cool thing with embroidery labels is you can add flowers or embroidery other than written words. If it’s a quilt made with cat fabrics for example, you could embroider something like “handmade with love by YOUR NAME and a cat and a ball of yarn. I’m definitely trying this in the future, right after I learn how to embroider.
My friend Makenzie, over at Home Sweet Harps, has free embroidery pattern and tutorials. If you want to embroider but don’t know how, follow one of her tutorials and make your own embroidery quilt label. They are simple, sweet and look pretty easy to learn.
Custom Labels
Etsy has a lot of custom quilt labels for sale in all shapes and sizes. It’s a more expensive way to label but you can go really custom. These don’t work in a pinch either. Plan ahead when you start a quilt. Think about the label at the start of the project and get it ordered. That way it will arrive in a more timely manner. These orders take a little longer to receive than an Amazon Prime order. One more tip, don’t order from a vendor if they won’t show you a proof before printing. If you don’t like the labels, you cannot return them. Here are a few vendors and which type of label they sell:
Dutch Label Shop – You can design your own label, just upload a photo and select a variety of options. They will send you a proof before creating them. Here you get 5 labels for $20.00 USD.
Wunderlabel – Woven labels with your graphics. They have a wide selection of labels to choose from. Here the minimum quantity is 100 for $96.00 USD.
Stork Quilts – Found on Etsy, large triangle quilt labels. You would sew this label in the lower left or right corner on the back of the quilt. You can also buy just one and they have iron on labels. Now that’s a beautiful thing.
Sarah Hearts – This cotton label has the care instructions and a place to write the date, your name and the pattern name. This pack has 4 labels for $9.50 USD. All you would need is a permanent fabric marker. This brand is an Etsy Top Pick.

Create Your Own Label
One way is to use Spoonflower. Type, write or use Canva to make a personalized label. Save that photo as a jpg. Then upload into Spoonflower and create your own fabric. Order a swatch only, I believe it’s $10 USD for a 10″ x 10″ swatch. You should have no problem making a fabric label out of that swatch. Check out this post on how I made custom fabric and how you do it on their site.
Another great way is to make your own quilt label using a piece of fabric. I would practice writing on fabric samples first as it’s actually not that easy to do. The fabric will move a lot while you write. I would actually handwrite a message, take a cell phone photo of it then grad some printable fabric sheets from the office supply store and print out fabric labels on your inkjet printer.
I’ve never tried this method but it would work in a pinch and the finished label would look nicer than if you tried to hand write on fabric, in my humble opinion.
Quilt Label Ideas – Info to Include
Leaving a label off a quilt is like painting a masterpiece and never signing it. People will appreciate the beauty, but won’t know the artist or the story of the painting.
The handwritten label information can include the name of the quilt, name of the recipient, basic information about the pattern or fabric used and lots more. Hand-written quilt labels make getting all this information onto a label possible. It allows you to be really detailed so if someone wanted to recreate your quilt, the label would have pattern instructions to make, fabric cutting measurement and even care instructions.
Plus include the story of the quilt or who it was made for include the year or specific date. It’s so useful for future generations who may stumble across your creation into the distant future. Just use a permanent fabric marker or special fabric pens for these customizable labels so they won’t fade.
How to Sew Label on Quilt – Instructions
For this project you will need these basic sewing supplies: iron, ironing board, sewing machine, scissors or rotary cutter and matt, Pellon P44F fusible interfacing, a finished quilt and your quilt label.
Attach Interfacing
Now all custom labels are different. My labels are what I call “old school” and they don’t fold in half where you can wedge them into the binding. They say “Made especially for you by”, then my name. These labels have lots of thread on the back and you can only sew on the short sides of the label.
Because of all this, the first step is to add fusible interfacing to both of my custom labels. Get your iron really hot (cotton setting) with no steam. Grab two pieces of parchment paper or a piece of freezer paper but DO NOT use wax paper. Wax paper will melt under the iron and cause a big mess.

Lay your custom-made quilt labels on the rough side of the fusible interfacing. One side is smooth, the other is slightly rough. The rough side has the glue. Lay the back of the labels directly onto the rough side of the interfacing.

Sandwich your labels in between the 2 pieces of parchment paper. Set iron on labels and let it sit there for a few minutes. Pull back the top parchment paper and make sure the interfacing is fused onto the label. If it’s not, then press again until it’s fused.
Trim the extra interfacing from around the label. Now all the threads on the back of the label don’t show and the label is more solid to work with. Here’s a picture below after interfacing is attached.

Decide Placement
Next step is to decide where to attach the quilt label. Best to avoid the front of the quilt (quilt top). I think the label on the front would be distracting and that’s not the look you want after you spend so much time piecing the pattern.

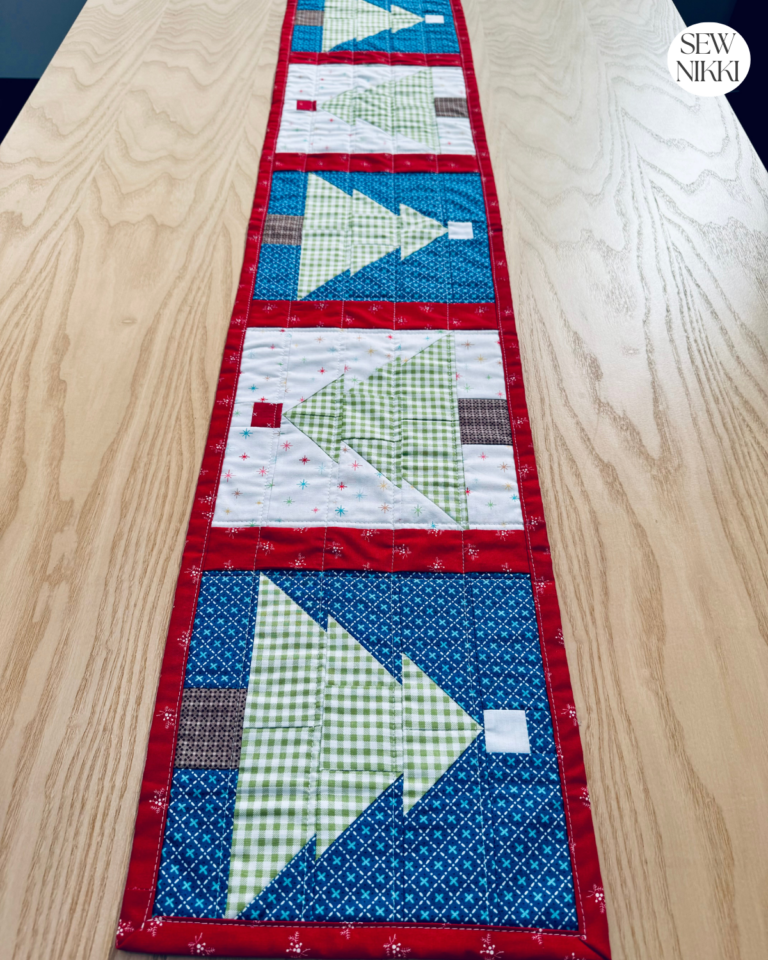
So find a spot on the back of a finished quilt, along the binding is a great option. Pin in place with a sewing pin, then take over to your sewing machine. When selecting a spot, try to pick somewhere the label will blend in the best and not stick out like a sore thumb. On my Blushing Blocks Quilt, there was a perfect white background fabric to sew it on.

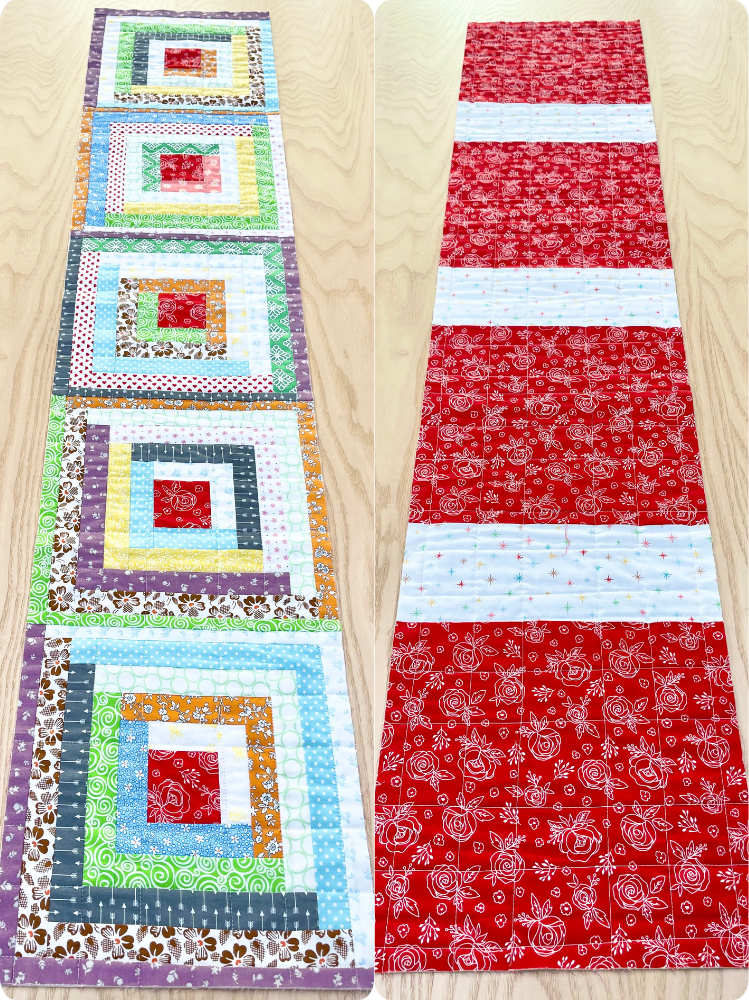
If the quilt only has dark backing fabric, try placing in one of the corners like the photo above on my Cozy Cabin Quilt.
Sew Quilt Label
Sew down both sides, do not sew the top or bottom of these labels. It will distort the message on the label. My quilt labels have a gold border, sew next to the gold borders on both sides. Backstitch at the beginning and end to secure. Trim any loose thread ends.
You may need to roll up your lap size or larger quilt, just like you would if machine quilting it. Or just rest the quilt on your table and lap while attaching the quilt label. This part is fast, unlike hand sewing. Try this on your next quilt and I hope you enjoy this great tutorial on quilt label ideas.

On the Jagged Quilt shown below, this is what it looks like when you attach the label to your backing fabric before you machine quilting it. By placing the label next to the binding, it chopped off some of the message. It also doesn’t look very nice with the machine quilting sewn over the label.

In the picture below, this is what the quilt looks like from the front and back sides when you attach with the sewing machine and not by hand. This look isn’t for picky folks, but I’m just fine with it. Most folks who receive my quilts don’t know enough about quilting to pay any attention to stuff like this. The front of the label looks great, the back of the label has two visible stitch lines. You could change your thread to match the backing fabric if you want. Again, I chose to stick with my white thread.

Beginner Quilting Supplies
Here are some quilting tools and supplies I recommend. I make a small commission if you purchase through the links, this helps to support this free content. For more info, check out Supplies for Beginners (Best Tools To Start).
Rotary Mat Cutting Mat (Self-Healing Mat)
28 mm Rotary Cutter Replacement Blades
45 mm Rotary Cutter with Sharp Blade (start with this one)
45 mm Rotary Cutter Replacement Blades (start with this one)
60 mm Rotary Cutter Replacement Blades
4.5″ Square Ruler for half square triangles
12.5″ Square Ruler for blocks
Save this pin for later!

This post contains ads and affiliate links, which means I make a small commission at no extra cost to you. While the ads are annoying, it helps keep this blog going. See my full disclosure here.
ABOUT SEW NIKKI
If this is your first time stopping by, welcome! I’m Nikki, a maker obsessed with quilting, crochet, and all things fabric. Here, you’ll find easy-to-follow patterns, helpful tutorials, and plenty of inspiration for your next handmade project. Whether you’re stitching up a cozy quilt, crocheting a vintage-inspired blanket, or diving into upcycled sewing, I’m here to make the process fun and stress-free. Grab your fabric (or yarn), and let’s create something beautiful together!
I love this method of attaching quilt labels because it’s fast, doesn’t take up a lot of time at all. There are so many creative ideas for quilt labels. But it’s nice to include information with the maker’s name at the very least. Name and year would be a good quilt label and a special message for those memory quilt gifts.
Follow me on social media (Pinterest, Instagram, Facebook and Twitter) so you get notifications when I post new patterns and tutorials.
Want to learn how to crochet? Then check out this post, How to Learn How to Crochet – Guide for Beginners.