How to Make Frankenbatting With Quilt Batting Scraps
Learn how to make Frankenbatting with quilt batting scraps and save money. It’s a simple way to save money, use what you already have, and keep your projects moving without buying new batting every time.
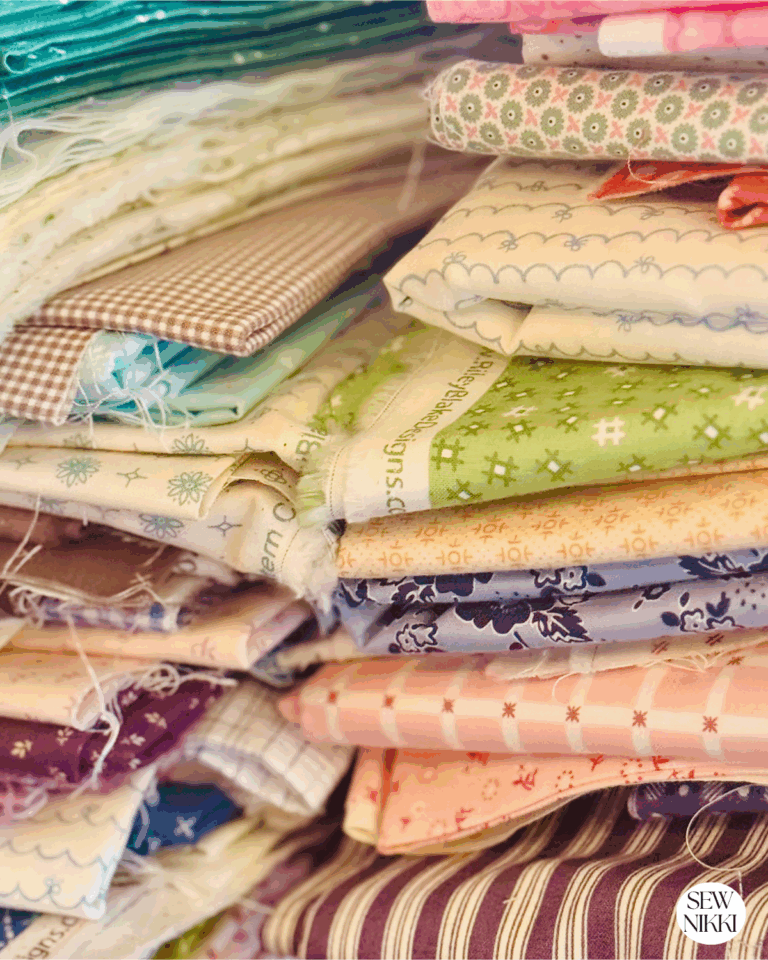
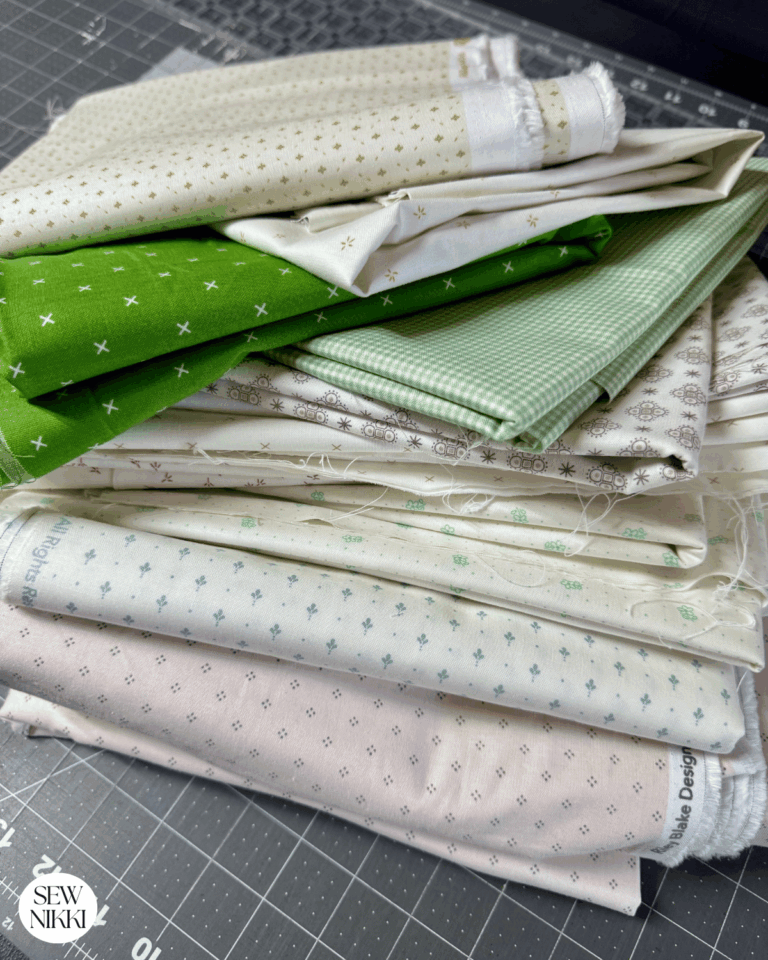
If you’ve ever looked at your pile of batting scraps and thought “there has to be a way to use this,” you are correct. Frankenbatting is exactly what it sounds like. You piece together leftover quilt batting scraps to make one larger piece instead of buying new batting. It’s practical, it saves money, and it works better than you might expect.
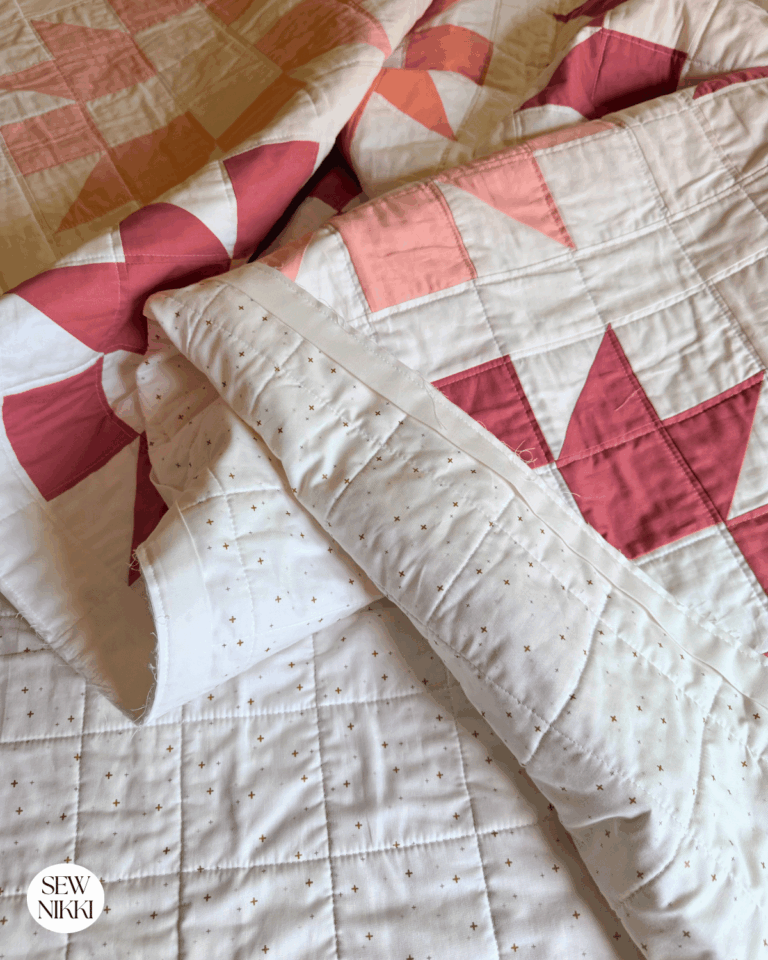
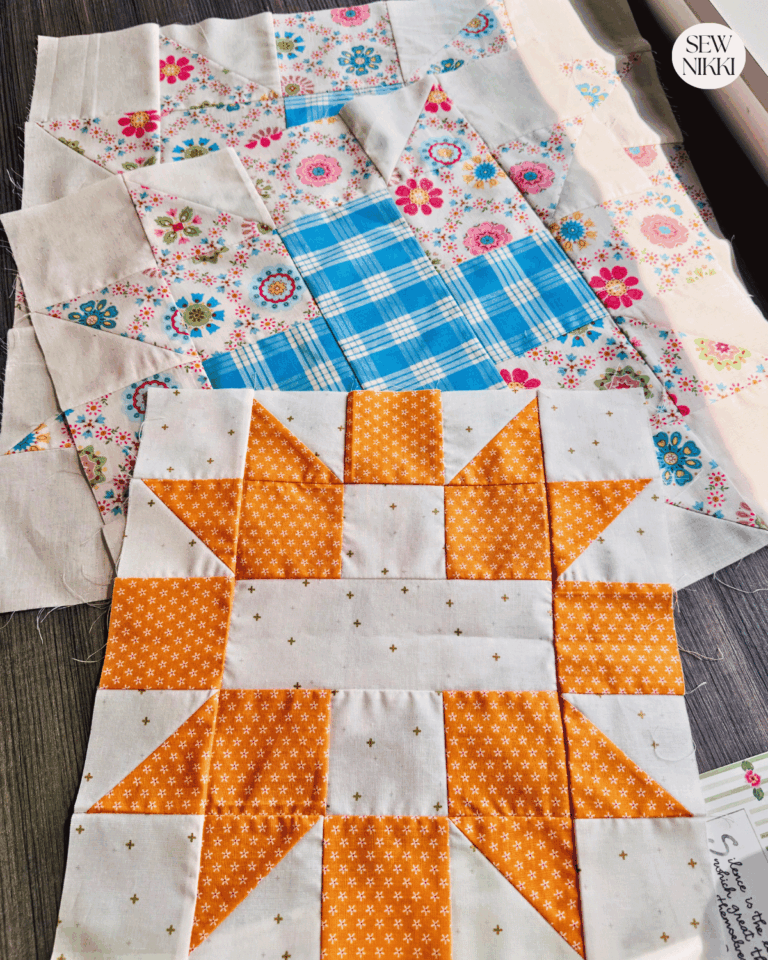
I used this method while finishing my Modern Ohio Star Quilt, which is a scrappy square throw made entirely from stash fabric. I even pieced my quilt backing. So buying brand new batting just didn’t make sense. I grabbed some batting tape from Amazon, pulled out my leftover cotton batting pieces, and gave it a shot.
Here’s exactly how it went and what I’d do again.
What Is Frankenbatting
Frankenbatting is the process of joining smaller pieces of quilt batting together to create one large batting layer. Instead of tossing scraps or letting them pile up, you reuse them.
It’s especially helpful for throw quilts, baby quilts, or anything scrappy where perfection isn’t the goal. If your quilt top is already a mix of fabrics, your batting can be too.
This method works best with cotton batting since it can handle heat from an iron. If you’re using polyester, skip the iron and use a sewing method instead.
Supplies You’ll Need
You don’t need anything fancy to make this work:
- Cotton batting scraps
- Batting tape (fusible, one-sided)
- Iron
- Ironing board
- Parchment paper (optional but helpful)
- Flat surface like a bed or table
If you’re new to batting types, this guide from Amy Smart, Diary of a Quilter breaks down the differences in a simple way.
MAKE SURE YOU CHECK THIS OUT!
After you read this post, make sure you also check out Learn How to Quilt for Absolute Beginners. It’s jam packed with information to make your first quilt. It also has links and resources that are so helpful when you’re first learning. There’s lots of free quilt patterns that are great for beginners and all skill levels too. So make sure you check this out, seriously don’t forget!
Grab a copy of my free Quilt Planning Journal. It’s filled with graph paper and note pages to help you design at least 4 quilt or sewing projects! Pin in fabric swatches, photos of your finished quilts and enjoy your creative process!
How to Make Frankenbatting
How to Piece Batting Scraps for Large Quilts (Step-by-Step)
1. Lay Out Your Quilt Backing
Start with your quilt backing. Press it well so there are no wrinkles.
Lay it wrong side up on a bed, table, or even the floor if that’s what you’ve got. The goal is a smooth surface where everything can stay flat.
If you’ve never made a quilt before, check out this Quilt Backing Chart that tells you approximately how much fabric you will need for your size quilt.
2. Layer the Batting Over the Backing
Next, place your batting pieces on top of the backing.
Arrange them until the entire quilt backing is covered. This is where things get a little real. You might have read that batting should not overlap.
I’m going to be honest with you. I had to overlap mine slightly.
When you’re working with scraps, perfectly butting edges together isn’t always realistic. A tiny overlap is better than leaving gaps. Just keep it minimal so you don’t create bulky spots.
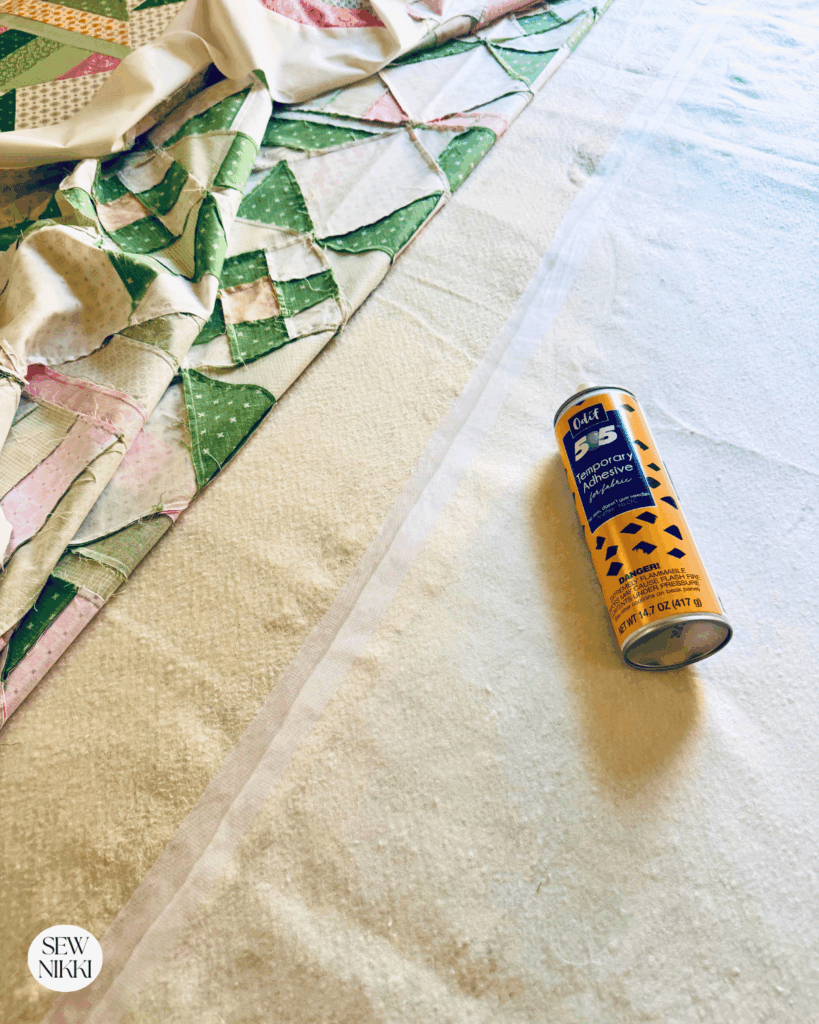
3. Join Batting Pieces with Batting Tape
Now take your batting pieces to the ironing board.
Line up two pieces with a slight overlap or edge-to-edge if you can manage it. Then place the fusible batting tape over the seam.

Press with your iron to fuse the tape and hold the pieces together.
If you want to protect your iron from adhesive, lay a piece of parchment paper over the tape before pressing. It’s a simple step that saves cleanup later.
For more on batting fusible products, you can reference Pellon’s Product page for a list of materials.
Repeat this process until all your batting pieces are joined into one large section.
4. Place the Finished Batting Back on the Quilt
Once everything is fused, move your batting back onto the quilt backing.
Smooth it out so it lays flat and covers the entire surface. Check for any thick seams or uneven spots and adjust if needed.
At this point, your quilt sandwich is ready for the quilt top.
Can You Iron Batting
Yes, but only certain types.
Cotton batting can handle heat from an iron, which makes this method possible. Polyester batting cannot be ironed because it can melt or distort.
If you’re working with polyester, you’ll need to join batting pieces using a sewing machine instead of fusible tape.

My Honest Take on Frankenbatting
This worked better than I expected.
The batting tape held everything together without shifting. Once the quilt was layered and quilted, I couldn’t tell where most of the seams were.
It’s not a perfect method, but it doesn’t need to be. For a scrappy quilt made from stash fabric and leftover backing, it fits right in.
I would absolutely use this again, especially for throw quilts.
When Frankenbatting Makes Sense
This method is a great fit if:
- You’re making a scrappy quilt
- You want to save money on batting
- You have leftover cotton batting pieces
- You don’t mind a slightly imperfect finish
If you’re working on a show quilt or something very detailed, you might still want to use a single piece of batting.

FAQ About Frankenbatting
Can you piece batting scraps together
Yes, you can piece batting scraps together using fusible batting tape or by sewing them. This is a common method called Frankenbatting and works best with cotton batting.
Is it okay to overlap batting
Slight overlap is okay if needed. While edge-to-edge is ideal, a small overlap is better than leaving gaps. Keep it minimal to avoid bulky seams.
Does batting tape really work
Yes, batting tape works well when applied with heat. It holds batting pieces together during layering and quilting without shifting.

Can you iron all types of batting
No, only cotton batting can be safely ironed. Polyester batting should not be exposed to heat and should be joined using a sewing method instead.
Will seams show after quilting
In most cases, seams are not noticeable after quilting, especially in scrappy quilts. Keeping seams flat and minimal helps them blend in.
More Resources You May Like
Here are some more posts you may like to help you in your quilt journey.
Can You Make Quilts With a Regular Sewing Machine?
How to Make a Quilt Look More Modern
Bella Disappearing Four Patch Quilt
Quilting Designs for Home Machines
Save This Pin!

If You’re New Here
I’m really glad you found your way here.
If you’re new to quilting, then welcome. The learning curve is fast, and yes, you will face challenges. But I’ve got you. If I can do it, so can you!
Here’s where to go next:
- Learn to Quilt Page – every step of making and finishing a quilt
- Free Pattern Index – all my free patterns in one place
- Digital, ad-free patterns – clean, printable, and beginner-friendly
My blog is built for the home sewist and quilter who wants to make a quilt from start to finish all by themselves. Take a full tour of this blog so you know your way around. Subscribe to the newsletter so you don’t miss out on new patterns or tutorials. And follow me on Pinterest, Instagram and Facebook.
Is Making Frankenbatting Really Worth It
Frankenbatting is one of those things that feels a little questionable until you try it. Then you realize it’s just practical quilting.
If you’re already using stash fabric for your quilt top and backing, this is the next step in making the most of what you have. It’s simple, budget-friendly, and gets the job done without overthinking it.
If you try it, you’ll probably end up with fewer batting scraps sitting around and more finished quilts. And that’s kind of the goal.
ABOUT SEW NIKKI
If this is your first time stopping by, welcome! Your place for free crochet, sewing and quilt patterns for beginner to intermediate skill levels. Want a digital pattern? We have those too! Plus tutorials to walk you through how to make each item from start to finish.
Follow me on social media (Pinterest, Instagram, Facebook and Twitter) so you get notifications when I post new patterns and tutorials.
Looking for your next quilt project? Then head on over to my free “Pattern Index”. It’s a page dedicated to all of my free patterns separated by categories for crochet, sewing and quilting.
If you prefer an ad-free printable version, head over to my shop and browse the Digital Patterns. These are instant digital downloads you print yourself.
This post contains ads and affiliate links, which means I make a small commission at no extra cost to you. See my full disclosure here.