Bella Disappearing Four Patch Quilt Pattern (Free)
If you love a disappearing nine patch quilt but want something faster, scrappier, and charm square friendly, meet Bella. Free throw size disappearing four patch quilt pattern in post, digital pattern available too.
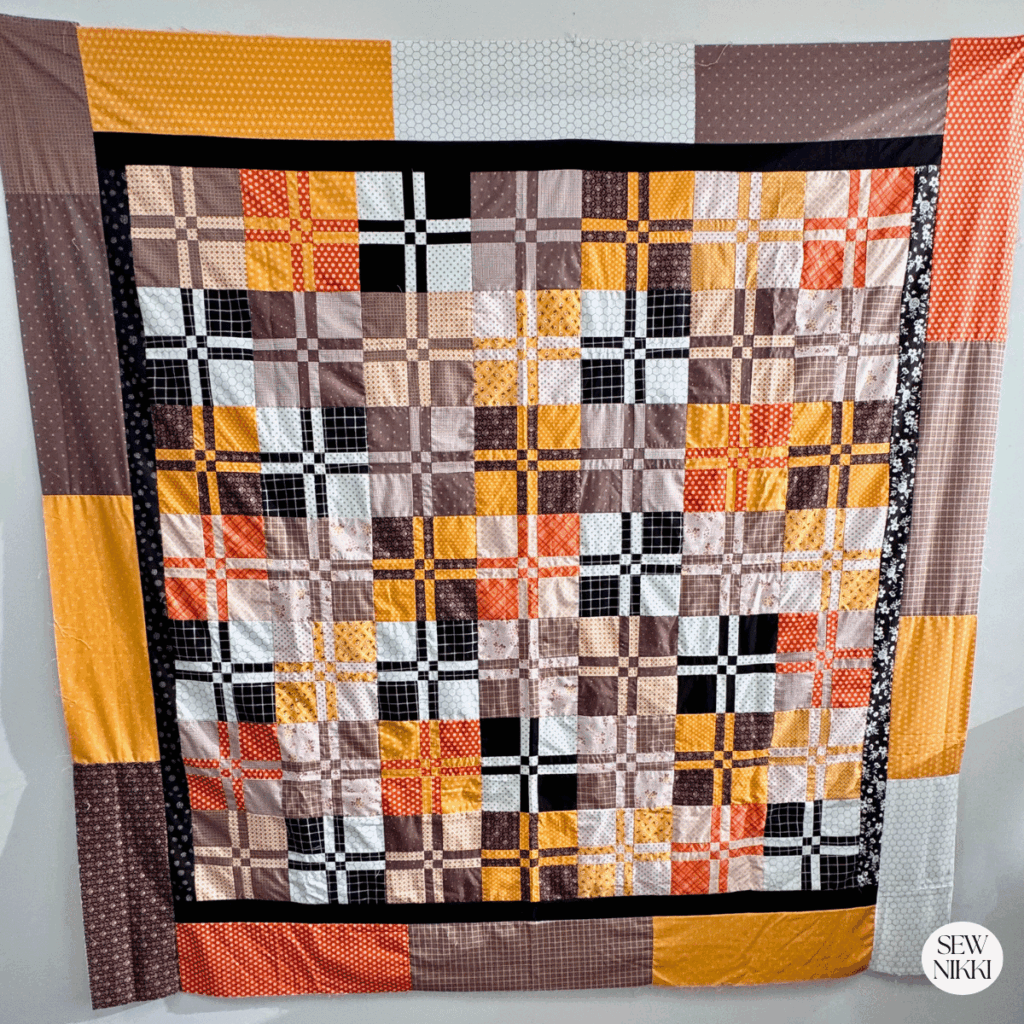
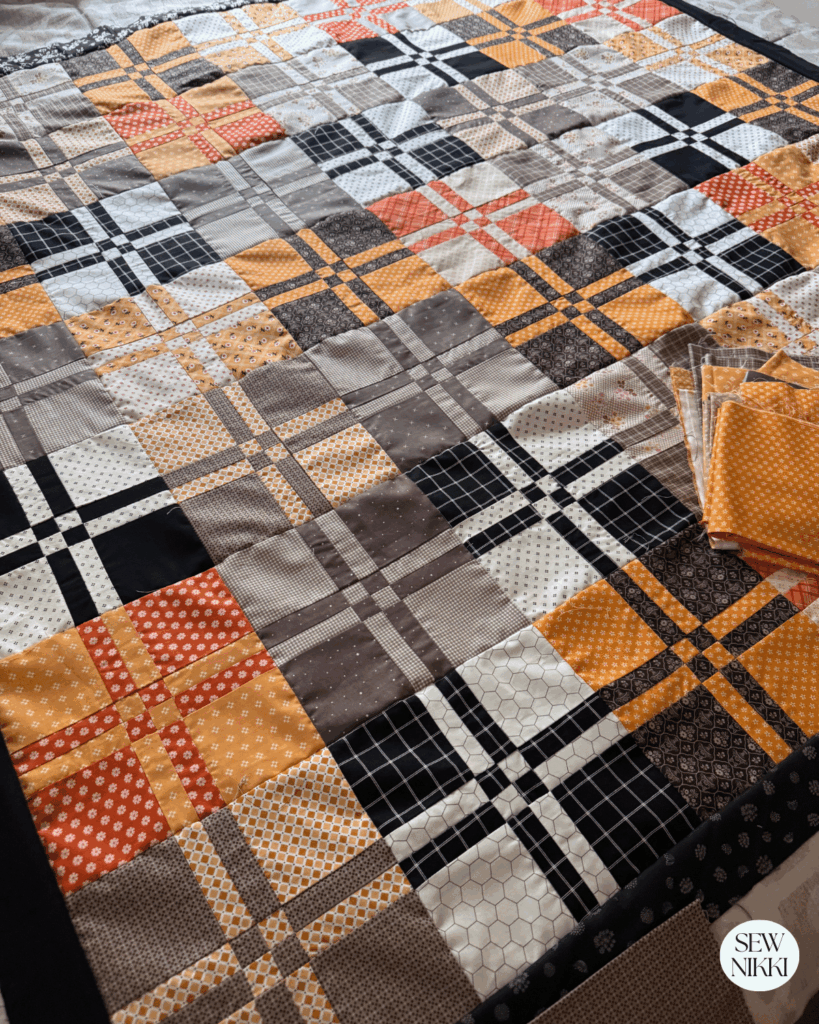
This throw size quilt finishes at 74″ x 74″, uses simple 5″ squares, and is perfect for using up leftovers. I made mine super scrappy using the last of my fall fabrics, and honestly, this pattern thrives on a little chaos.
Don’t let the word “disappearing” scare you. This quilt looks fancy but is very doable, even if you’re still building confidence.
Why a Disappearing Four Patch?
Just like a disappearing nine patch, this quilt starts with a simple block and then gets cut and rearranged. The difference is that the four patch version is:
- Different ways to cut and rearrange
- Fun way to make a new block
- Perfect for 5-inch squares and scraps
After cutting and flipping the block sections, you end up with:
- A checkered center square
- Striped sashing running through the middle
- A quilt that looks way more complicated than it is
If you’ve made my disappearing nine patch quilt before, this will feel familiar just make with 4-patch blocks.
MAKE SURE YOU CHECK THIS OUT!
Grab a copy of my free Quilt Planning Journal. It’s filled with graph paper and note pages to help you design at least 4 quilt or sewing projects! Pin in fabric swatches, photos of your finished quilts and enjoy your creative process!
Bella Disappearing Four Patch Quilt Pattern
Finished Quilt Details
- Quilt Name: Bella
- Finished Size: 74″ x 74″
- Block Layout: 7 blocks per row × 7 rows (49 blocks total)
- Finished Block Size: 8.5″ x 8.5″ (untrimmed)
- Fabric Style: Very scrappy
Important note: I do not trim these blocks. As long as your seams are consistent, the blocks finish at 8.5″ square without trimming and that keeps things moving.
Fabric Options
You can make this quilt with almost anything:
- Charm squares
- Layer cakes
- Fat quarters
- Yardage
- Fabric scraps
For this throw size quilt, you will need 245 squares of fabric to make 49 four patch blocks using 5″ squares. Then cut each block into sections and rearranging. You will have 3 quarter blocks leftover, use in another project or as part of the backing. You will also need yardage or fat quarters to make the 2.5″ and 7″ borders. Finished quilt measures 74″ x 74″ but you can easily adjust the size to your preference.
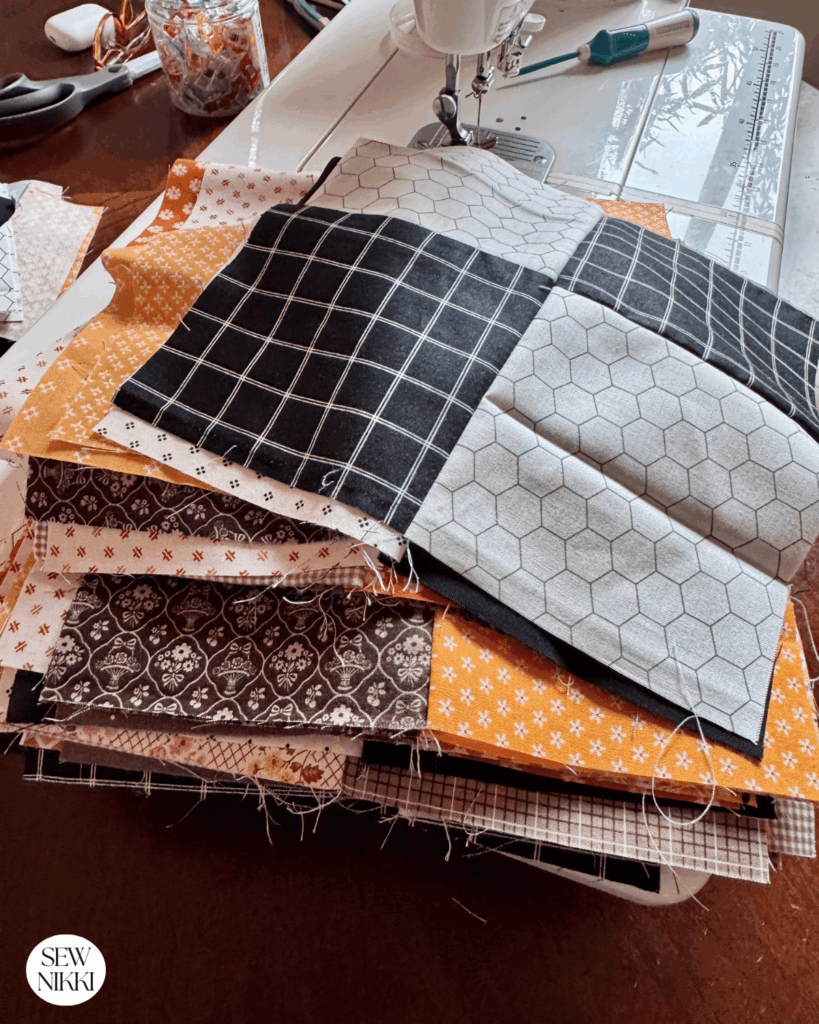
I love a good disappearing quilt block because it’s fun making a simple 4-patch and turn it into a totally different look. How? By cutting it up with your rotary cutter and rearranging. It’s an easy quilt and a great stash buster. This quilt was made with leftover Fall fabrics from my disappearing nine patch quilt and quilted laptop case projects. I mixed prints, scales, and colors freely, which gives the quilt a cozy, collected look instead of something overly matchy.
If you like working with pre-cuts, Fat Quarter Shop has a great breakdown of how charm squares, layer cakes, and fat quarters translate into quilts. Check out their precut quilt fabric guide.
Step 1: Make the Four Patch Quilt Block (No Ironing Yet)
The first step is to make a simple four-patch block. Each block starts with four 5″ squares.
- Sew two squares together using a ¼″ seam.
- Sew the other two squares together.
- Join the rows to make a four patch block.
I don’t iron at this stage.
I know that goes against the grain for some quilters, but I find it much easier to nest seams later when everything is still flexible. Everyone quilts differently, this is just what works best for me.
Step 2: Cut the Block (The Disappearing Step)
Once the four patch is sewn:
- Find the center seam intersection
- Measure 1″ away from the center seam on all four sides
- Cut all four sides, one side at a time.
Tip: Use a rotating cutting matt or if you don’t have one try using a small cutting matt and turning it after you cut each side.
You’ll now have nine sections from each block.
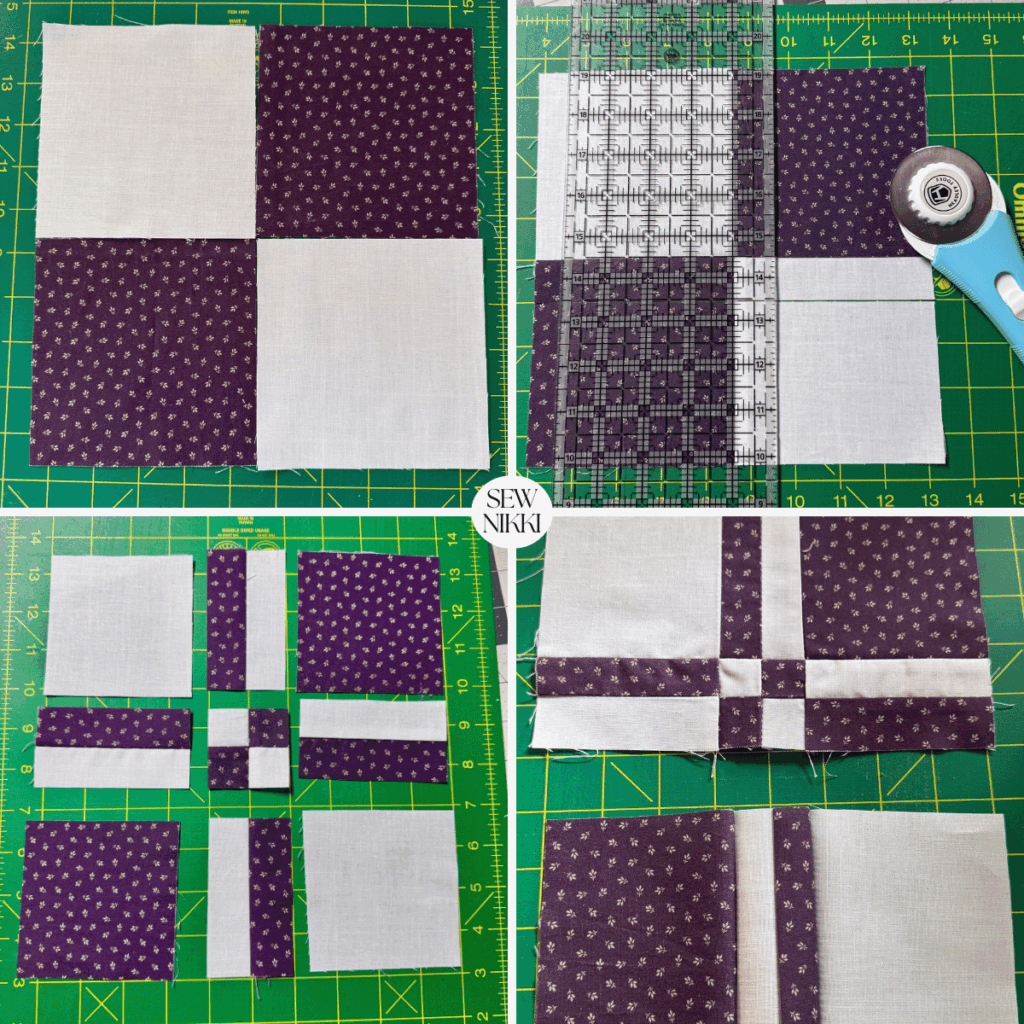
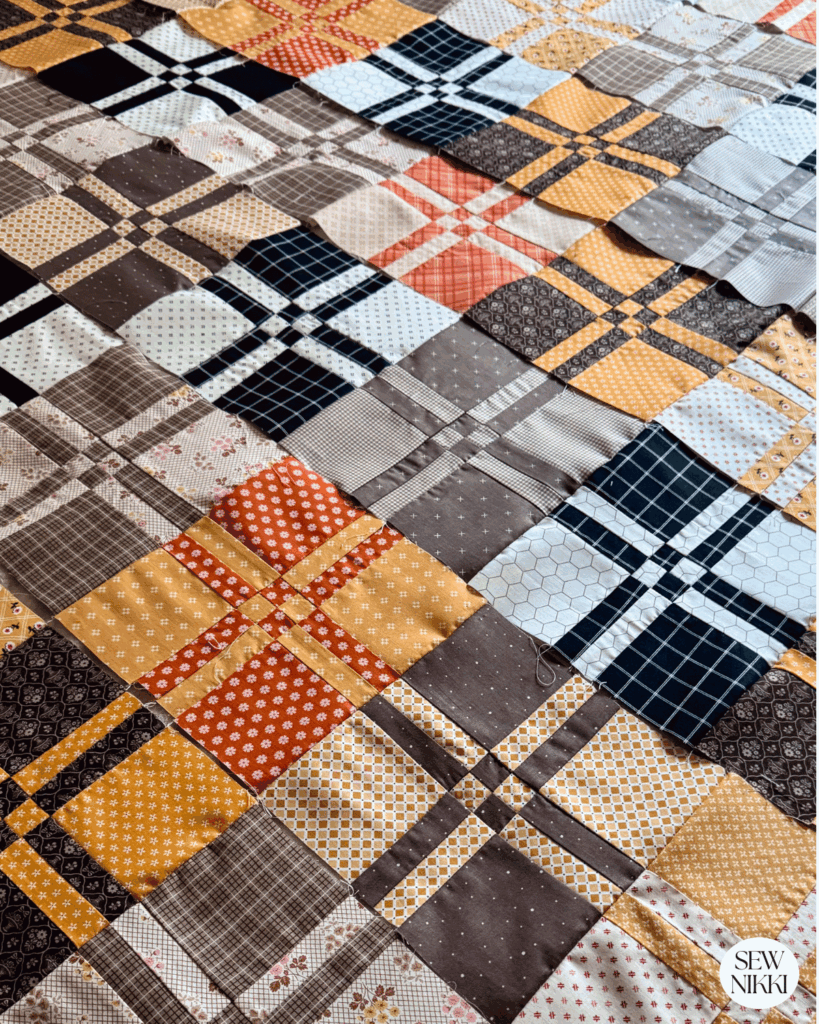
Step 3: Rearrange & Reassemble the Block
This step is where we turn our simple 4 patch block into a more complex quilt block.
- Flip and rotate the four pieces
- Arrange them so the seams create striped sashing through the middle
- The center forms a checkered square
You basically rearrange the large squares to the are opposite one another and make sure the sashing fabric is different than your square fabric. The final step is the flip the corner checkboard square so that the fabric is different than the sashing.
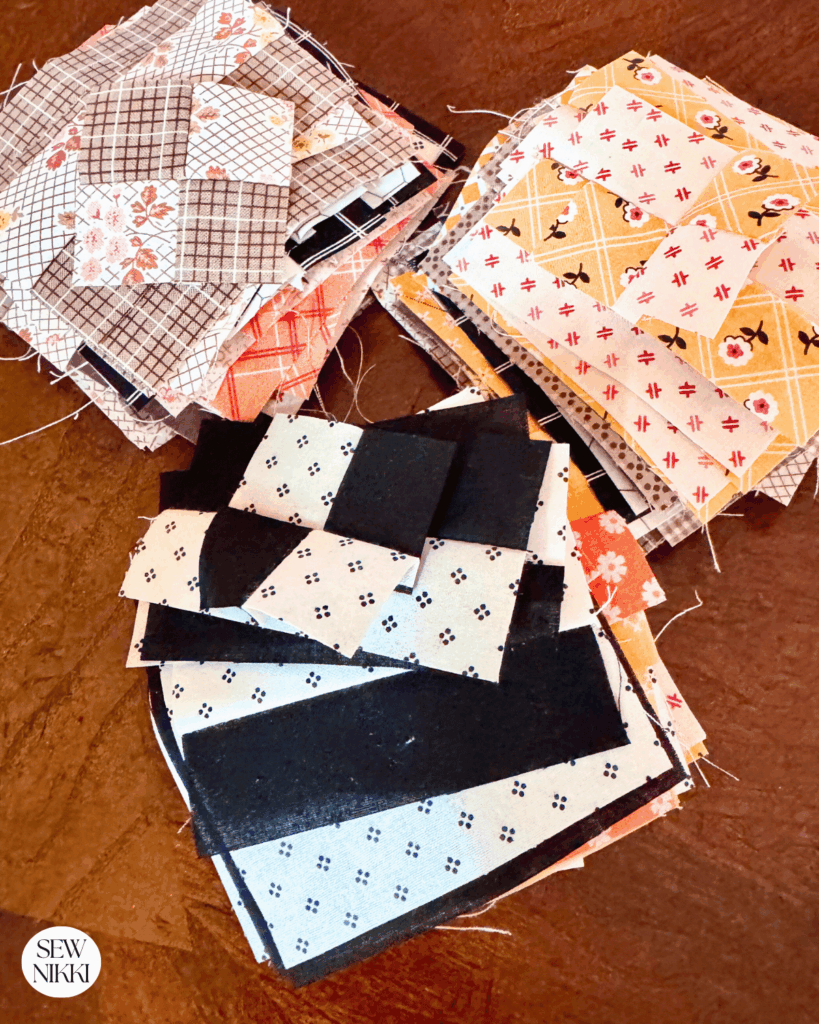
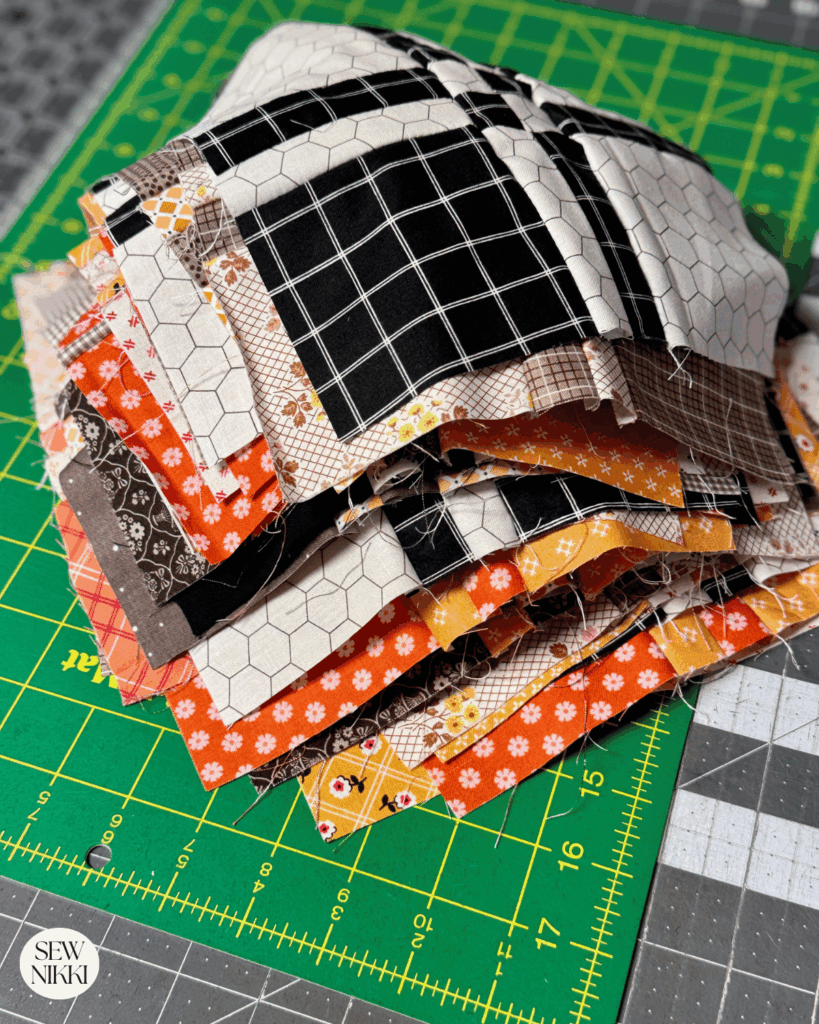
Tip: To make things go faster, I cut all the squares and stack the pieces into piles. Then take your piles to your sewing table, grab one block and layout the pieces and get in the correct order. Sew the top row, then the middle row, finally the last row. Then sew the rows together to form the disappearing block.
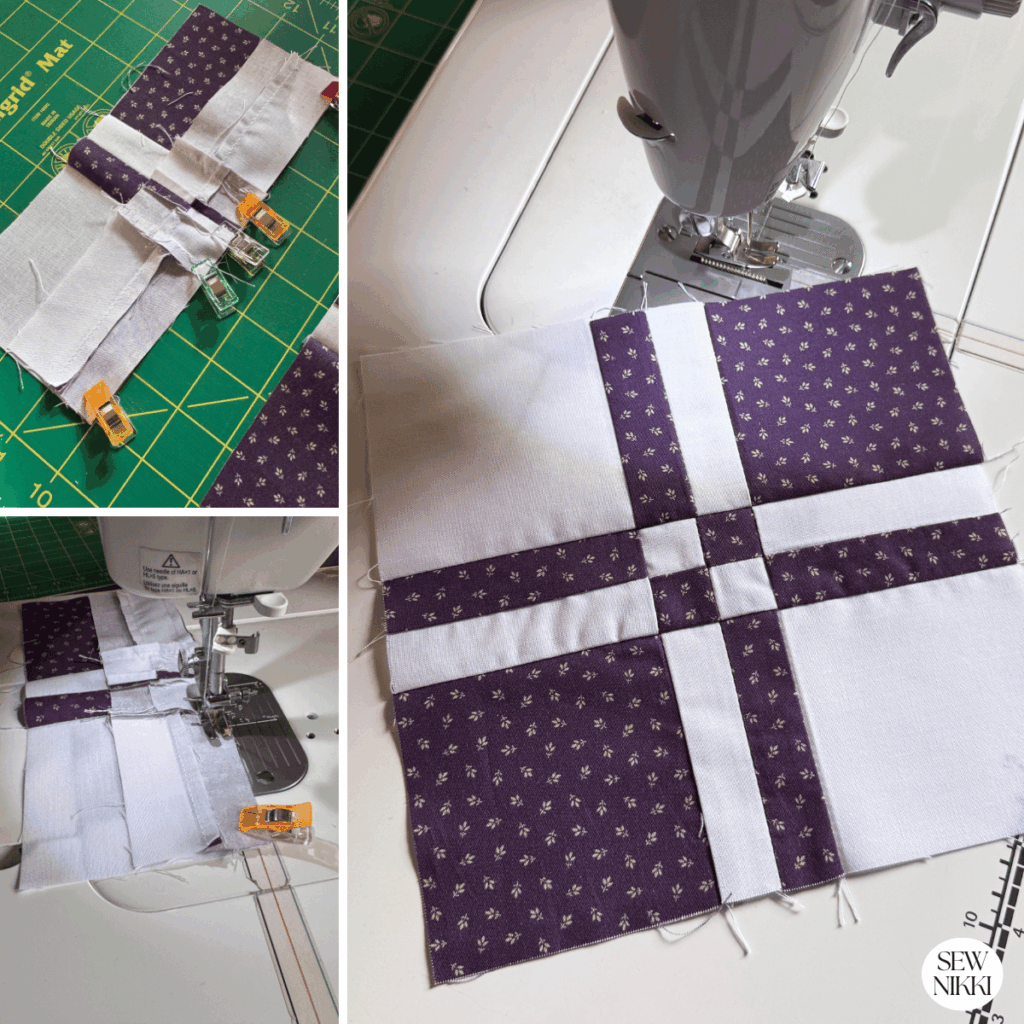
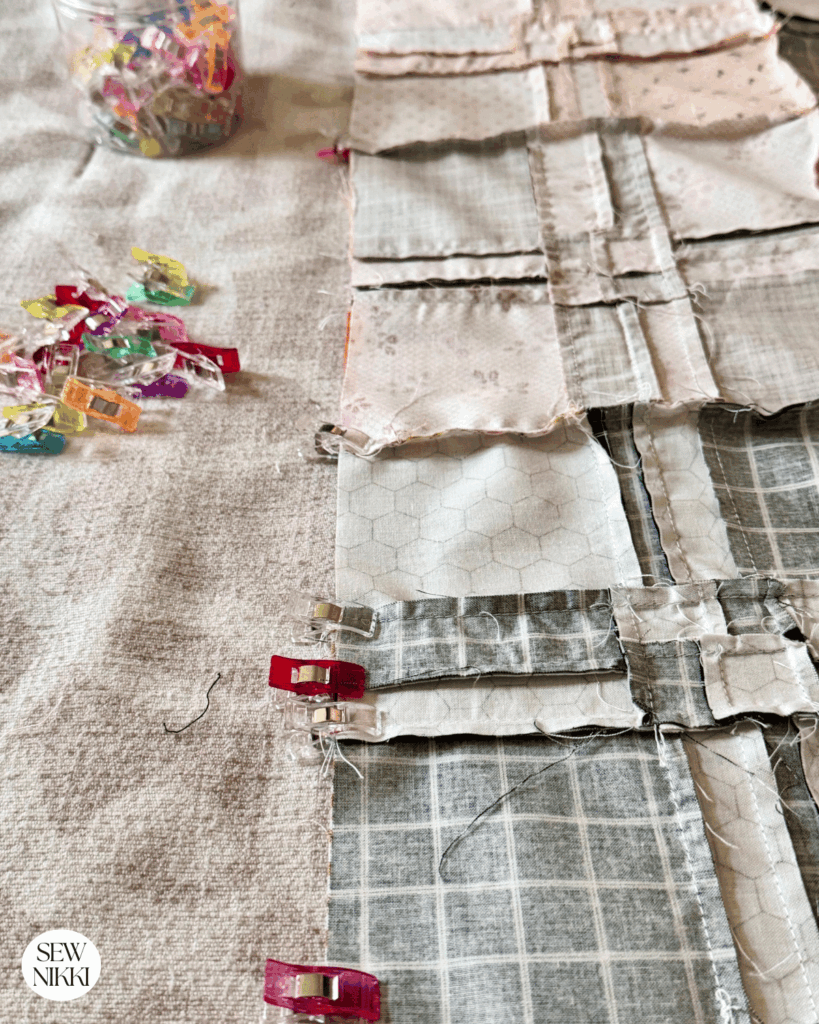
Seam Nesting Tip (This Part Matters)
When piecing the sections back together:
- I nest the center section so both seams fold into the center on the top piece
- The center seam should nest in the direction the center square is facing
This helps everything lock together neatly and keeps the block flat.
Sew the four pieces back together to complete the block.
Each finished block measures 8.5″ x 8.5″ untrimmed.
Step 4: Pressing the Finished Blocks
Once all the blocks are sewn, then I iron.
Here’s my pressing method:
- Flip the block to the back side
- Press in the direction the seams are already going
- Flip to the front and give it a final press
This keeps seams tidy without fighting the fabric. It also helps to keep your seams as clean as possible without bunching your fabric.
I also give the entire quilt top another press right before basting.
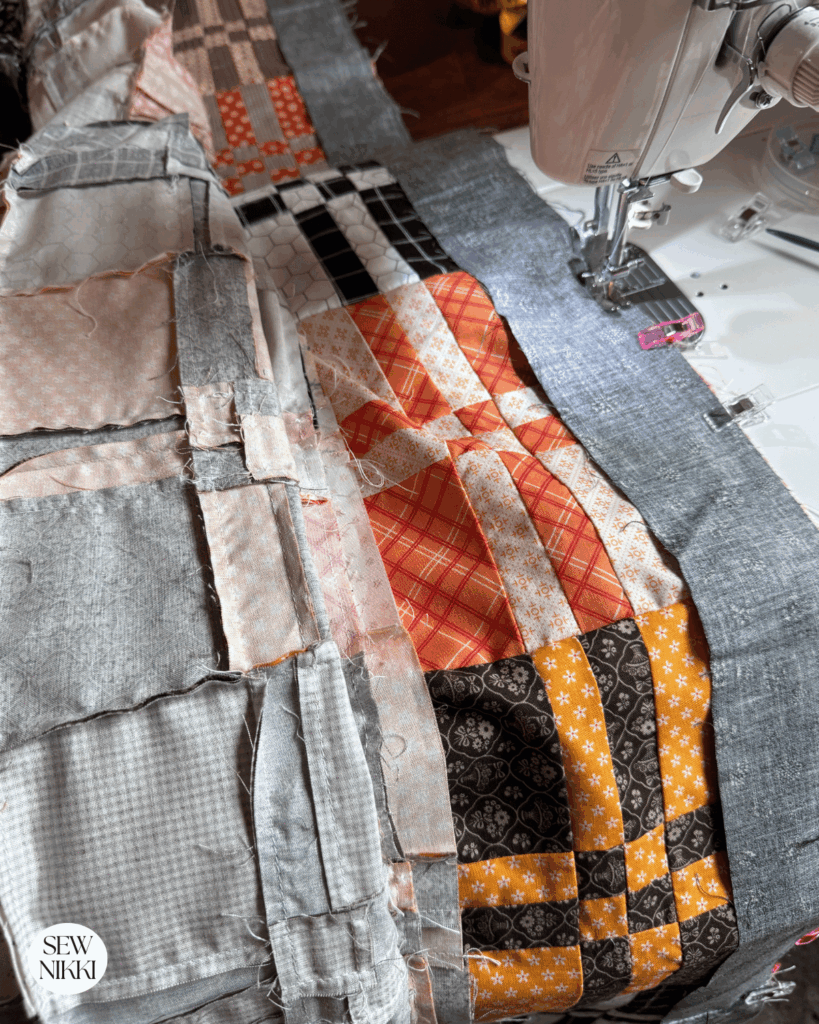
Step 5: Lay Out the Quilt
Arrange your 49 blocks into a 7 × 7 grid.
This is where seam nesting really pays off.
- Nest seams when sewing blocks into rows
- Nest seams again when sewing rows together
It’s much easier to nest seams when they haven’t been aggressively pressed early on, which is another reason I wait to iron. That said, do what works for you. There’s no single “right” way to quilt.
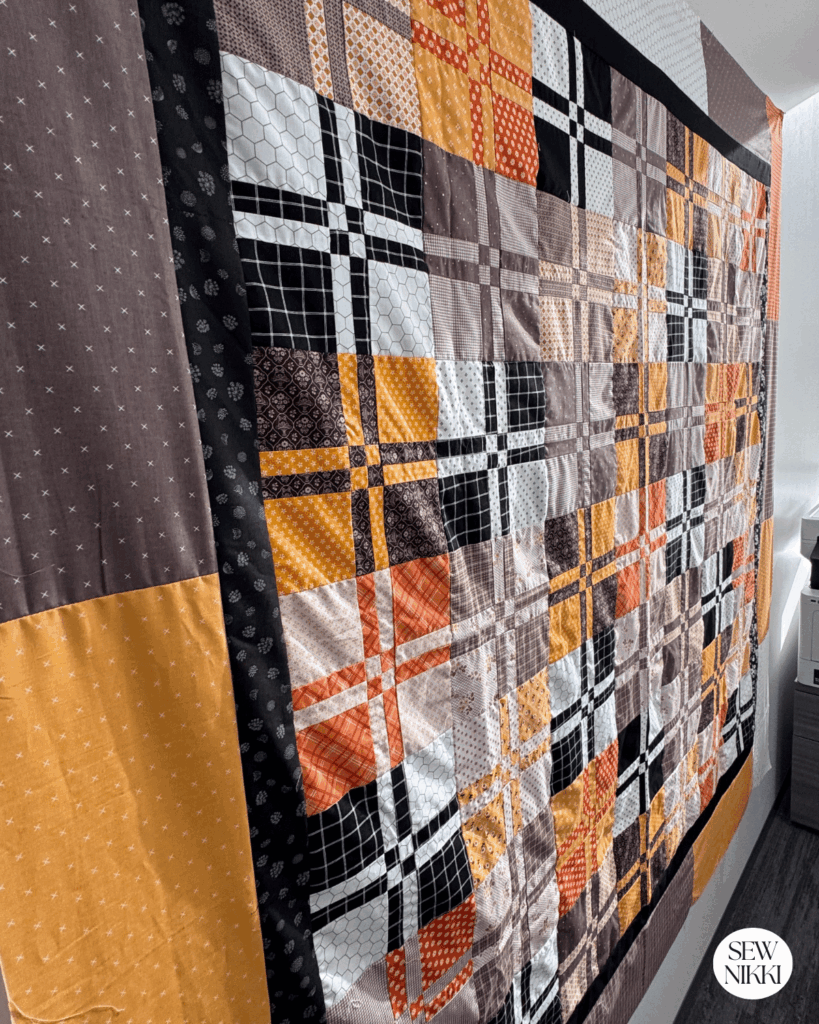
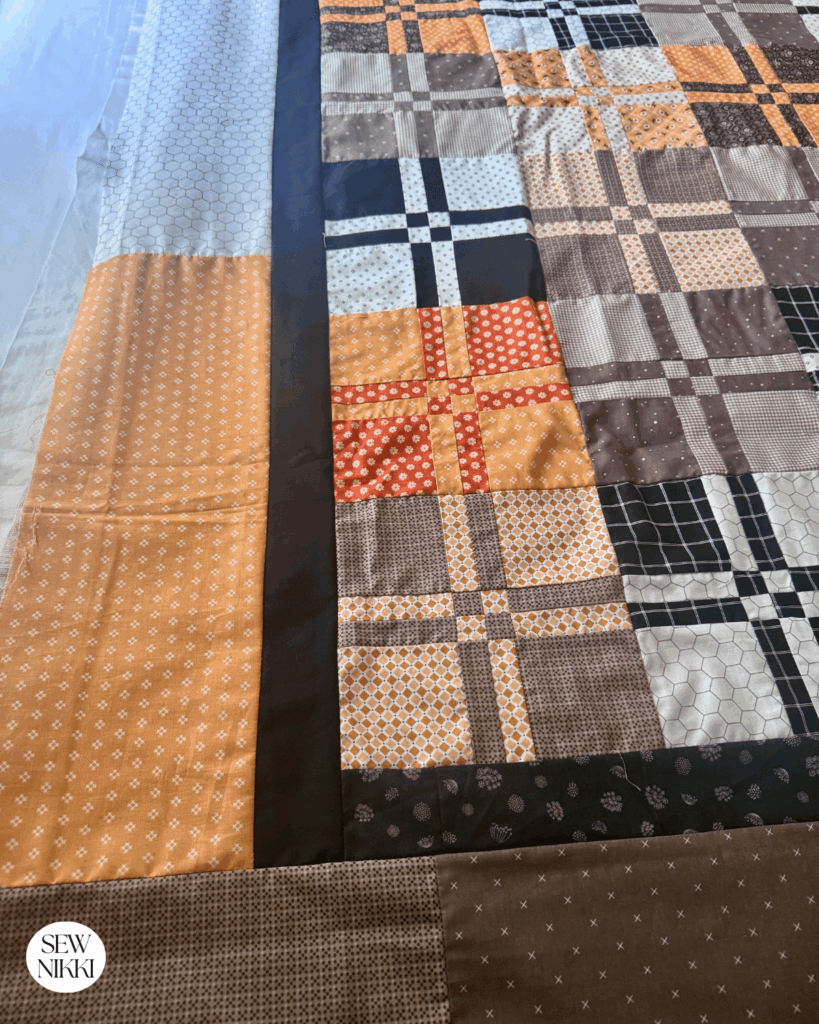
Step 6: Add the Borders
Inner Border
- Cut 2.5″ wide black strips
- Sew to all four sides
This border adds structure and calms down the scrappiness.
Outer Border
- Cut 7″ wide scrappy strips
- Use leftover fabrics or pieced sections
- Sew to all four sides
This is a great way to use up what’s still on your cutting table.
Get the digital pattern.
Get the instant download pattern here.
Quilting & Finishing
Spray baste your quilt with your batting of choice and pick your backing fabric (thrifted, pieced scrappy fabrics or recycled) or one solid fabric. It’s your choice.
Straight line quilting looks fantastic with the striped sashing, but this quilt also works well with simple all-over designs. Bind it with a solid or keep things scrappy, both work.
There are free quilt tutorials on my blog for every step in the quilt making process. If you need more detailed information on basting, machine quilting or binding then make sure you check those out.
Shop the Sample Fabrics
Here’s a list of some of the fabrics used in this quilt. If the fabric isn’t listed, that’s only because my yardage didn’t have selvage with the fabric name on it.
Lori Holt and Riley Blanket Fabrics: Hometown Holiday (Main Background Fabric Latte but looks like Orange and secondary pink background), Bee Backgrounds Orange (another background fabric), Prairie Yellow Rose, Besties, Midnight Meadow by My Minds Eye (center square), Bee Basics and Backgrounds, A Gentler Time, Prim Brown Plaid, Bee Cross Stich Brown.
You may be able to get all of these fabrics on Connecting Threads too now, they are having sales on select items. Make sure you check them out if you don’t have a local fabric store. Or if the local store has the same old fabric and you are looking for new lines or new designers.
More Resources
There are lots of different methods of cutting and rearranging, here are some YouTube videos to see other ways to do this.
7 Ways to Make a Disappearing 4 Patch Quilt Block – Sew Easy by Sandy
Four Ways to Make a Disappearing Quilt Block – Tulip Square
Disappearing 4 Patch Quilt Block – Missouri Star
ABOUT SEW NIKKI
If this is your first time stopping by, welcome! Your place for free crochet, sewing and quilt patterns for beginner to intermediate skill levels. Want a digital pattern? We have those too! Plus tutorials to walk you through how to make each item from start to finish.
Again, I hope you enjoy making this free quilt pattern. I love patchwork projects and this was a lot of fun. The disappearing 4-patch looks best when you use contrasting fabrics in different colors. Scrappy quilts are my happy place and they make some of the most beautiful quilts just using fabric from your stash. It took me a week to make this, my first quilt of the new year.
This versatile block is perfect for pillow covers, a baby quilt, table runner and any size quilt.
This post contains ads and affiliate links, which means I make a small commission at no extra cost to you. While the ads may seem annoying, it helps keep this blog going. See my full disclosure here.