How to Baste a Quilt: Beginner Spray Basting Tutorial
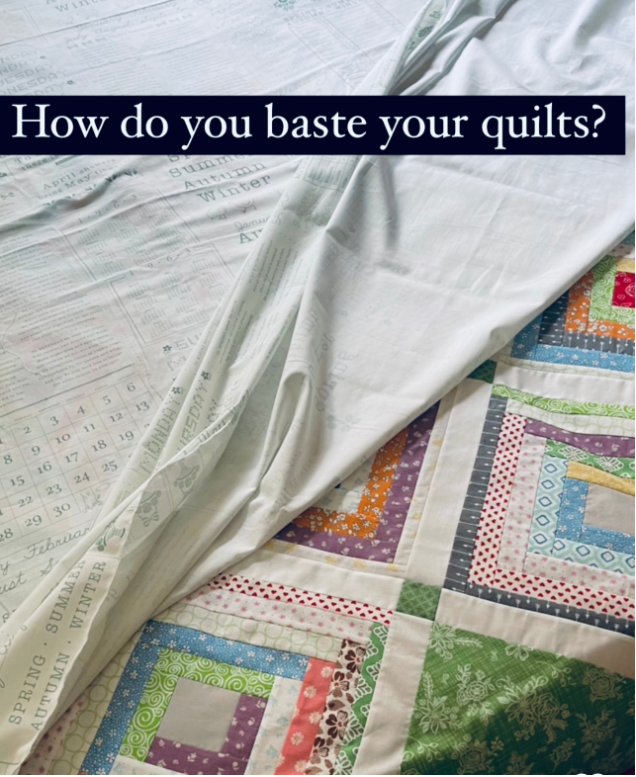
Today I’m going to show you how to baste a quilt using the spray basting method. This beginner friendly tutorial has step-by-step instructions on how to baste a quilt on your bed with adhesive spray but any flat surface will work. Let me help you make a quilt sandwich so you can get to quilting it up on your home sewing machine. This post will cover how to do the following: spray baste, different options for work surfaces, cotton batting, materials needed, tips and tricks. Join me as I demonstrate spray basting a full size quilt on my bed with written and picture instructions so you can copy this at home for your quilt.
In this blog post, we will cover how to baste a quilt and ensure that the layers of your quilt stay together when machine quilting. Basting is a step in the quilting process, after the quilt top is completed and backing fabric is ready to be sewn together. Basting is when you layer the quilt top, quilt batting and quilt backing and adhere them together.
Make sure you check these out!
After you read this post, make sure you also check out How To Learn How To Quilt: Beginner Quilting Guide. It’s jam packed with even more information, links and resources that are so helpful when you’re first learning. It also has a section with free quilt patterns that are great for beginners. So make sure you check this out, seriously don’t forget!
Grab a copy of my Quilt Planning Journal, filled with graph paper and some note pages to help you design at least 4 quilts or sewing projects! I have been using mine for a little while and already I am jotting down ideas as I see them and reminders about websites where I have seen some ‘must have’ fabric, so I think this can be so much more than just a design book. Pin in fabric swatches, photos of your finished quilts and enjoy your creative process!
Spray Basting Tutorial
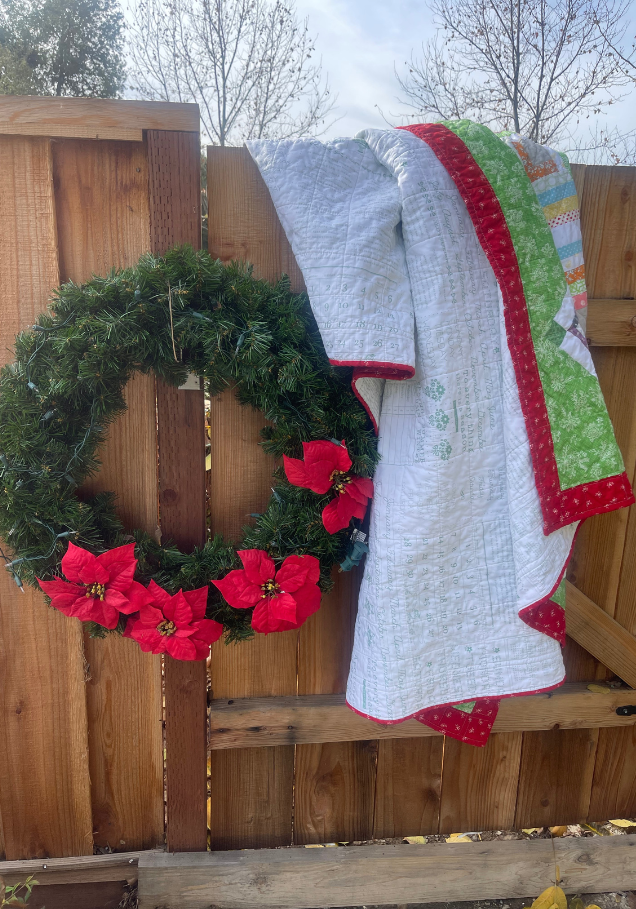
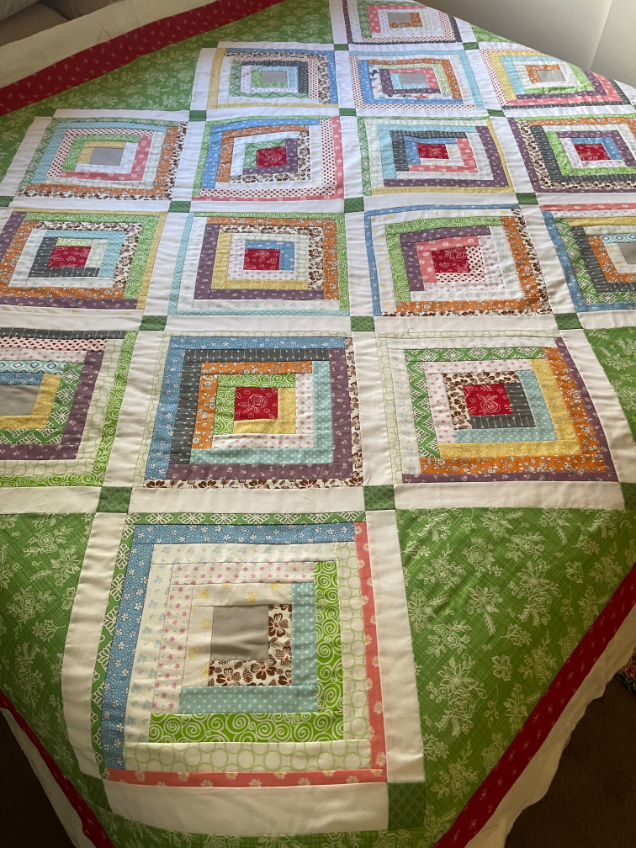
The quilt that I’m using is my new Log Cabin On-Point full size quilt with free pattern. For those of you following along, here’s the basting tutorial. I will be doing 2 more tutorials with this Log Cabin quilt: how to quilt on a sewing machine and how to bind on machine quilting and binding. Stay tuned!

The most common basting methods are the pin basting method using basting pins and spray basting method using spray adhesive. Today we will focus on how to baste a quilt using the spray basting method. I’ll break down the basting process into easy-to-follow steps, and cover all things quilt basting so you can get start quilting. For more info on basting, check out How to Sandwich a Quilt – Step by Step Tutorial.
I’m not going to lie, I have a love-hate relationship with basting large quilts due to my small house and sewing space. Not everyone has a beautiful sewing room with a large craft table that can fit a house on it. Some may not even have a kitchen table that will work. That leaves the floor or the bed as a work space. No problem, let me show you how to get it done on a bed. Mine is a king size bed.
BASTING SPRAY
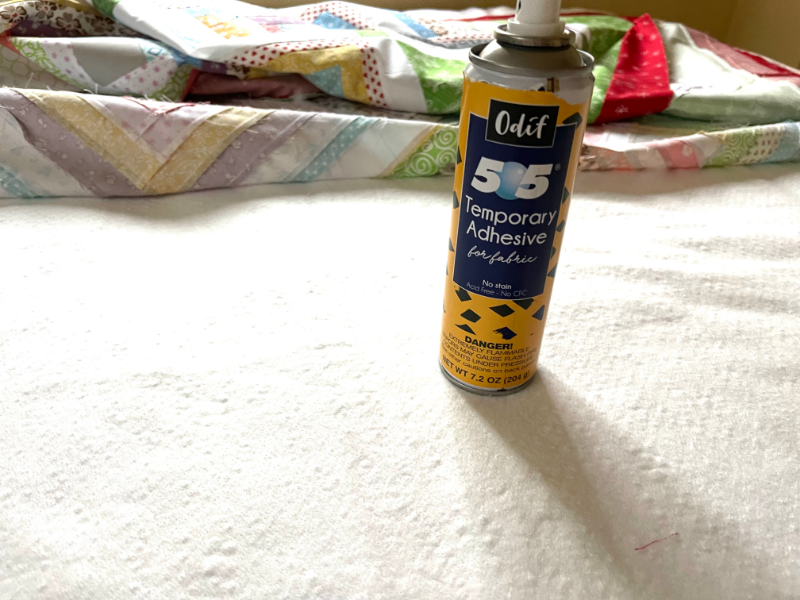
My favorite method is spray basting using my bed, this is THE most common method for new quilters. Ditch the heavy curved pins, opt for adhesive spray instead. Make sure the spray is for fabrics.
There are lots of basting sprays on the market, I like 505 Basting Spray and it’s really good. You spray it in sections onto the batting and then press the fabric down to adhere to it. You spray the front and back of the quilt following the same process. Starting in the middle of the quilt top and working your way out to the side, then flipping to do the back of your quilt until you’ve done the whole quilt.
Let the spray basted quilt hang over an ironing board overnight to let the spray dry. When you go to quilt it the next day, the spray will be dry and won’t be sticky or leave as much residue on your sewing needle.
I’ll show you step by step how to spray baste down below. You can buy the adhesive spray recommended in this post on Amazon, click here.
WORK SURFACES
Quilt basting needs room for you to spread out your quilt. If you have a small sewing space, you need to get creative when it comes time to baste your quilt. Finding a work surface that is flat and large enough to lay out your large quilt can be challenging. Look for a smooth surface around your house: big tables, kitchen table, dining room table, bed or floor are the best options.

I’ve even taken my own quilts (king size quilt) to my work office and basted it on a big hallway floor. I’ve even thought about finding a private room in a library to use for basting my quilt but didn’t find anything that would work. You could also contact your local quilt shop. Quilt shops typically have in-person sewing classes with large tables. Talk to someone about using their space to baste your quilt, they may charge you a small fee but it could be worth it. Get creative is you have small areas in your house and can’t find a space to baste queen size quilts or larger quilts.
LAYERS OF THE QUILT
1. Quilt top (baby quilts, small quilts, twin-sized quilt or larger quilts)
2. Quilt batting
3. Quilt backing
How to baste a quilt – INSTRUCTIONS
PREPARE BACKING FABRIC
You want to have your quilt top and your backing done before basting your quilt. The easiest backing for large quilts is 108″ wide backing. You can use wide backing to cover the entire quilt if it’s a twin, full, queen and most king size quilts.

If you are using 44 or 54″ wide fabrics, you will need to buy double the length of your quilt and sew the two pieces together, trim away the excess fabric and throw into your scrap fabric stash.
The backing should be wider than the quilt top. The reason for this is when you quilt on your machine, the stitches will pull the fabric and things can shift slightly. It’s also easier to baste your quilt when you have more backing fabric than your quilt top. Trying to sandwich those layers when they are the same size doesn’t work. You will have outside areas of your quilt that don’t have enough batting or backing. Always have 4″ of extra batting and backing to cover all four sides or your quilt project.
Want an interesting backing for your quilt, check out my post on simple pieced quilt backings here.
IRON FABRIC
Give your quilt top and backing fabric a good press with a hot iron to get everything nice and flat. Press these really good before you lay these out to make your quilt sandwich.
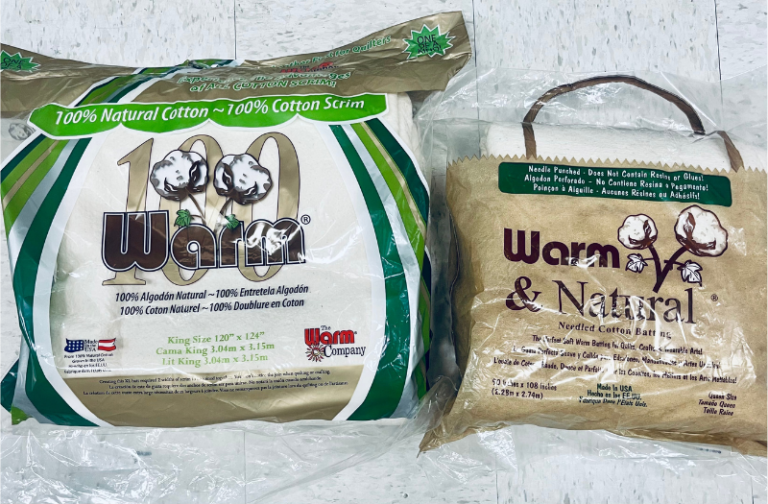
GET WRINKLES OUT OF YOUR COTTON BATTING
Take your cotton batting out of the packaging and place in your dryer with a damp washcloth for 5 minutes on high to remove wrinkles in the batting. Cotton batting that comes in a wrapped plastic package gets stubborn wrinkles and those wrinkles will show up in your final quilt if you don’t treat them first. If you quilt top has a lot of white fabric, for best results use white batting. Most batting is beige but look for the white batting instead.
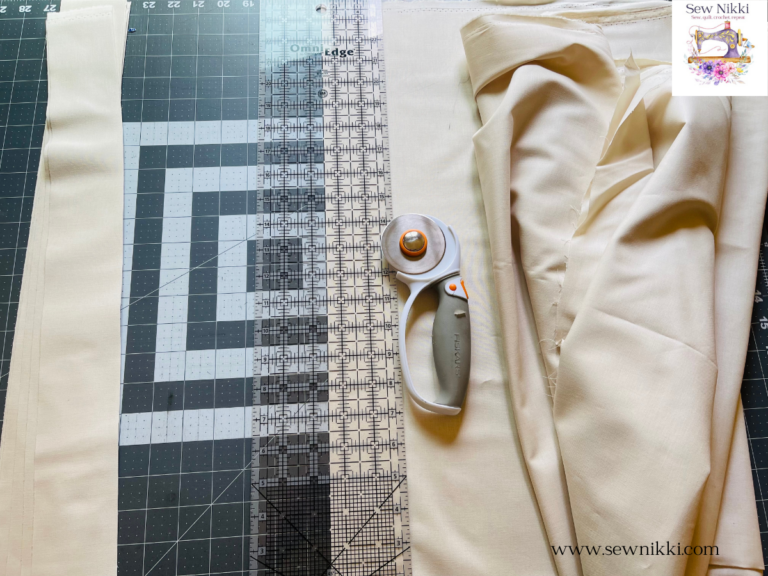
TRIM BACKING FABRIC
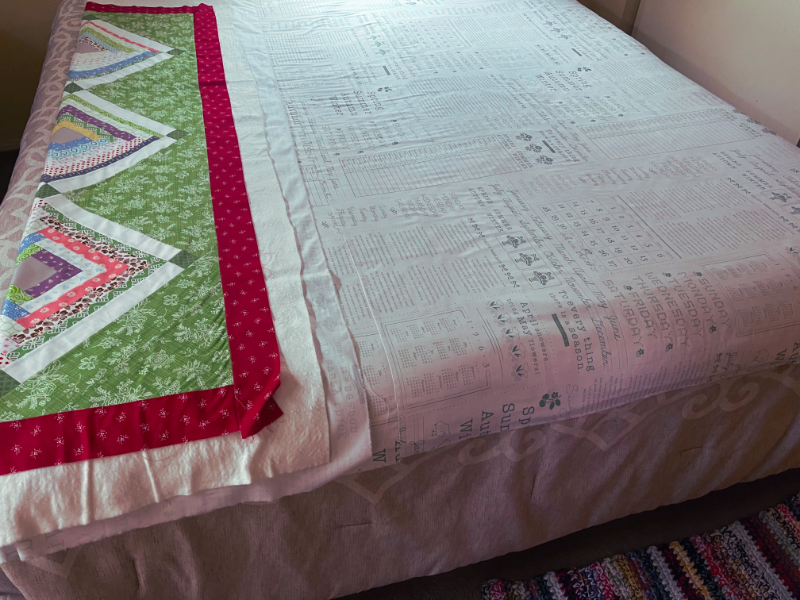
Take your quilt top and lay it over the bed right side down. Now take your backing fabric and lay it over the quilt top. Grab your scissors and trim the backing fabric while still laying over the quilt top and make sure you add your 4″ on all sides before you start cutting. You want your backing fabric to be larger than your quilt top. Use your trimmed excess fabric for a scrappy project.
TRIM COTTON BATTING
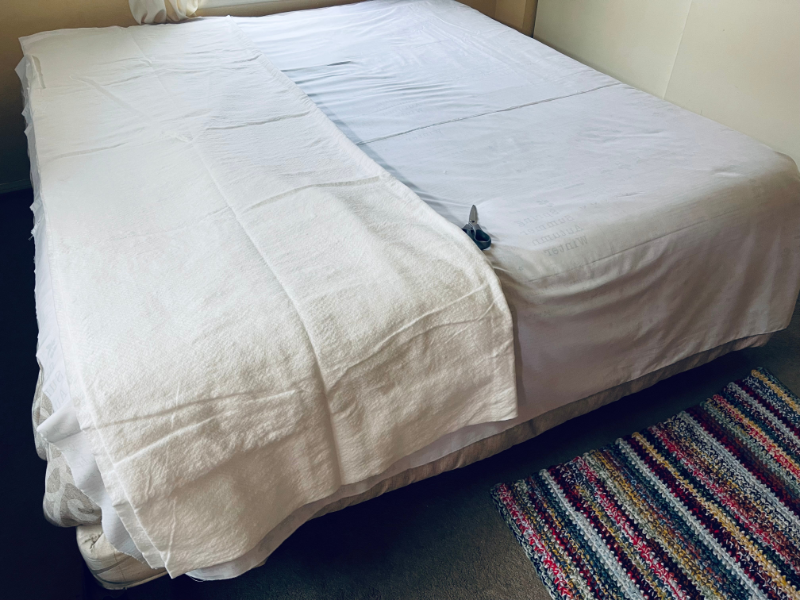
Take everything off the bed. Now lay the trimmed backing fabric right side down over the bed again. The wrong side of fabric should be facing up. Now lay the cotton batting over the backing fabric. Trim the cotton batting the same size as the backing fabric. Save the extra batting for another project.
BASTING QUILT TOP TO COTTON BATTING
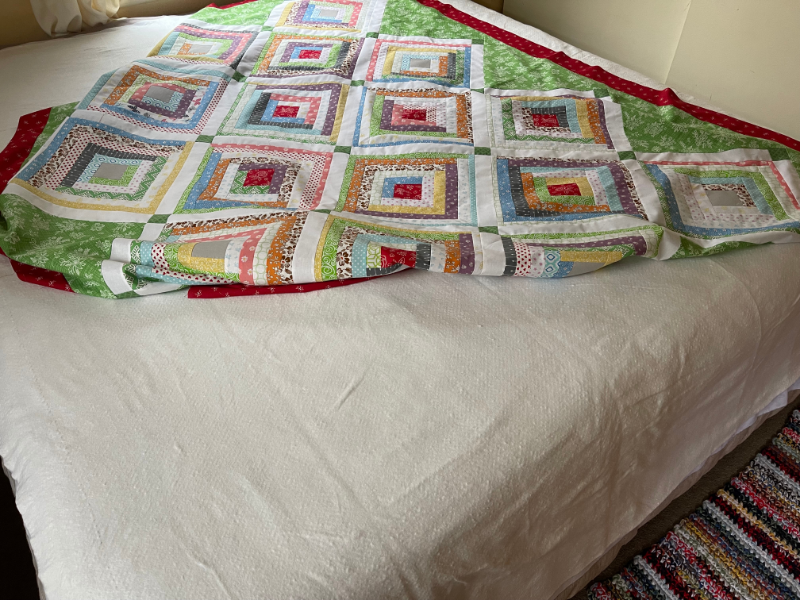
Take the quilt top and place wrong side onto the cotton batting to form a quilt sandwich. Make sure that your quilt top is covering the backing fabric, you should have 4″ of backing fabric and cotton batting that is not covered by the quilt top. Make adjustments to the quilt top placement as needed. This is your quilt sandwich. Now let’s baste the sandwich.
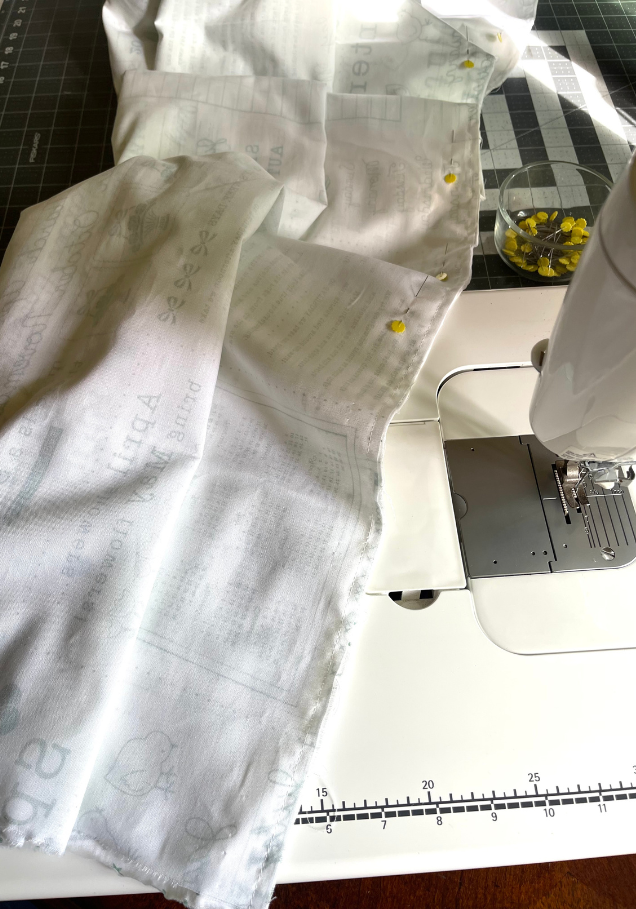
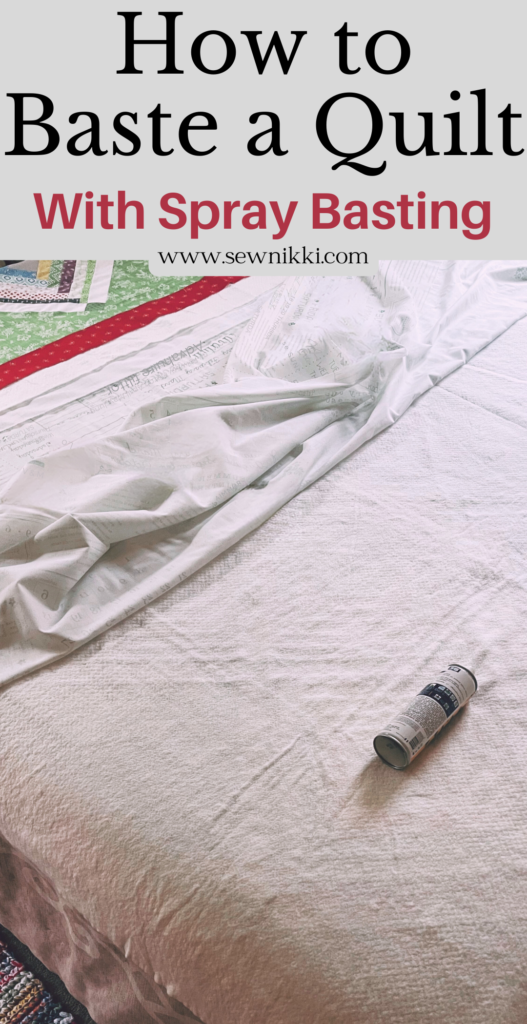
I’m using the spray basting method to baste the quilt. Go back to the bed with the quilt top laying wrong side down on cotton batting, laying on the wrong side of backing fabric. Work the basting with half of the quilt top at a time. We are going to spray the quilt top to the cotton batting first.
Standing on the side of the bed, roll the quilt top to the center of the bed. Spray in 3′ sections going from center of bed towards you. Spray, then roll out to the edge of the sprayed area and then press, then repeat until you are done with that side. Go to the other side of the bed and repeat the process.
BASTING BACKING FABRIC TO COTTON BATTING
Flip the quilt so quilt top is facing downwards and fabric backing is facing upwards.
Repeat the steps above until done.
That’s all there is to it. You’ve successfully basted your quilt, setting the stage of bringing your creation to life with beautiful quilting designs. My next posts will continue with this log cabin on point quilt and cover how to quilt it on a sewing machine, and finally a post on how to sew binding on a quilt. If you can’t wait that long, check out these posts to get that quilt finished. How to machine quilt with a walking foot for beginners, How to sew a quilt together – quilting for beginners, How wide to cut quilt binding and make easy strips, How to join quilt binding ends, beginner series, and How to bind a quilt – easy single fold binding.
Beginner Quilting Supplies
Here are some quilting tools and supplies I recommend. I make a small commission if you purchase through the links, this helps to support this free content. For more info, check out Supplies for Beginners (Best Tools To Start).
Rotary Mat Cutting Mat (Self-Healing Mat)
28 mm Rotary Cutter Replacement Blades
45 mm Rotary Cutter with Sharp Blade (start with this one)
45 mm Rotary Cutter Replacement Blades (start with this one)
60 mm Rotary Cutter Replacement Blades
4.5″ Square Ruler for half square triangles
12.5″ Square Ruler for blocks
Save this pin for later!
This post contains ads and affiliate links, which means I make a small commission at no extra cost to you. While the ads are annoying, it helps keep this blog going. See my full disclosure here.
ABOUT SEW NIKKI
If this is your first time stopping by, welcome! I’m Nikki, a maker obsessed with quilting, crochet, and all things fabric. Here, you’ll find easy-to-follow patterns, helpful tutorials, and plenty of inspiration for your next handmade project. Grab your fabric (or yarn), and let’s create something beautiful together!
I hope all you new quilters found this tutorial helpful and gives you the confidence to baste your quilt using the resources available to you. I’ve made a lot of quilts and only use spray basting, it’s the fastest and doesn’t make the quilt top drag when you are machine quilting. Those curved safety pins get real heavy for large quilts and you can’t remove them until you have quilted your entire quilt one way over the entire length or width of your project. They get caught in the sewing plate, on your extension table and leave holes in your quilt. You also need to place them every 5″ apart and need to make sure you have enough pins for king size quilts, that’s a lot of pins.
Merry Christmas Darla! Darla is my son’s girlfriend and has a fun YouTube channel where she plays and reviews virtual reality games. She’s really cute to watch and listen to. Check out That VR Girl on YouTube here or Twitter here.
Follow me on social media (Pinterest, Instagram, Facebook and Twitter) so you get notifications when I post new patterns and tutorials.
Want to learn how to crochet? Then check out this post, How to Learn How to Crochet – Guide for Beginners.


This is really informational! I have always found quilting to be a bit overwhelming but there is a lot of great information here!
Hey Nikki! Great post. My challenge is keeping my frenchie off the bed, and out of the room, when I do this. I usually use pins, but I’m eager to try spray basting now! I like forward to your next post.
Hi Nikki, I’ve basted a 200 x200 cm quilt on our dining room table 5ft x2.6ft. It was a struggle but it got done. Never thought about using our very large bed for that, so when my next quilt is ready, the backing needs sewing together, I’ll certainly try it that way. Thank you for the long explanation. Kind regards, Sibylle, “The Midnight Owl”
Hi Sibylle – Basting is always a struggle for large quilts, hope basting on the bed next time is eaiser for you. Thanks for your comment! Nikki