Granny Stripe Crochet Sleeves Pattern for T-Shirts
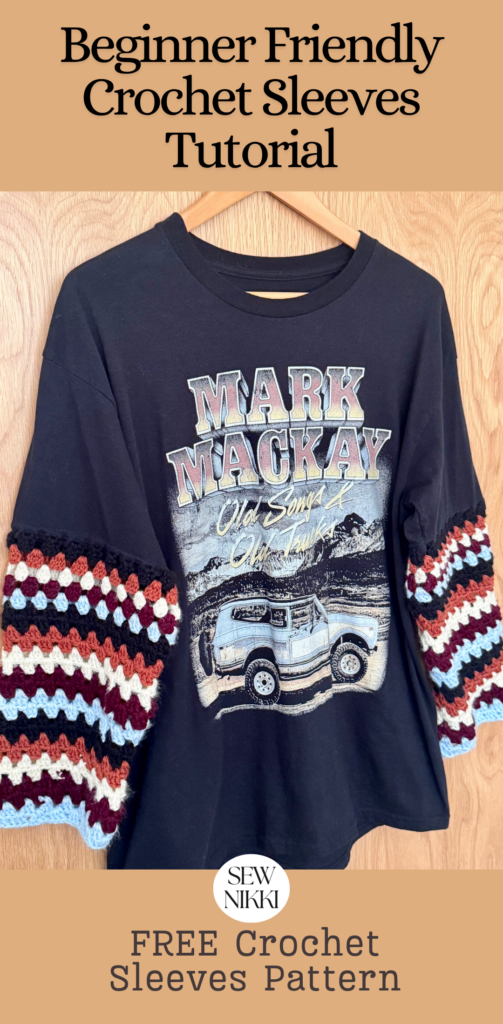
A crochet sleeves pattern is one of the easiest ways to turn an ordinary concert t-shirt into something unique. Instead of making an entire crochet top from scratch, you can add colorful granny stripe crochet sleeves to a shirt you already own. The result is fun, comfortable, and looks like the crochet sleeves were always part of the original design.

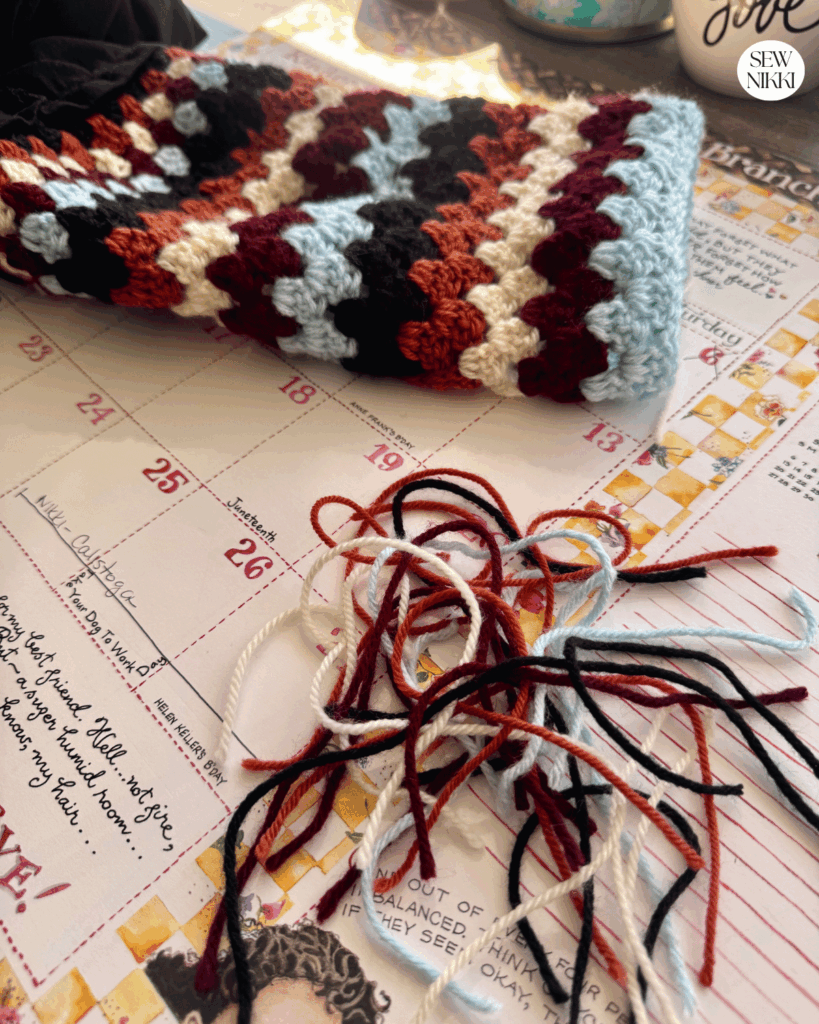
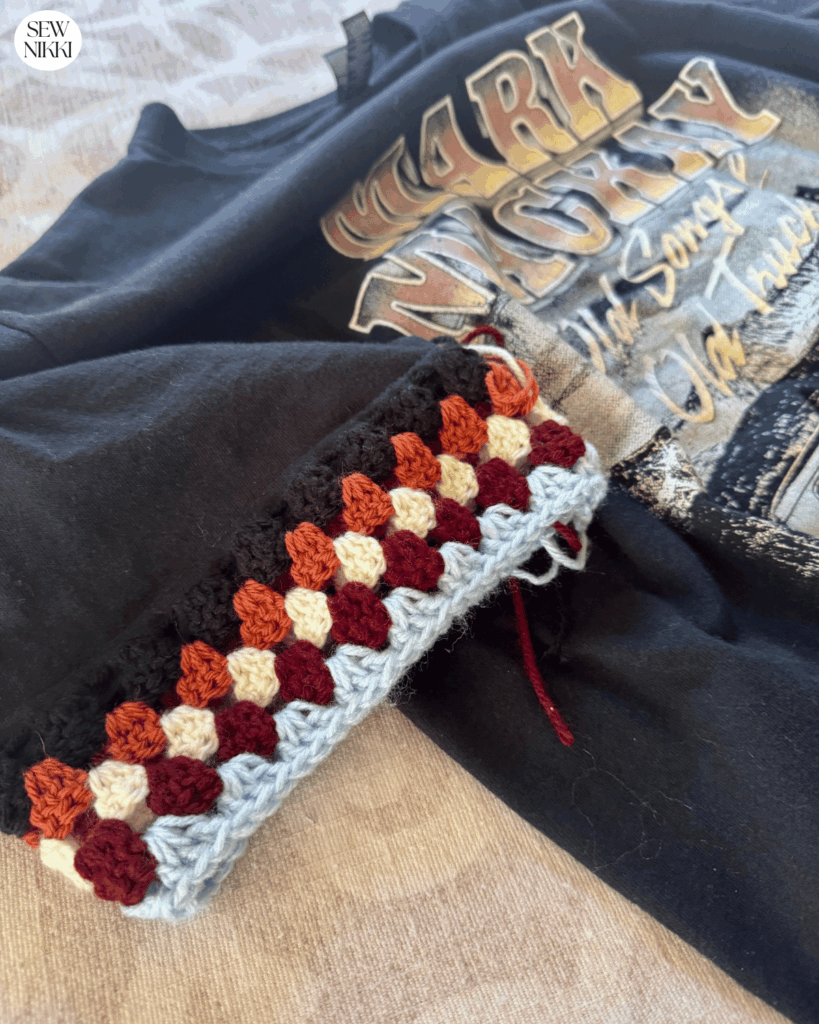
I made these crochet sleeves for a Mark Mackay concert t-shirt using several yarn colors to create a bright granny stripe look. Digital pattern available in my shop.
This project is beginner friendly and works well as a first time wearable crochet project. If you’ve never made crochet sleeves before, don’t worry. The construction is simple and there is no complicated sleeve cap shaping required.
Materials Needed
For my sample I used:
- H crochet hook
- 3 weight and 4 ply yarn
- Large eye sewing needle (2.2)
- Needle threader tool
- Yarn needle
- Scissors
- One t-shirt
Full a full list of all my favorite crochet items, see Resources page.
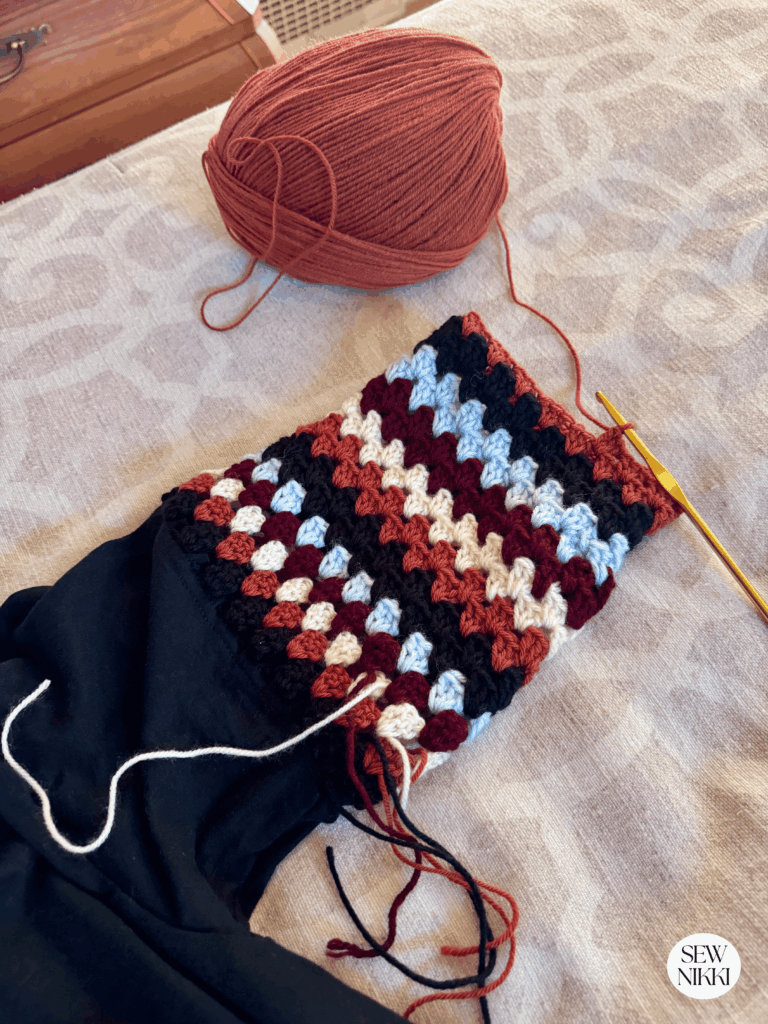
Yarn Used in Sample
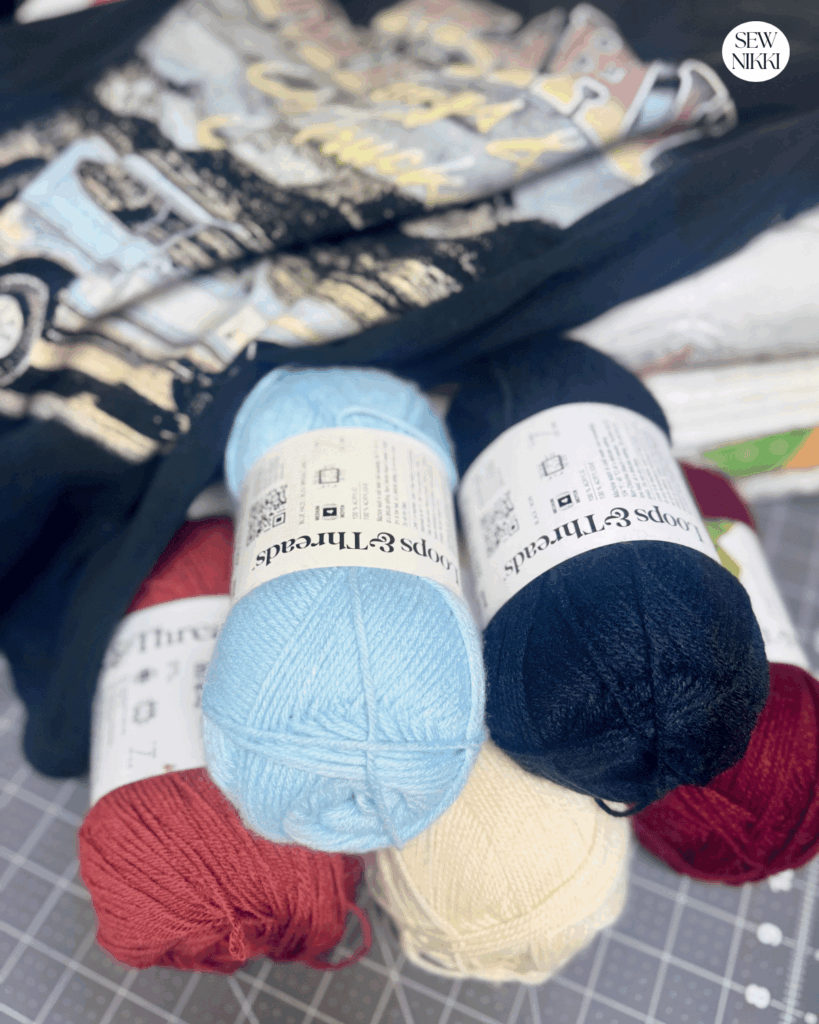
Loops & Threads:
- Delicate DK Winter White
- Luxe Merino Sedona
- Impeccable Blue Haze
- Impeccable Black
- Impeccable Burgundy
You can substitute any yarn you like. Just remember that this tutorial was designed around lighter weight yarn.
If you use bulky yarn, you may have trouble threading it through a sewing needle when creating the foundation row around the arm hole.
You can also use crochet thread for a more delicate look. Crochet thread works especially well for crochet lace sleeves and lightweight summer projects.
Make sure you check this out!
After you read this post, make sure you also check out Learn To Crochet for Absolute Beginner’s. It’s jam packed with even more information, links and resources that are so helpful when you’re first learning. It also has a section with free patterns that are great for beginners. So make sure you check this out, seriously don’t forget!
Grab the Shell Stitch Afghan crochet pattern, my free gift to you when you subscribe to my newsletter. Click the link below for your copy.
Choosing Yarn Colors
Take your shirt with you to the craft store when shopping for yarn.
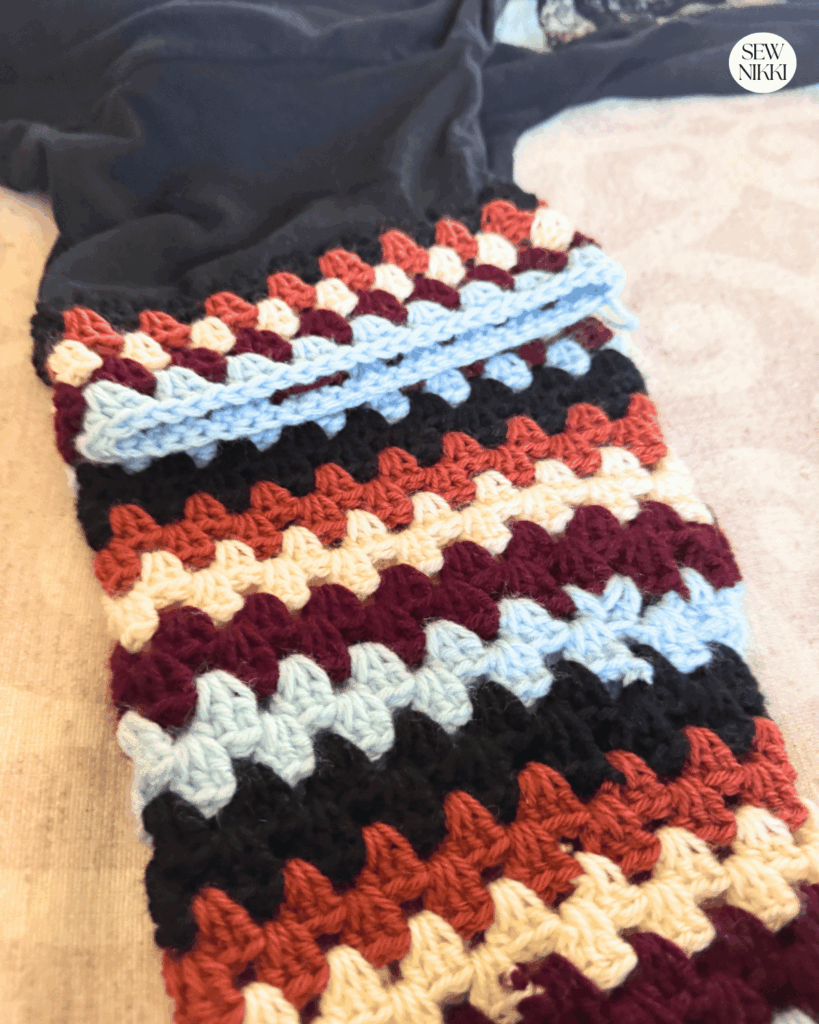
I recommend choosing at least three colors, but five colors really make the granny stripes stand out.
Try to match colors already found in the shirt design. This helps the finished crochet sleeves look intentional instead of looking like they were added later.
A lighter weight yarn usually produces the best drape and comfort. Heavy yarn can make sleeves bulky and uncomfortable.
Granny Stripe Crochet Sleeves Pattern
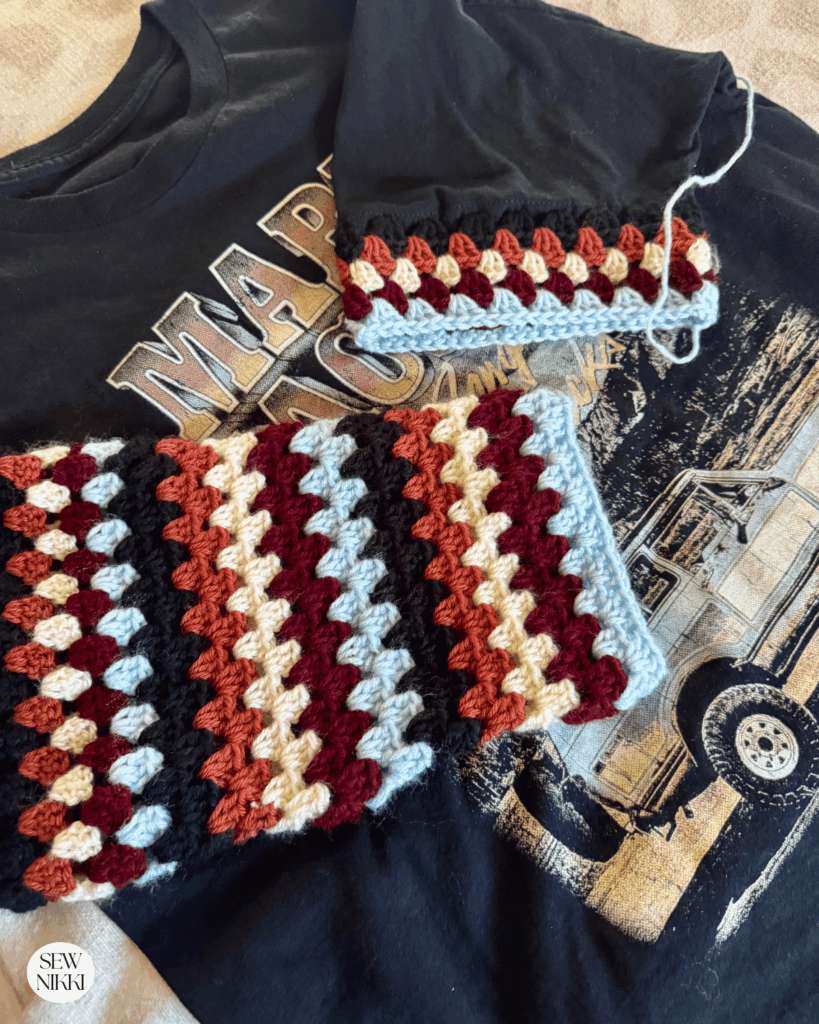
How to Sew the Foundation Round
Before you can crochet, you’ll need to create a foundation round using yarn and a sewing needle.
This foundation round acts as your starting row for the crochet sleeves.
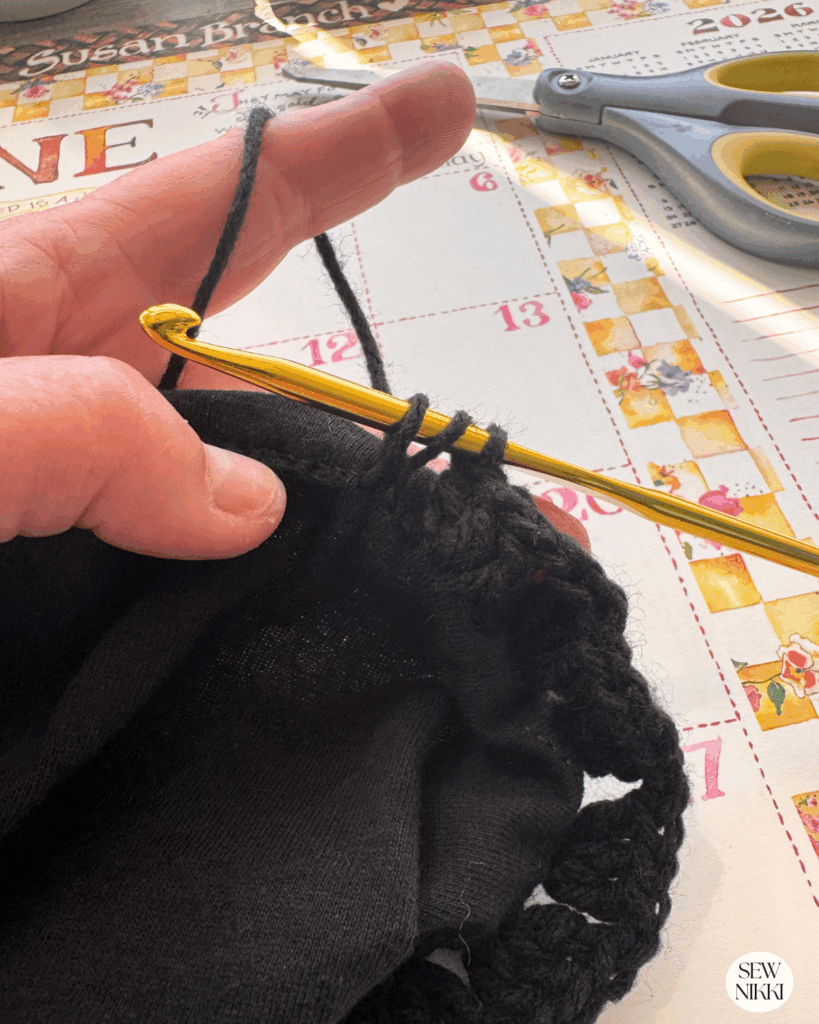
Thread yarn through your sewing needle using a needle threader.
Starting inside the sleeve, poke the needle through to the front about 1/2 inch from the sleeve edge. Leave a yarn tail inside the shirt.
Create your first yarn stitch about 1/4 inch long.
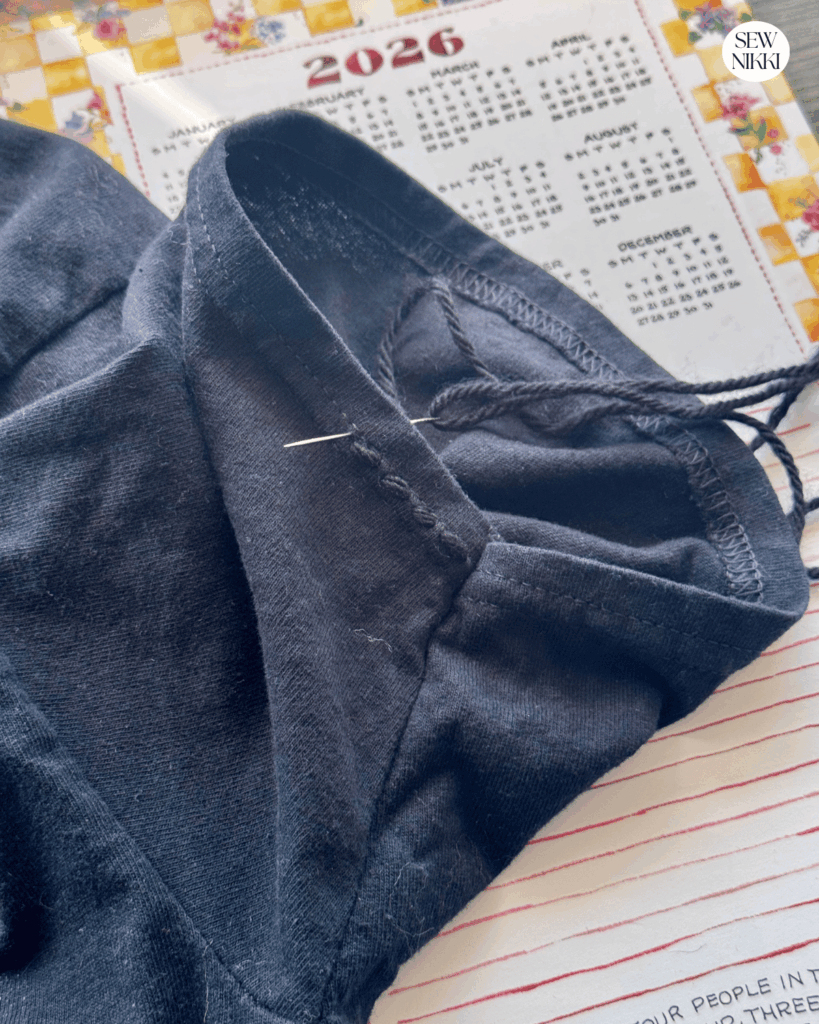
Important Note: Don’t follow the stitch distance shown in the picture above, I pulled that out and changed the spacing to an inch apart and the crochet stitch length at 1/4″.
Continue sewing stitches around the sleeve opening. Leave approximately 1 inch between each stitch.
My sample contained:
- 9 stitches on the front
- 9 stitches on the back
- 18 total foundation stitches
Note: Not all t-shirts are the same so test it first before you commit to a second round of granny clusters.
When you reach the beginning, tie the yarn tails together using a triple knot and trim the excess from the inside of the t-shirt.
You have now completed your foundation round.
Note: If you shorten the original sleeve, fold the raw edge under about 1 inch and sew it in place first.
Granny Stripe Stitch Pattern
The stitch pattern is simple.
The granny stitch is created by placing three double crochet stitches into the same stitch or chain space.
These three stitches are called a granny cluster.
You do not place any extra stitches before or after the granny cluster.
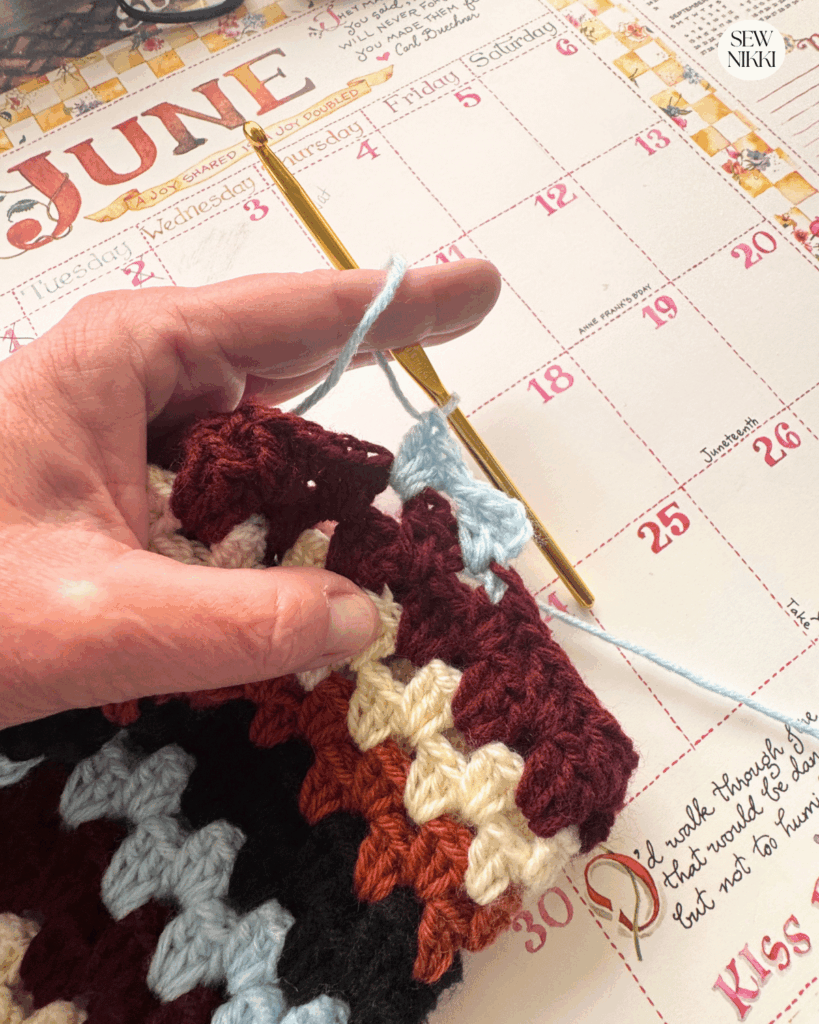
Round 1
Insert your crochet hook into the foundation stitch located near the armpit area.
Chain 3. This counts as your first double crochet.
Work 2 additional double crochet stitches into the same foundation stitch.
You now have your first granny cluster.
Continue around the sleeve by working one granny cluster into each foundation stitch.
When you reach the end, join with a slip stitch in the top of the beginning chain 3.
Additional Rounds
For future rounds, work granny clusters into the chain spaces between clusters from the previous round.
At the end of each round, slip stitch into the top of the first double crochet.
If continuing with the same color:
- Slip stitch to join
- Chain 3 (counts as your first double crochet)
- Work 2 double crochet into the same chain space to make your granny cluster
- Continue around
If changing colors:
- Tie off
- Attach new yarn
- Begin again at the armpit area
Foundation Round Tips
The foundation round is the most important part of the project.
Because granny clusters are wide, proper spacing matters.
Before completing both sleeves, make one test round on the first sleeve.
Check for:
- Puckering
- Tightness
- Excess stretching
If the sleeve puckers, your foundation stitches are probably too close together for the granny stitch. Remember, this pattern and all the instructions are specifically for this granny stitch.
We aren’t skipping any chains in the foundation row so you need to space out the stitches in the foundation round for it to work and not pucker too wide past the regular t-shirt sleeve width.
Once you are happy with the fit, complete the foundation round on the second sleeve. This helps both sleeves match.
Using chalk or invisible markers can also help keep track of stitch placement and make it easier to duplicate the second sleeve.
How to Decrease Granny Clusters
If you want the sleeves narrower in the elbow or wrist, you can decrease a granny cluster (as many as you want) in any of the rounds.
The best place for decreases is usually near the armpit area where they are less noticeable if only making one decrease.
If making two decreases in the same round, place one near the armpit and another near the top of the sleeve to even out the change in spacing.
How to decrease:
Start a double crochet in one chain space but stop halfway.
Begin another double crochet in the next chain space.
Pull through half the loops on the hook, yarn over and pull through all remaining loops on hook to complete your first double crochet in the decrease.
It also becomes the first stitch of your granny cluster. Finish the cluster with two additional double crochet stitches in the second chain space.
You have now combined two granny clusters into one. Continue adding decrease rows until you reach the desired width, spreading your decreases evenly in the round.
Get the digital pattern.
Get the instant download pattern here.
My Advice Before You Start
Do not overthink this project.
Seriously.
A crochet sleeves pattern sounds harder than it actually is. Most people get stuck because they spend hours searching for the perfect pattern instead of just starting.
Pick a basic stitch pattern. Grab a shirt you already wear. Attach yarn and start crocheting.
Worst case scenario, you frog a few rows and redo it.
That is normal.
Even experienced crocheters rip things apart all the time. The difference is we stopped acting shocked about it years ago.
If you are a first time garment maker, this project is one of the best ways to practice shaping without committing to a giant sweater that lives unfinished in a closet forever.
If You’re New Here
I’m really glad you found your way here.
If you’re new to crochet, then welcome. Learning to crochet can feel a little overwhelming at first, but it gets easier with every stitch. You’ll make mistakes, frog a few projects, and learn new techniques along the way. That’s all part of the process. If I can do it, so can you.
Here’s where to go next:
Learn to Crochet – guide for beginners
Free Pattern Index – all my free crochet patterns in one place
Digital, ad-free patterns – clean, printable, and beginner friendly
My blog is built for crocheters who want to learn new skills and make beautiful projects from start to finish. Whether you’re making your first dishcloth or your tenth blanket, you’ll find tutorials, tips, and patterns to help you along the way. Take a look around so you can find your way through the site, subscribe to the newsletter so you never miss a new pattern or tutorial, and follow along on Pinterest, Instagram, and Facebook.
Helpful Crochet Resources
Here are a few helpful videos from other crocheters on adding crochet sleeves to shirts:
- Adding crochet sleeves to a t-shirt – Chaos & Create with Jenn
- How to upcycle a shirt with crochet – Snail Boat Studio
You can also check out more crochet clothing and accessory tutorials and patterns on my site:
- Retro Granny Stripe Poncho
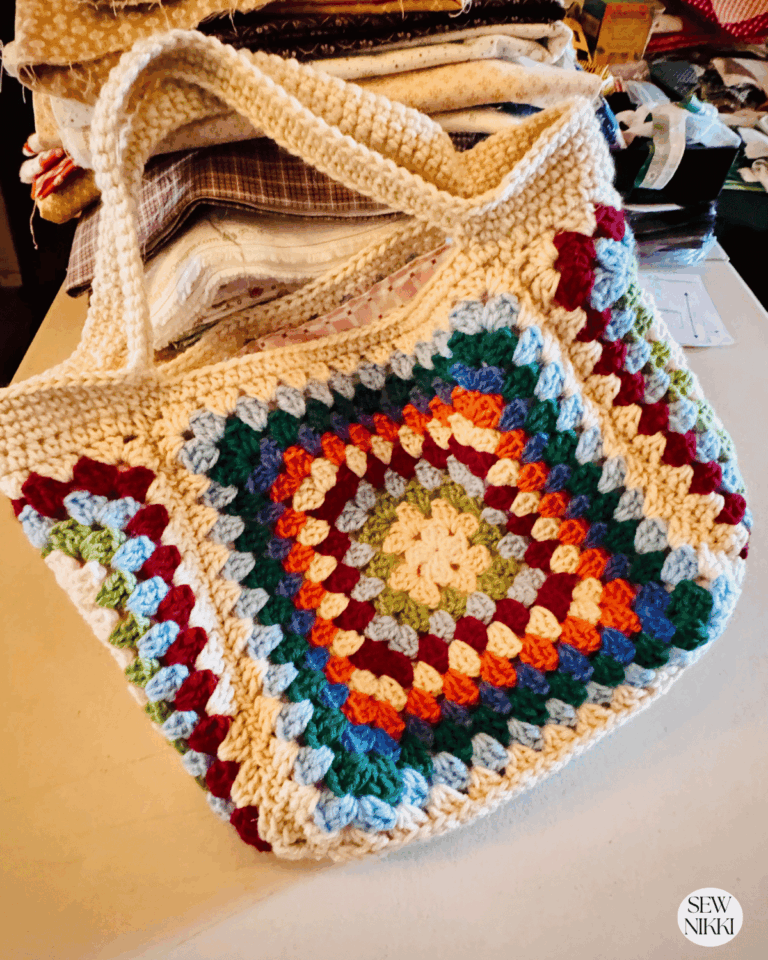
- Flower Market Bag
- Granny Hexagon Cardigan
- Granny Square Lined Travel Bag
- Ugly Christmas Sweater
- Granny Square Lined Wallet
- Easy Slippers
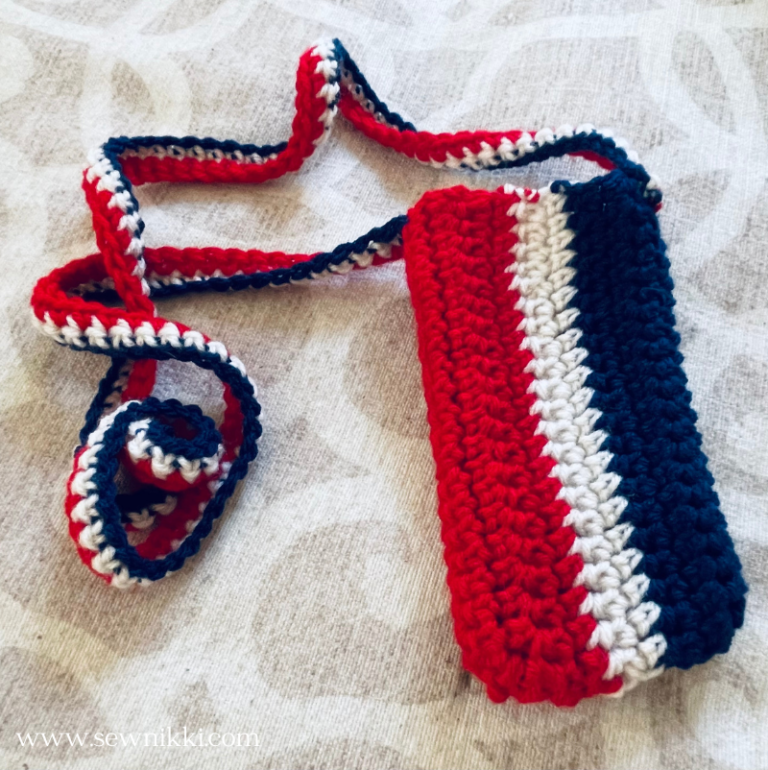
- Cell Phone Crossbody Purse
- Granny Square Lined Handbag
A simple pair of crochet sleeves can completely change basic clothes without spending a fortune. Once you make one, you will start looking at every plain t shirt and tank top in your closet like a new project waiting to be upcycled.
ABOUT SEW NIKKI
Welcome to Sew Nikki. Your place for free crochet, sewing and quilt patterns for beginner to intermediate skill levels. Want a digital pattern? We have those too! Plus tutorials to walk you through how to make each item from start to finish.
For more crochet tutorials and patterns, check out The Pattern Index.
Follow me on social media (Pinterest, Instagram, Facebook and Twitter) so you get notifications when I post new patterns and tutorials.
This post contains ads and affiliate links, which means I make a small commission at no extra cost to you. See my full disclosure here.


What a fun pattern! Thank you for sharing!
Such a great and unique idea! An awesome way to add something fun to t-shirts 🙂
I was just wondering how to make these! Thank you so much for this!
This is so fun! I have a friend who would love this pattern too.
I love it! This gives me another reason to pick up crocheting again!!
This is such a FUN idea! Thank you so much for sharing and I appreciate the clear directions. So cute!!!!