Granny Handbag: Step by Step Crochet Bag Pattern
If you haven’t seen the crochet granny square bag then you are living under a rock, crochet purses are everywhere. These trendy bags are so easy that even a beginner can make one with ease. So let me show you the step by step crochet bag pattern for the granny handbag. Just basic crochet stitches used to make this adorable project.

Bag Construction
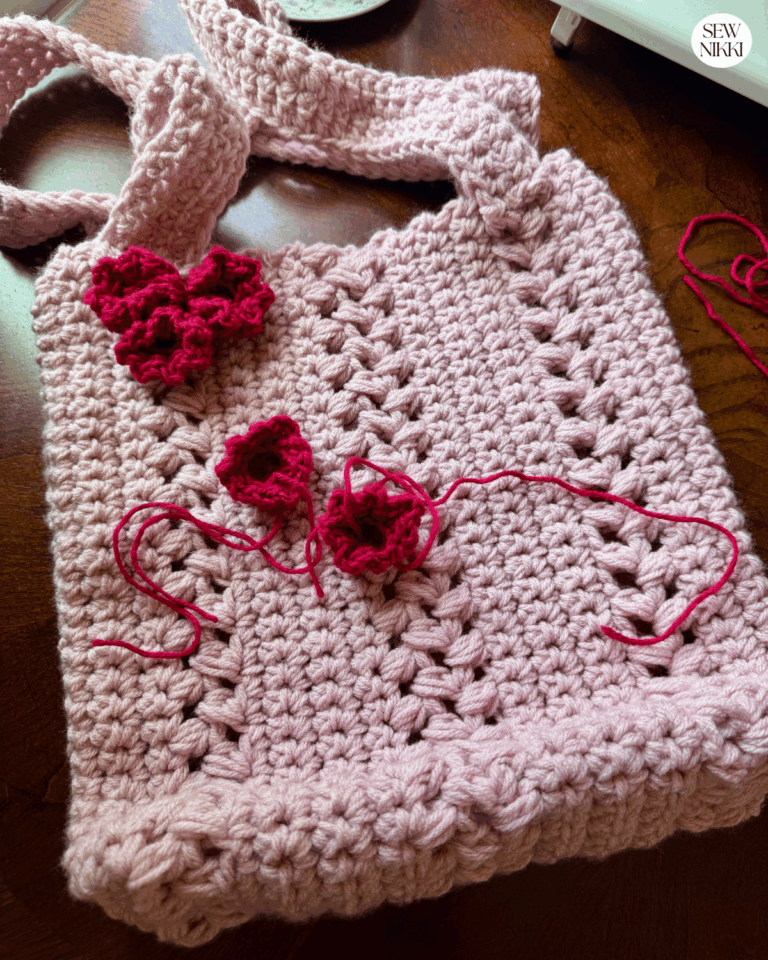
Crochet bags are a lot of fun to make, your friends will want it but you will want to keep this for your own bag! The bottom of the bag is flat so it can stand up on it’s own thanks to the rectangle units used for the base and sides. Regular granny squares are used for the front and back panels. You will need to crochet 5 pieces total and then assemble. The base, two sides, front panel and back panel. Just grab your color choices, your 5.0 mm hook and yarn needle.
Once you get the pieces made and sewn together at the base only to connect, you will probably want to add lining. Granny squares have lots of holes and you don’t want small items to fall out of your crochet bag.
Then we will sew the sides together using yarn and a yarn needle. The last step is to put a border on the top of the bag and add the crochet handles. This free pattern has instruction for granny squares and granny rectangles, how to add lining and how to crochet the top border and handles.
Now you can use cotton yarn, wool or acrylic yarn but the pattern was written for 4 weight. Just select your favorite color and add a few more for a fun colorful bag. I almost forgot to mention that this crochet bag can be used as a handbag or over the shoulder bag which is really nice.
Make sure you check this out!
After you read this post, make sure you also check out Learn To Crochet for Absolute Beginner’s. It’s jam packed with even more information, links and resources that are so helpful when you’re first learning. It also has a section with free patterns that are great for beginners. So make sure you check this out, seriously don’t forget!
Grab the Shell Stitch Afghan crochet pattern, my free gift to you when you subscribe to my newsletter. Click the link below for your copy.
Granny Handbag Crochet Pattern
Here is the step by step crochet bag pattern for the Granny Handbag with flat bottom. Please note that when you start to add lining and sew the pieces together you will work on the wrong side not the right side of bag. Once your done you will turn the back right side out.
Abbreviations Used:
ch: chain
sl st: slip stitches
sc: single crochet
dc: double crochet
hdc: half double crochet
st(s): stitch(es)
Step 1: Make Two Granny Squares
Here are two different ways you can begin your granny squares. I personally use the magic circle option but if that’s a struggle then use the foundation chain option. Both will get the job done.
Foundation Chain Option: To begin, make a slip knot and chain 4. Join the last chain with a slip stitch to form a ring.
Magic Circle Option: To begin, make a magic ring by looping the yarn around your fingers, crossing it over, and pulling one end through to create a circle. Secure the circle by making a slip knot. This will be the center of your granny square.
First Round:
- Ch 3: This counts as your first double crochet (DC).
- 2 DC into the Ring: Make 2 double crochet stitches into the center of the ring.
- Ch 2: This creates the corner space of your granny square.
- 3 DC into the Ring: Make 3 double crochet stitches into the center of the ring.
- Ch 2: Another corner space.
- Repeat: Repeat the 3 DC, chain 2 pattern two more times, and then join with a slip stitch to the top of the beginning chain 3.
Second Round:
- Ch 3: Cast on anywhere and chain three. This counts as your first DC in this round.
- 2 DC in the Same Chain Space: Make 2 double crochet stitches in the same space.
- Ch 2: Create the corner space.
- 3 DC in the Same Chain Space: Make 3 double crochet stitches in the same space. (3 dc, ch 2, 3 dc)
- 3 DC in the Next Space: Repeat this pattern (3 DC, chain 2, 3 DC) in each chain space around the square. Join with a slip stitch to the top of the beginning chain 3.
Third to Eleventh Round:
Cast on anywhere and chain three. Make 2 double crochet stitches in the same space to create the corner. Make another 3 double crochet stitches to finish the corner. Repeat this pattern (3 DC, chain 2, 3 DC) in each corner chain space around the square. Make 3 double crochet stitches in all side chain spaces. Join each round with a slip stitch to the top of the beginning chain 3. Feel free to change colors after completing a round for a vibrant, multicolored granny square.
Make 2 granny squares, one for front panel and one for back panel. For more practice with granny projects, take a look at my Granny Ripple Crochet Pattern.
If this is your first time making granny squares, please feel free to read my how to crochet easy granny squares for beginners.
Step 2: Make Three Granny Rectangles
You will make three total: one for each side and one for the bottom of the bag. The tip with rectangles is that you only add the special (3 dc, ch 2, 3 dc) on the corners only with the exception of the first round which is the hardest. The sides of the rectangle all get 3 dc with no sc sts in between.
Foundation Row:
Chain 17, turn. Starting in the third chain from hook, single crochet in all stitches to the end. Chain 3, turn. (This chain 3 counts as the first double crochet in first round).
First Round:
Add 2 double crochets in first chain, skip 2 chains, (3 double crochets, skip 2 chains). Repeat to end. In the last chain (3 double crochets, chain 2, 3 double crochets, chain 2, 3 double crochets).
Continue on other side, skip 2 chains, 3 double crochets in same chain, skip 2. Repeat to end. In last chain place (3 double crochets, chain 2, 3 double crochets, chain 2). Slip stitch into the top of the starting double crochet to join. Tie off, knot, snip with scissors. Leave a long tail to weave in later.
Second to Fifth Round:
Cast on new yarn color on the opposite side of your work. Start in the upper left hand corner. Cast on and chain 3 (counts as a double crochet). In the same ch sp add 2 double crochets, skip 2, (3 double crochets in same chain space, skip 2) repeat to end. Nest, in the corner chain space (3 double crochets, chain 2, 3 double crochets). In next corner chain space (3 double crochets, chain 2, 3 double crochets).
Continue on other side. Place 3 double crochets in each chain space from previous row, repeat to end. In corner chain space (3 double crochets, chain 2, 3 double crochets). In next corner chain space (3 double crochets, chain 2, slip stitch into the top of the starting double crochet to join.
All three pieces should have 5 rounds. If this is your first time making granny rectangles, please look at my Granny Rectangle Tutorial.

Step 3: Sew Pieces Together At Base Only
Layout your granny pieces with the rectangles in one row and the granny squares above and below. Take your yarn needle and a long piece of yarn and attach the pieces together at the base only. Place yarn needle through both loops on the outer borders of each unit after you match your pieces together. Continue connecting until done. Please refer to the photo below on what this looks like.
Step 4: Add Lining
Lay your fabric under your bag that has been sewn along the bottom edges to form the beginning of your bag. Using the bag as your guide, leave 1/2″ of extra fabric and trim the fabric using scissors. Using sewing pins, turn the edge of the fabric under and pin inside the bag making sure you don’t cover the out edge of your granny units.

Attach the fabric by hand sewing using a sewing needle and thread. Fold the fabric under 1/2″ along the edge to give it a nice clean look. Then hand stitch along to outer edge of the bag with a sewing needle and thread. Go all the way around the outside of the bag until done.
This lining will help reinforce the bag and cover up the open spaces from the granny design. Plus it adds a nice punch of color which is always a good thing. You can buy a yard of fabric at your local fabric store or craft store. You can even recycle a sheet or pillow case(s) to do this part.

Step 5: Assemble the Bag
Turn bag inside out so you the lining is facing you and sew the sides of the bag together. Match up the sides and then go through both chains of each stitch on both pieces to attach. Weave in the yarn tails when all done.

Step 6: Top Border and Handles
Last set of written instructions for the top border and handles. The half double crochets help to even out the top of the bag. The single crochet stitches are tight and are the best stitch for the handles.
1 Row:
Cast on to the top of the bag when your front panel granny square is connected to the side rectangle and place a hdc in all sts. Then sl st into the top of the first st.

2 Row: The handles will begin on the fourth ch from the sides of each granny square. Work a sc all sts but in these stitch you will stop, chain 40 and then cast your hook back onto the bag in the third ch from the side of the granny square. Continue placing a sc in each stitch until you reach the other granny square and start and stop your handle in the fourth ch from the outside of each square. Sl st into the starting sc when done.
3-4 Row:
Repeat instructions for row 2.
Once you understand how to put the bag pieces together, you can try making different bags for your next crochet project. Examples would be a crochet beach bag, crochet totes, market bags, or a farmers market bag. Just google “easy crochet bag pattern” and see what comes up. Or make your own pattern just like I did. This is such a cute bag, I’m keeping this one but it would make a perfect gift because it’s the perfect size bag. Worsted weight yarn is strong and durable, just watch out for snags.
Get the digital pattern.
Get the instant download pattern from my shop here.
Crochet Bag Accessories
For more info on store bought bag accessories that make your handmade crochet bags more polished, check out this post. It has links to where you can buy everything too.
Need More Inspiration?
Lots of people find inspiration on Pinterest but for crocheters, you will find the best inspo on Instagram.
Catherine Neil (crafted.by.cat)
There’s lots more, they are only a few. The pride you will feel along with the sense of accomplishment will leave you grinning all day. Have fun and please share your makes. I really look forward to seeing them.
If You’re New Here
I’m really glad you found your way here.
If you’re new to crochet, then welcome. Learning to crochet can feel a little overwhelming at first, but it gets easier with every stitch. You’ll make mistakes, frog a few projects, and learn new techniques along the way. That’s all part of the process. If I can do it, so can you.
Here’s where to go next:
Learn to Crochet – guide for beginners
Free Pattern Index – all my free crochet patterns in one place
Digital, ad-free patterns – clean, printable, and beginner friendly
My blog is built for crocheters who want to learn new skills and make beautiful projects from start to finish. Take a look around so you can find your way through the site, subscribe to the newsletter so you never miss a new pattern or tutorial.
Helpful Crochet Resources
Lots of people find inspiration on Pinterest but for crocheters, you will find the best inspo on Instagram.
Catherine Neil (crafted.by.cat)
More Patterns You May Like
- Retro Granny Stripe Poncho
- Flower Market Bag
- Granny Square Lined Travel Bag
- Ugly Christmas Sweater
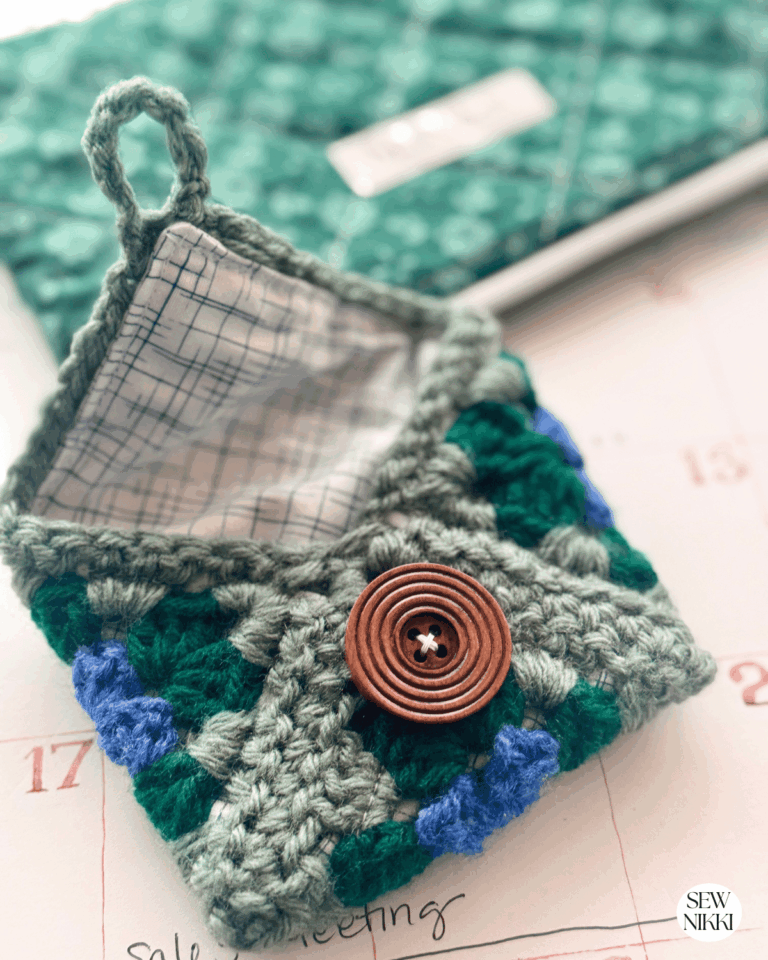
- Granny Square Lined Wallet
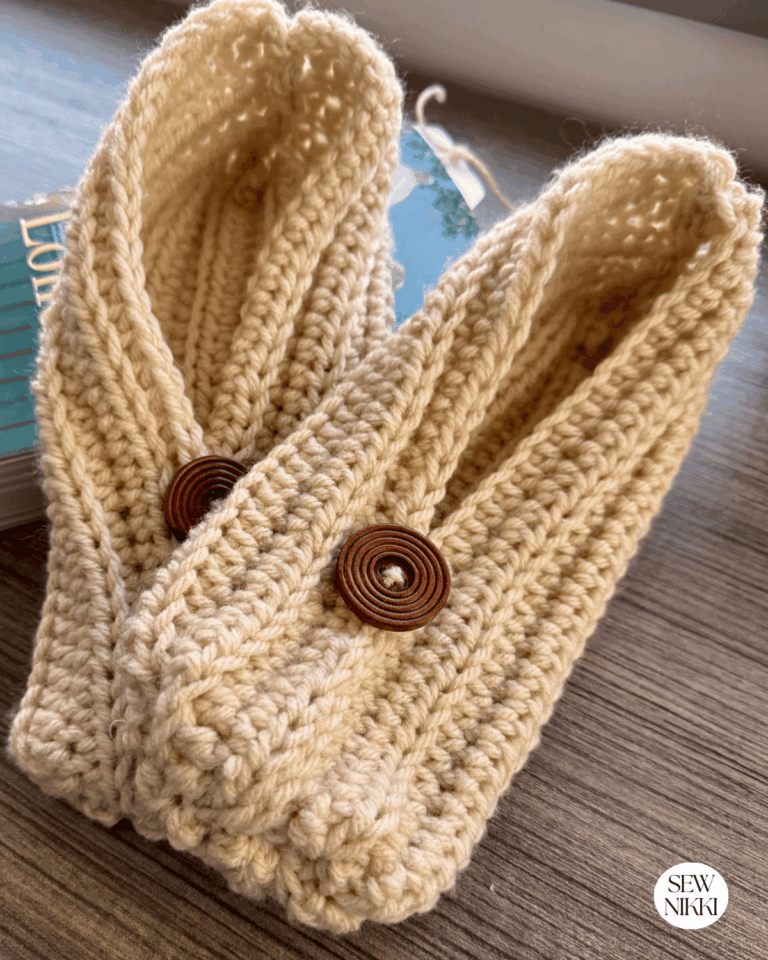
- Easy Slippers
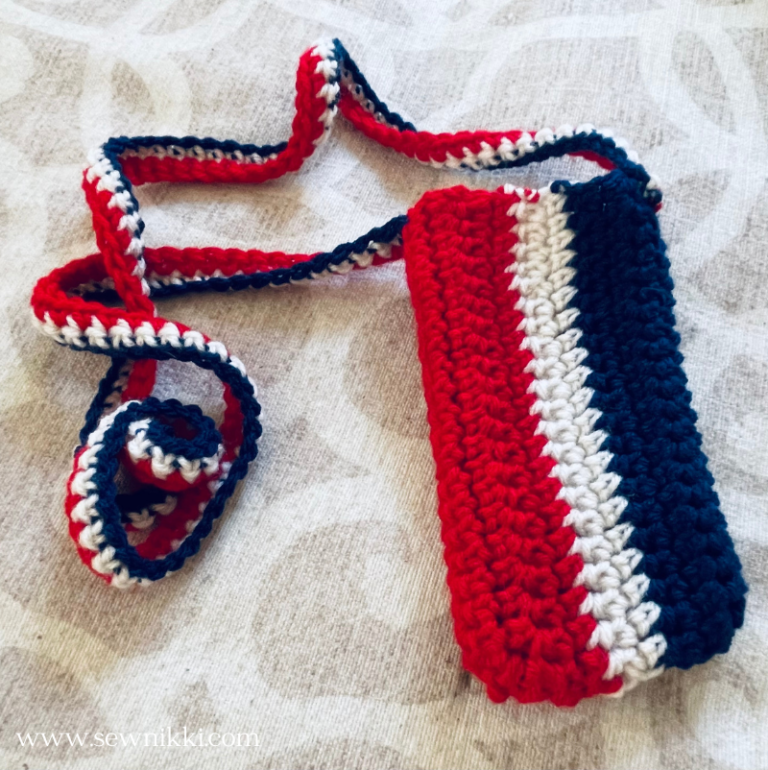
- Cell Phone Crossbody Purse
- Crochet Sleeves Pattern for T-Shirts
ABOUT SEW NIKKI
Welcome to Sew Nikki. Your place for free crochet, sewing and quilt patterns for beginner to intermediate skill levels. Want a digital pattern? We have those too! Plus tutorials to walk you through how to make each item from start to finish.
For more crochet tutorials and patterns, check out The Pattern Index.
Follow me on social media (Pinterest, Instagram, Facebook and Twitter) so you get notifications when I post new patterns and tutorials.
This post contains ads and affiliate links, which means I make a small commission at no extra cost to you. See my full disclosure here.


This is so cute and would be such a fun fall/winter project!
Aww! This is too cute!!
This is so stinkin’ cute!! What a great gift idea!!
Very cute and talented! My daughters would love to make something like this!
This is a great guide! And such a cute bag!
This is beautiful!! And great, easy to follow instructions. Thanks from sharing this great project 😉
This is too cute! My girls can crochet but I’ve never been very good at it. I may have to give this a try though..a good winter project!
That is adorable! Someday I will learn this hobby!
You make such beautiful crafts, I love hanging out on your site! This Granny handbag is beautiful and I really want to make one. Thanks so much for sharing this pattern! I’ll be saving it for one of those long winter nights!
This is so cute! It would make the perfect gift bag for presents.
This granny-square bag looks like such a fun project! Saving for later.