How to Finish an Unfinished Quilt With Imperfections
Today’s blog post is how to finish an unfinished quilt when it has imperfections. Imagine your moving to another state after living in your family home for decades. Discovering an old quilt top tucked away in a closet, but it’s not just any quilt. It’s your first quilt and was never finished. Plus it’s 40 years old.
The quilt started with Teresa, her one and only attempt at quilting. She’s a friend of my mom’s, and in turn a friend of mine too.
My mom told me the story about the long long quilt top and asked if I would be willing to finish it. I had never finished someone else’s quilt before. I honestly wasn’t sure what I would find inside the box.
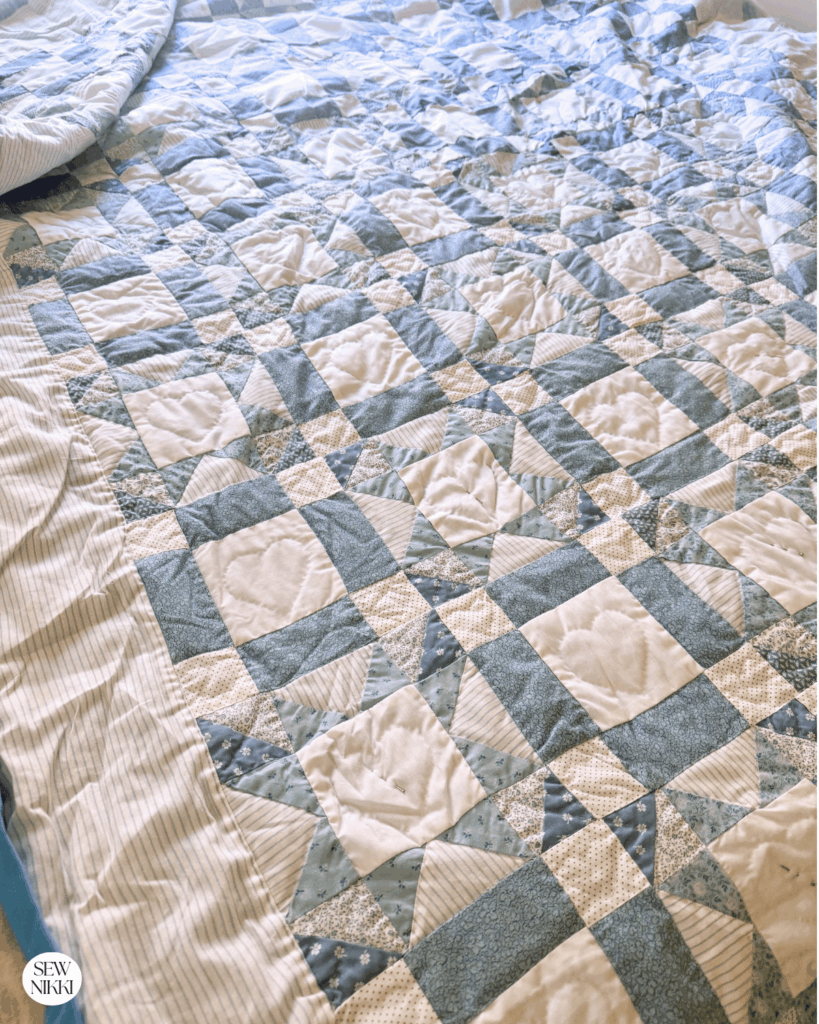
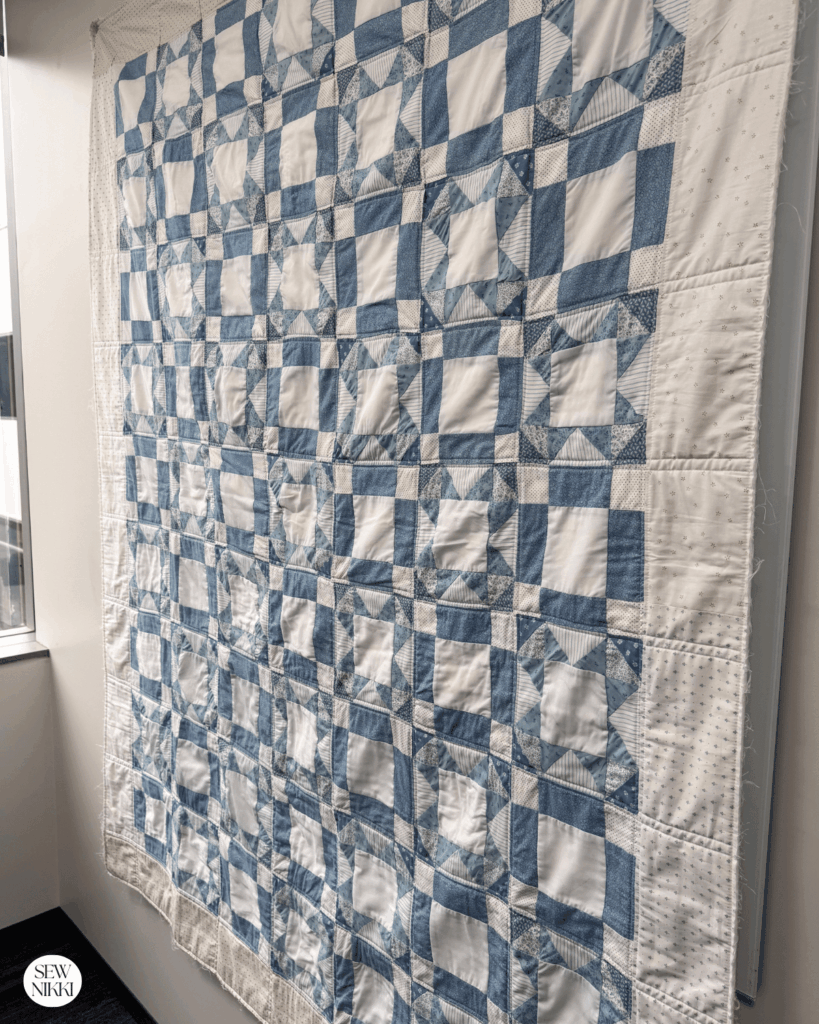
First off, the blue and white quilt was so beautiful. She had different fabrics in blue that gave it a scrappy look but a nice mellow color palette. And for someone who loves colorful scrappy quilts, it makes me want to make my own quilt in these colors.
Overall, what I found was a quilt full of beginner mistakes, brave quilt choices, and a whole lot of heart. In the end, it became one of the most rewarding quilting projects I’ve have ever completed.
Inspect an Unfinished Quilt Before Doing Anything
My mom mailed the unfinished quilt to me and I was excited to see it. The first thing I did after opening the box was spread the quilt out on a large flat surface.
This step is worth taking your time with because it helps you make a plan before changing anything.
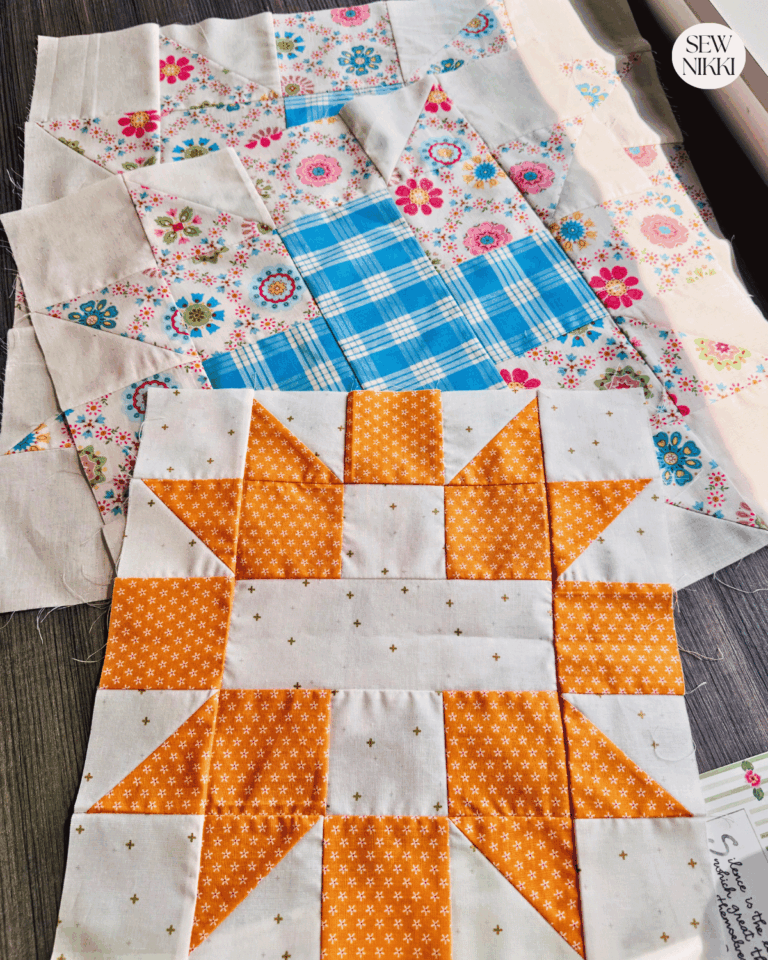
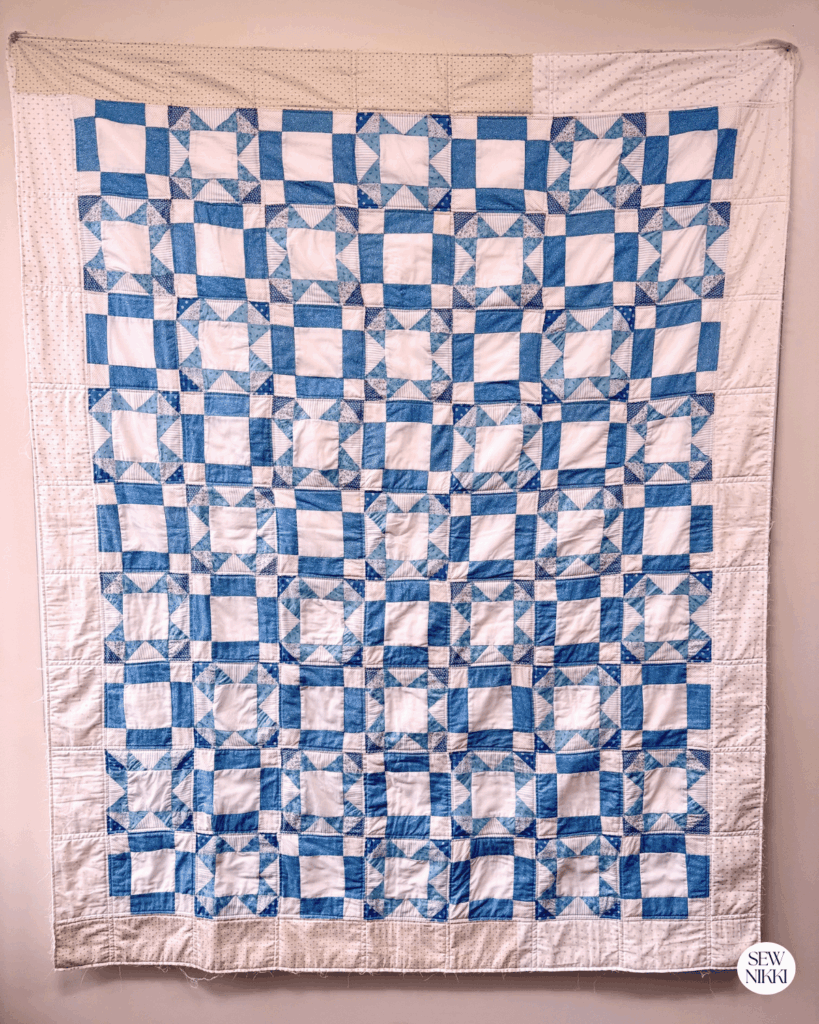
The quilt was made with two alternating blocks, Sawtooth Star quilt blocks and a simple square blocks with cornerstones and borders.
Most beginners start with a basic charm square quilt. Teresa was very brave to try these blocks as a new quilter.
There were also several things that immediately stood out.
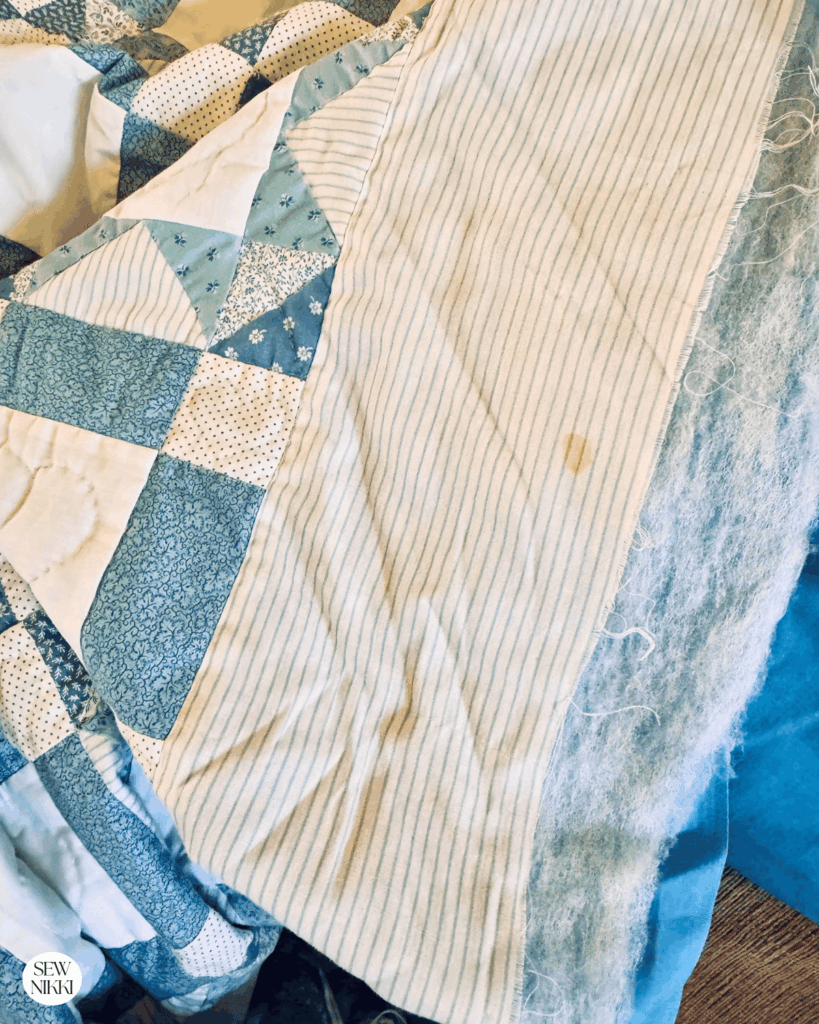
About one quarter of the quilt had already been hand quilted. Unfortunately, that quilting had to come out.
The quilt sandwich had wrinkles trapped underneath, and quilting over wrinkles only locks them in forever. No amount of washing would fix them later.
It took time to carefully remove all of those stitches, but it was the right decision.
MAKE SURE YOU CHECK THIS OUT!
After you read this post, make sure you also check out Learn How to Quilt for Absolute Beginners. It’s jam packed with information to make your first quilt. It also has links and resources that are so helpful when you’re first learning. There’s lots of free quilt patterns that are great for beginners and all skill levels too. So make sure you check this out, seriously don’t forget!
Grab a free Quilt Planning Journal. It’s filled with graph paper and note pages to help you design at least 4 project! Pin in fabric swatches, photos of your finished items and enjoy your creative process!
Common Beginner Quilting Mistakes I Found
One thing I love about this quilt is that it shows exactly what many beginners struggle with.
None of these mistakes made the quilt beyond saving. It stressed me out but only changed how I approached finishing it.
Seam allowances were too large
Many of the seams measured larger than 1/4″. My guess is that Teresa either wasn’t using a quarter inch quilting foot or she may have been following the wrong line on her sewing machine’s needle plate.
When seam allowances change even slightly, quilt blocks finish at different sizes. That made lining up rows much harder.
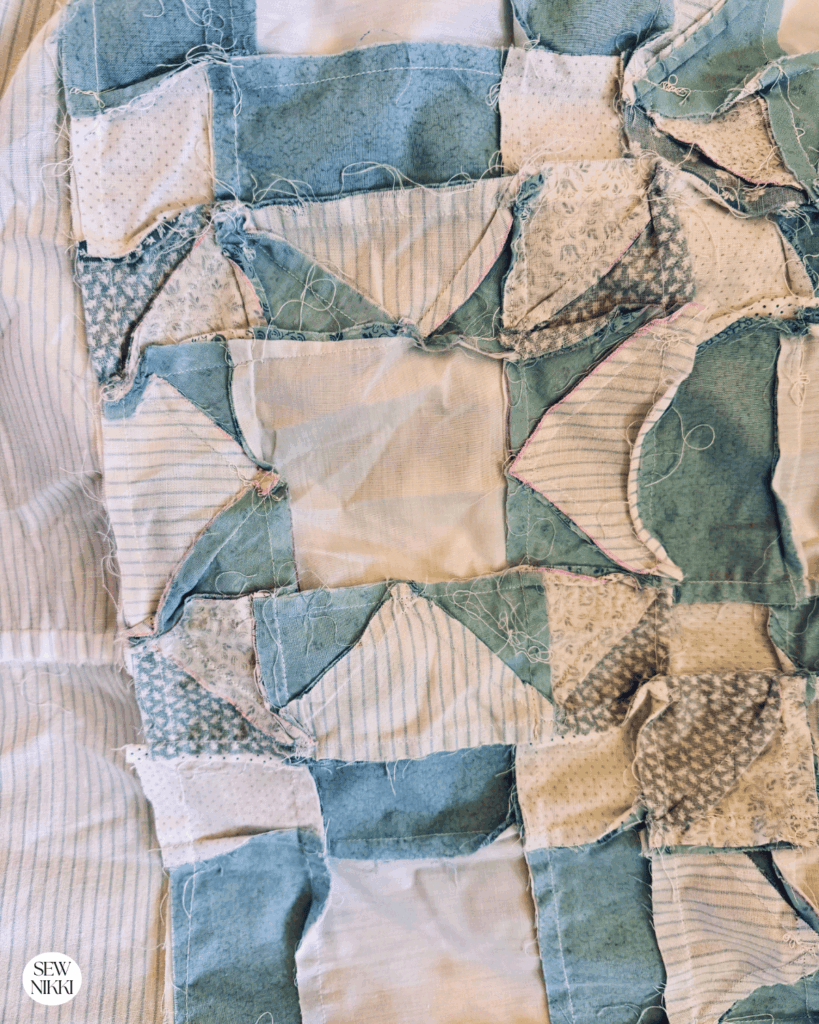
The points didn’t always match and many seams refused to nest together. That is completely normal for a first quilt.
The seams were not nested
Instead of taking sections apart and resewing them, the rows had been sewn together anyway. That created bumps and fullness throughout the quilt top.
Again, this is something many beginners experience. Sometimes the goal is simply to keep moving forward.
Fabric pieces may be wrong size
One of the biggest challenges came from the fabric pieces themselves.
Several of the white center squares appeared to be cut slightly off size. Why? Because you can see the extra fabric puffing and rippling in the photo below.
Or because the imperfections of the other block units were off, you could see the error the most in the center. If you try to machine quilt over the puffy parts, it would make it look worse and draw attention there.
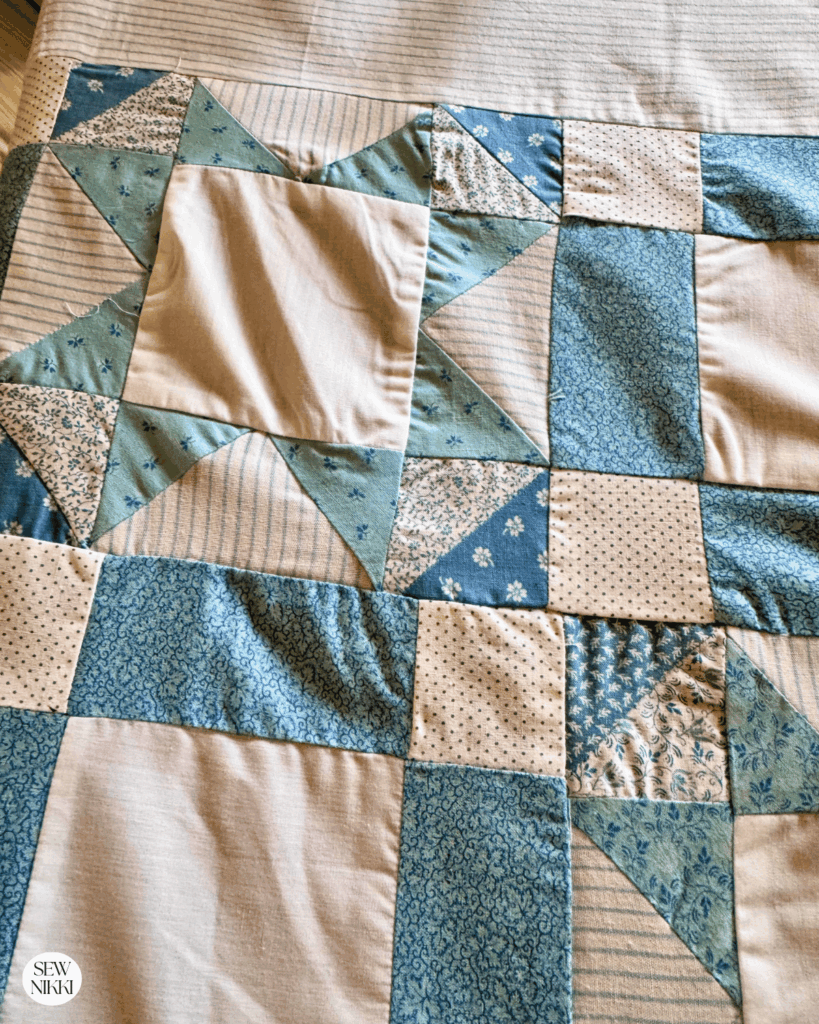
Even being off by a small amount can cause problems as the quilt comes together. When pieces aren’t cut accurately, blocks finish at different sizes and rows become harder to line up. Or when you have multiple errors in each unit of the block it will throw everything off.
Because the quilt top had already been assembled, replacing those center squares was not an option. Instead, I focused on making the rest of the quilt as flat as possible and chose a quilting design that avoided stitching through the rippled centers whenever possible.
This is a good reminder for beginners that taking a little extra time to cut fabric accurately and using quality quilting cotton can make assembling your quilt much easier later on.
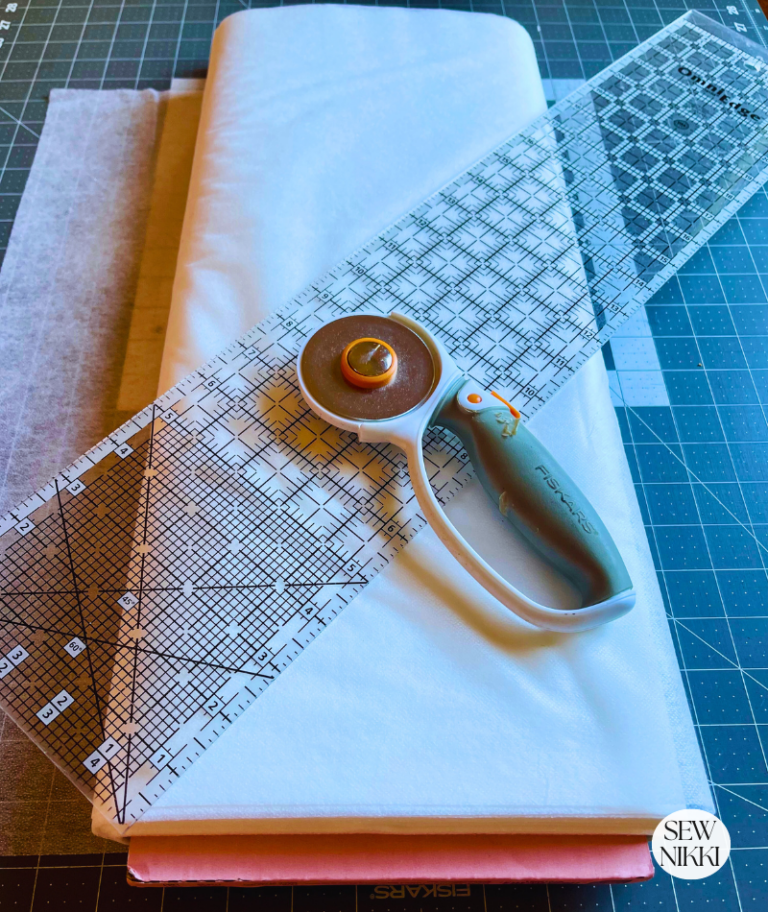
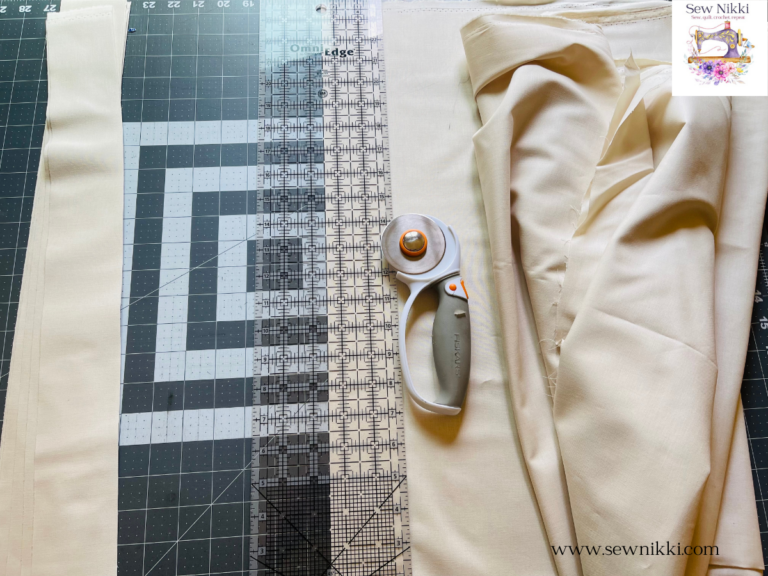
Cutting fabric with a rotary cutter and quilting ruler works best, just make sure you are looking at the correct measurement on the ruler before cutting to ensure the right measurement.
Then trim up all the quilt blocks so they are the same size before making rows and joining them together. This is how you get a nice flat quilt, when everything is the correct size.
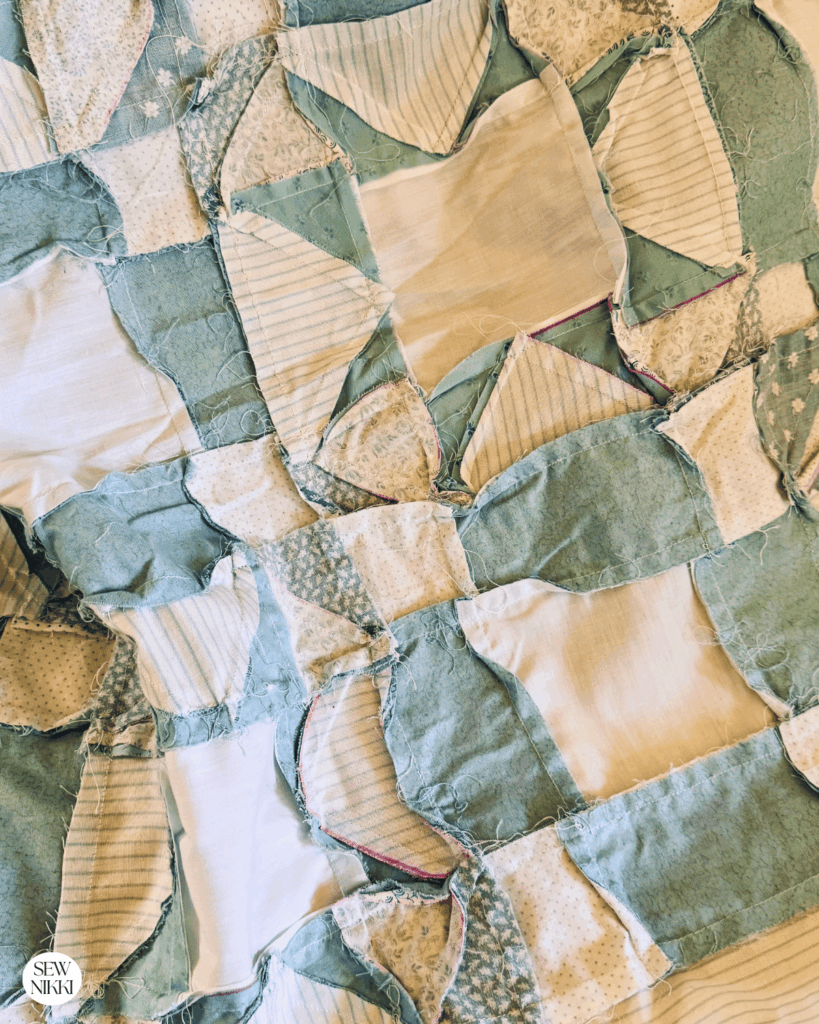
Use a pencil to mark your fabric
When you make half square triangles and need to draw the diagonal line on the wrong side of your fabric, make sure you use the right marking tool.
Some of the block markings had been made with a purple felt tip pen (shown above). Just use a standard pencil to mark diagonal lines for half square triangles. It works just fine.
After all these years, some of those lines were still slightly visible from the right side of the quilt. Thankfully they were light enough that I decided to leave them alone rather than risk damaging the fabric.
Iron quilt blocks as you go
New quilters often don’t think about this one but pressing the blocks as you go is really helpful. Why? If something is off, you will notice it right away and can fix it. Beginners use seam rippers the most out of all their sewing supplies for a reason.
When nesting your seams, make sure your are nesting in the correct direction. Just look at the back side of the block and keep it consistent.
I like to press the seams from the back of the block first. Then I will iron the front of the block. This helps a ton.
Making a Plan Instead of Chasing Perfection
Once I understood what I was working with, I stopped thinking about making this quilt perfect. That was never the goal.
The goal was to finish Teresa’s first quilt so she could finally enjoy using it and show it off to her family and friends. Sometimes that mindset makes all the difference.
Not every quilt needs to win ribbons. Some quilts simply need to come home.
The Changes I Made
The first major decision was removing the original border. Even though it had beautifully mitered corners, something I still don’t do myself, the fabric was just too thin.
Also, the length of the borders may have been slightly off causing them to ripple as well and not lay flat.
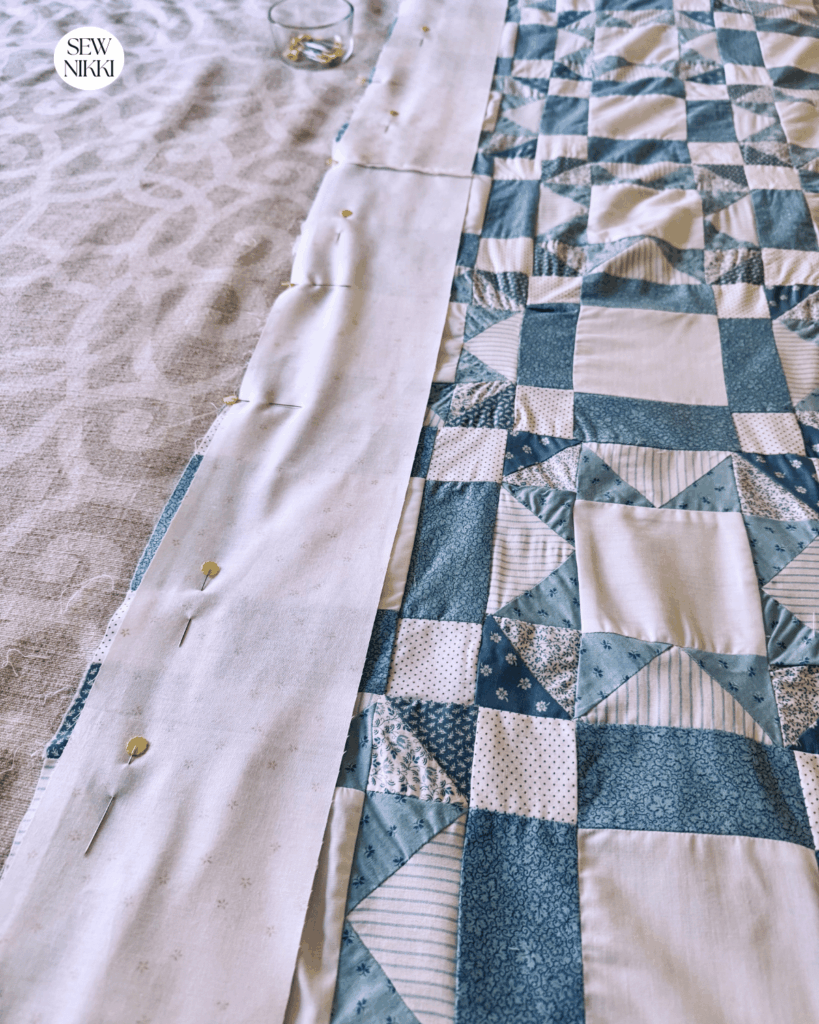
I replaced it with quilting cotton from my own fabric stash. I didn’t buy a single piece of fabric for this project.
The new border became a scrappy mix of low volume white, cream, and light beige prints that blended nicely with the original quilt.
I also replaced the polyester batting with Warm and Natural cotton batting, which is one of my favorites because it gives quilts a soft, natural feel without too much loft.
The original blue sheet backing also came off.
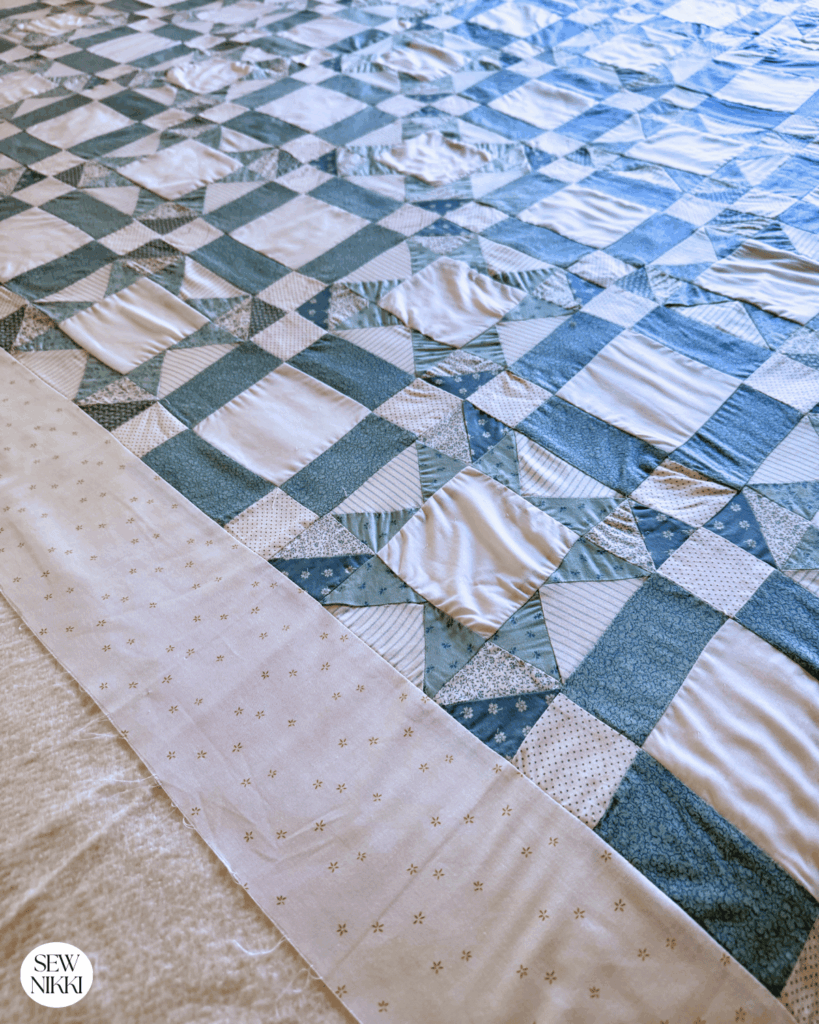
Instead, I pieced together a scrappy backing using leftover border fabric along with more low volume prints from my stash.
It matched the quilt much better, tied the quilt top fabric with the backing and gave it some personality.
Choosing the Right Quilting Design
The ripples inside the centers changed my quilting plan. I knew from doing lots of quilts that it would be bad to quilt through the center or even around them.
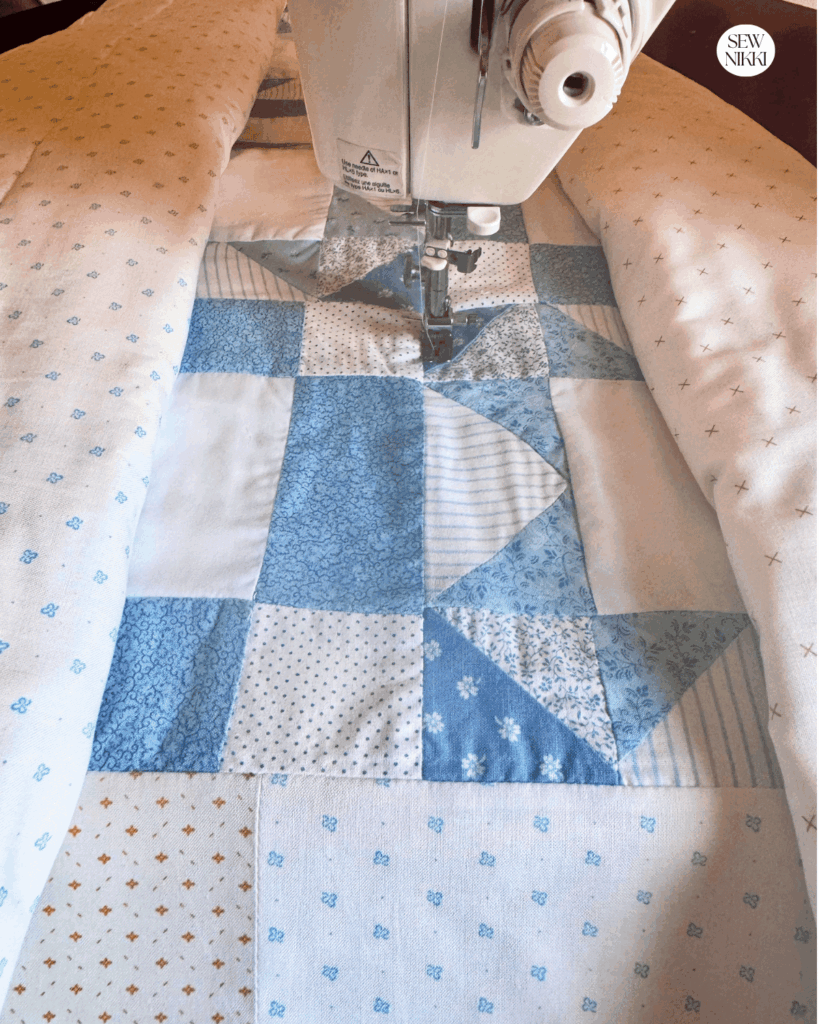
Instead of quilting through the middle of every block, I decided to avoid those areas whenever possible.
I chose simple straight line machine quilting going both directions across the quilt.
Simple quilting was exactly what this quilt needed. Just quilting 1/4″ from the outer block seam lines on both sides in both directions.
It secured all three layers together without pulling extra fullness into the center blocks.
Sometimes the easiest quilting design is also the smartest one.
Finishing the Quilt
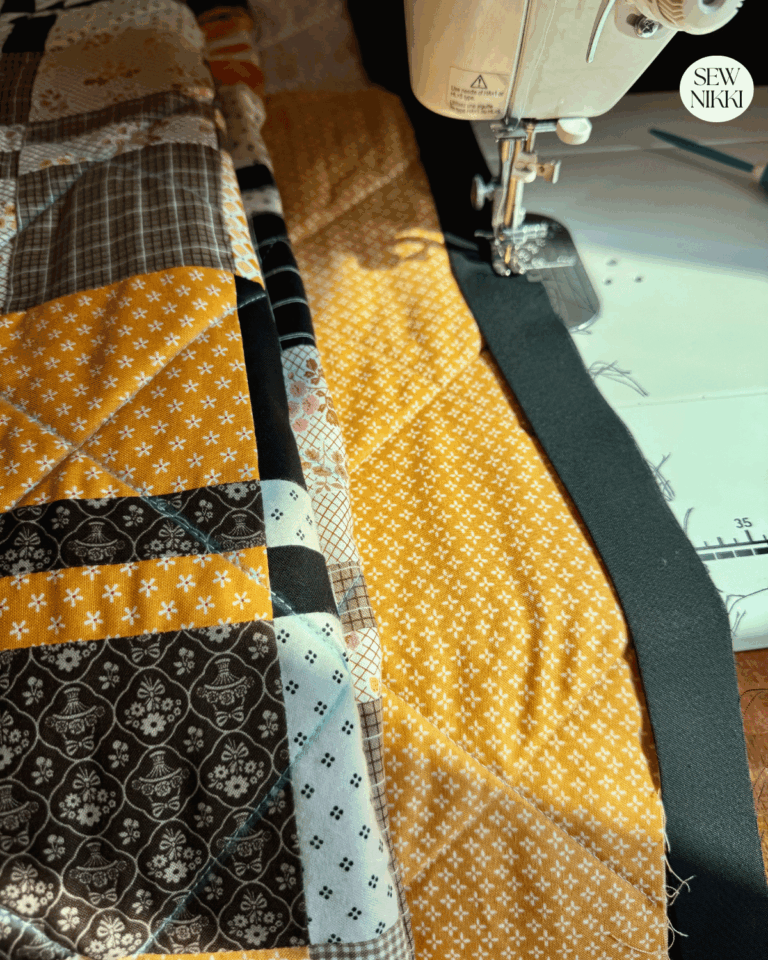
After quilting, I trimmed away the extra batting and backing and attached a 2.5″ white cotton binding. I always like attaching my binding to the back first before finishing it by machine on the front.
For the first wash, I took the quilt to the laundromat. I washed it on a gentle cycle using cold water with two Shout Color Catcher sheets.
Then I dried it on medium heat for about 20 minutes before hanging it over my bedroom door to finish air drying. A beach towel over the top of the door helped prevent any marks while it dried completely.
Once it was finished, I folded it carefully, packed it back into the same box my mom originally mailed to me, and shipped it to Teresa at her new home.
What This Quilt Taught Me
This project reminded me that quilts do not have to be perfect to become family treasures. Every mistake tells part of the story. Crooked seams, uneven blocks, visible markings, and ripples.
Those things did not erase the care Teresa put into making her very first quilt. If anything, they made finishing it even more meaningful.
This was my first experience finishing someone else’s quilt. It challenged me in ways I didn’t expect, but it also reminded me why I love quilting. Helping another quilter finally see her first quilt finished after 40 years felt incredibly rewarding.
Teresa has always been one of my mom’s closest friends. Over the years she has become my friend too. Now we share something special together.
Her first quilt finally came home.
Tips if You Are Finishing Someone Else’s First Quilt
If someone asks you to finish an unfinished quilt, keep these tips in mind.
- Inspect everything before making changes.
- Decide what can realistically be improved.
- Don’t chase perfection.
- Replace fabrics only when necessary.
- Press carefully before quilting.
- Pick a quilting design that works with the quilt instead of against it.
- Focus on creating a quilt that will be loved and used.
Sometimes the greatest success isn’t making an old quilt look new.
Sometimes it is simply giving someone the chance to wrap themselves in a dream they started decades ago.
If You’re New Here
I’m really glad you found your way here.
If you’re new to quilting, then welcome. The learning curve is fast, and yes, you will face challenges. But I’ve got you. If I can do it, so can you!
Here’s where to go next:
- Learn to Quilt Page – every step of making and finishing a quilt
- Free Pattern Index – all my free patterns in one place
- Digital, ad-free patterns – clean, printable, and beginner-friendly
My blog is built for the home sewist and quilter who wants to make a quilt from start to finish all by themselves. Take a full tour of this blog so you know your way around. Subscribe to the newsletter so you don’t miss out on new patterns or tutorials. And follow me on Pinterest, Instagram and Facebook.
More Resources You May Like
- Choosing the Perfect Thread Color for Quilting
- How to Finish a Quilt: Basting, Backing, Quilting, Binding
- How to Make Frakenbatting with Batting Scraps
ABOUT SEW NIKKI
If this is your first time stopping by, welcome! Your place for free crochet, sewing and quilt patterns for beginner to intermediate skill levels. Want a digital pattern? We have those too! Plus tutorials to walk you through how to make each item from start to finish.
Follow me on social media (Pinterest, Instagram, Facebook and Tik Tok) so you get notifications when I post new patterns and tutorials.
Looking for your next quilt project? Then head on over to my free “Pattern Index”. It’s a page dedicated to all of my free patterns separated by categories for crochet, sewing and quilting.
If you prefer an ad-free printable version, head over to my shop and browse the Digital Patterns. These are instant digital downloads you print yourself.
This post contains ads and affiliate links, which means I make a small commission at no extra cost to you. See my full disclosure here.