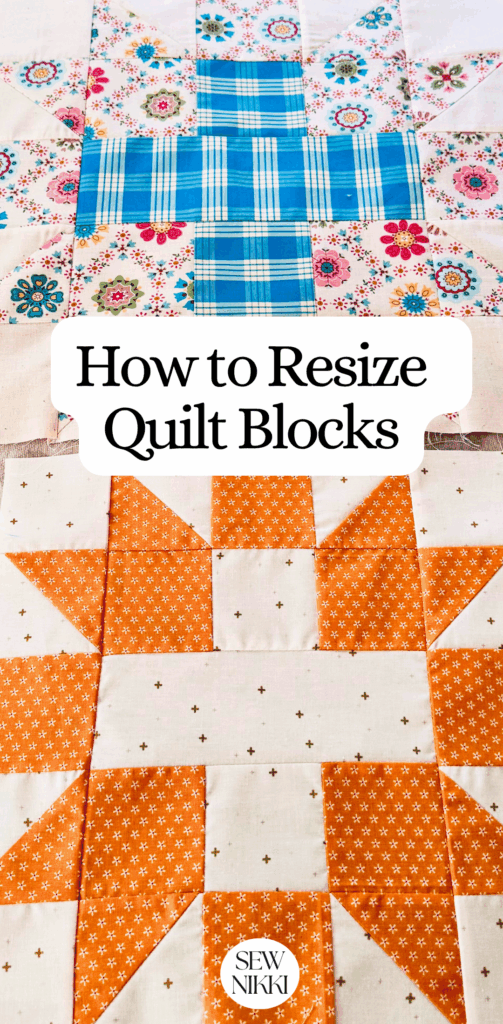
How to Resize a Quilt Block & Make It Bigger
Have you ever wanted to know how to resize a quilt block to make it bigger? You love traditional quilt blocks but the standard size makes the quilt look dated. And you just want it bigger, cleaner, and a little more modern.
Good news. You don’t need a fancy formula, a special ruler, or a math degree.
You just need to stop overcomplicating it.
I resize quilt blocks all the time, and here’s the truth: it’s not about perfection, it’s about using simple math, test blocks, and keeping your sanity intact.
Let’s break it down the way real quilters actually do it.
The Real Way to Resize a Quilt Block
Here’s the method I use every single time:
- Start with your original block layout
- Pick a new square size (always whole or half inches)
- Multiply the square size by the number of columns
- Subtract seam allowances
That’s it.
No overthinking. No guesswork.
MAKE SURE YOU CHECK THIS OUT!
Grab a copy of my free Quilt Planning Journal. It’s filled with graph paper and note pages to help you design at least 4 quilt or sewing projects! Pin in fabric swatches, photos of your finished quilts and enjoy your creative process!
Step 1: Count Your Grid (Don’t Skip This)
Every quilt block sits on a grid.
The Sister’s Choice quilt block is a:
- 5 x 5 layout
That means:
- 5 squares across
- 5 squares down
If you don’t know your grid, you’re already off track.
Step 2: Pick a New Square Size (Stop Choosing Weird Numbers)
Here’s where people mess up.
They pick random sizes like 3.75 inches and then wonder why everything goes sideways.
Don’t do that.
Stick with:
- Whole inches (3″, 4″, 5″)
- Half inches (3.5″, 4.5″)
That’s it. Your future self will thank you.
Step 3: Multiply Across
Now take your square size and multiply it by the number of columns.
Example:
- 4.5″ squares × 5 columns = 22.5″
That gives you your raw block size before seam allowances.
I already know that my sweet spot for large modern quilt blocks is around 16″ to 18″ but my 22″ test block is pretty cool too. That’s why I like to make the test block from scraps to see what it looks like on my bed.
Step 4: Subtract Seam Allowances (This Is Why Your Block Is Always Smaller)
Every seam eats fabric. Always.
For quilt blocks:
- Each seam = 1/4 inch
- Multiple seams = multiple losses
So your finished block will ALWAYS be smaller than your original multiplication number.
That’s normal. Stop trying to fight it.
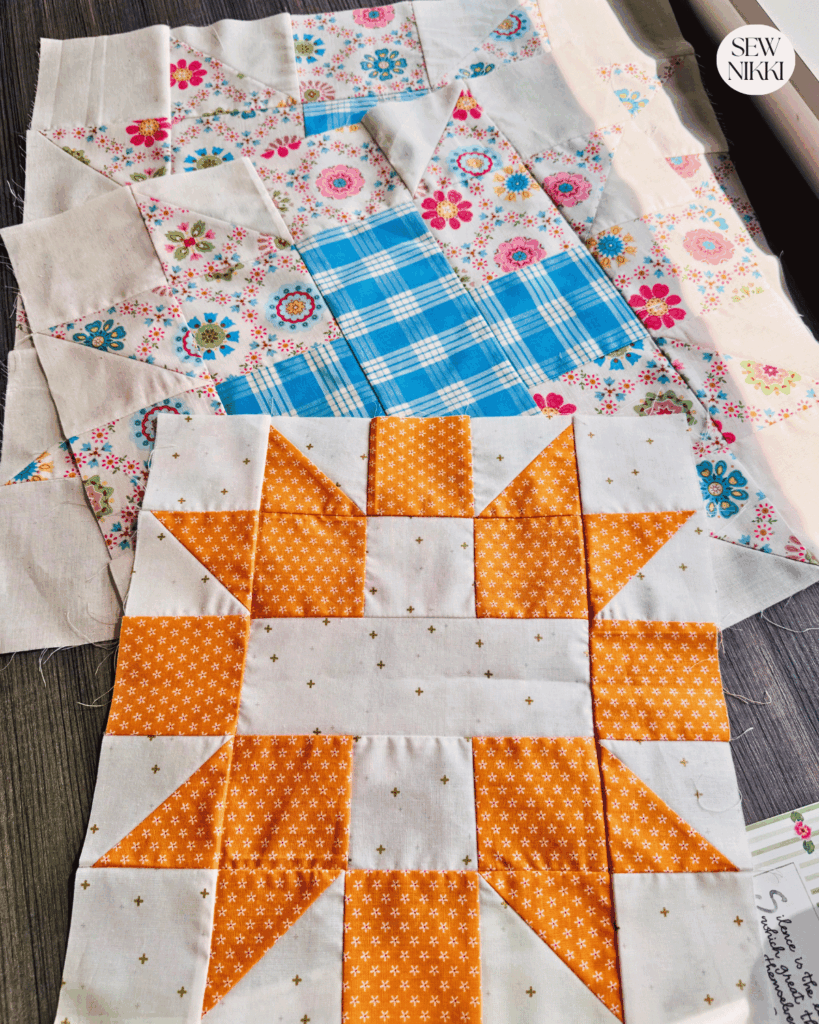
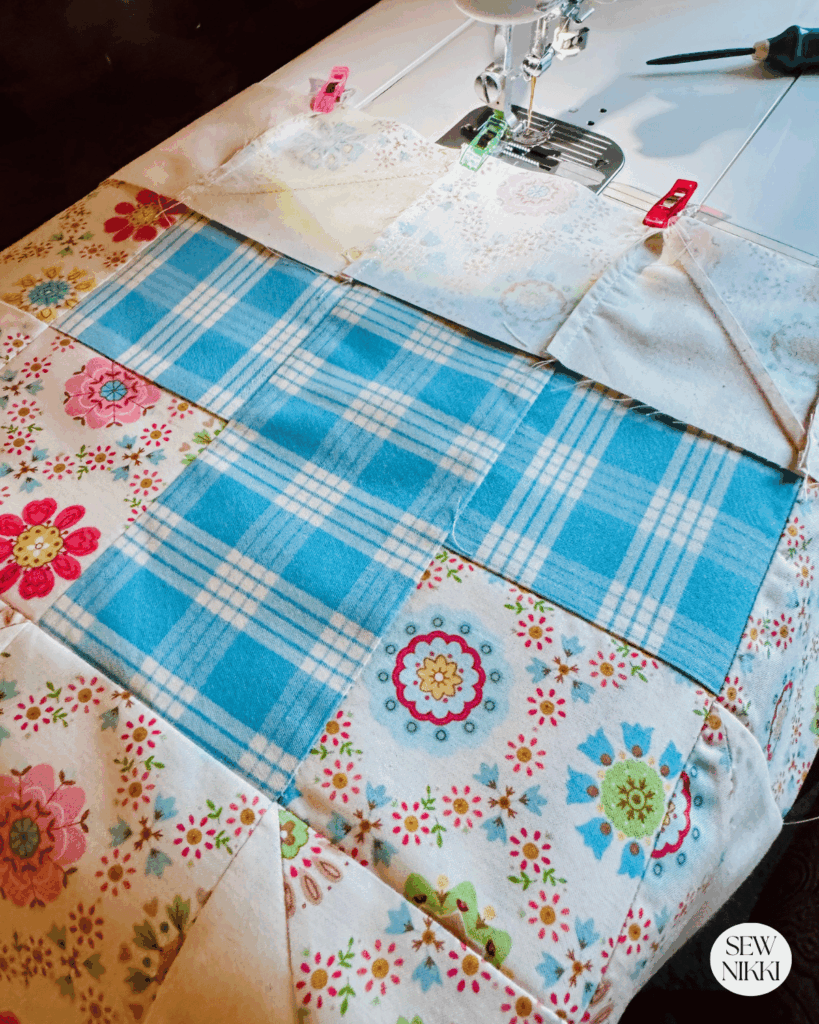
Real Example: My Sister’s Choice Quilt Block
Here’s exactly what I did.
First Version (Original)
- 3″ squares and HSTs
- Finished size (untrimmed): 13″
Second Version (Bigger + More Modern)
- 4.5″ squares and HSTs
- Finished size (untrimmed): 20.5″
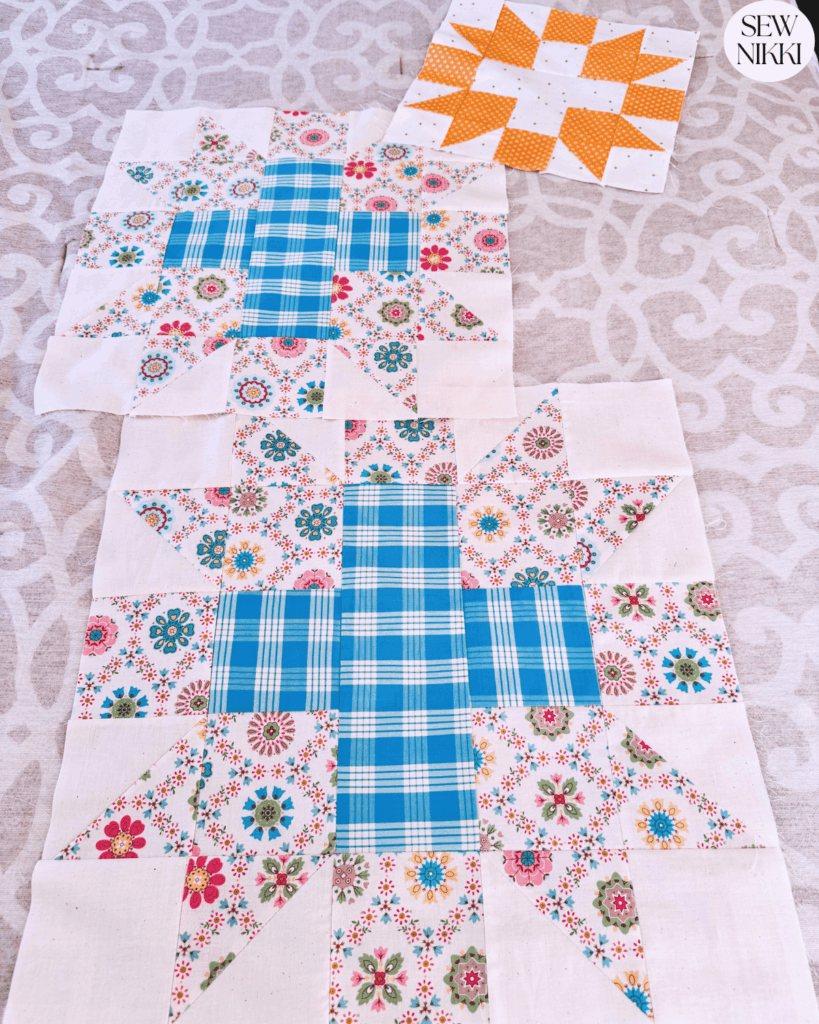
Third Version (Middle Ground)
- 4″ squares and HSTs
- Untrimmed finished size: 18″
Notice a pattern?
Bigger squares = bigger block = more modern look.
No complicated redesign needed.
Why This Works (And Why People Overthink It)
Most quilt blocks are just:
- Squares
- Half square triangles
- Simple units repeated
When you scale up the unit size, the entire block scales with it.
You are not changing the design.
You are just changing the size of the pieces.
That’s it.
Why Quilters Don’t Usually Do This (And Why You Can)
Here’s something worth pointing out.
Most traditional quilt blocks are designed to finish at:
- 6 inches
- 12 inches
- or 12.5 inches trimmed
That’s not random.
It makes it easy to mix and match blocks in the same quilt. Everything lines up nicely without extra math, and you can swap blocks in and out without reworking your entire layout.
That’s why most patterns stick to those sizes.
But here’s the problem.
That system doesn’t always work when you want a bigger, more modern quilt.
Large blocks don’t always come in neat, standard sizes. And when you start resizing, you can’t always mix them with other blocks the same way.
So what’s the fix?
You’ve got a couple solid options:
- Find another quilt block you like with the same grid (like another 5 x 5 block) and resize it the same way so they match
- Use the same block throughout your quilt instead of mixing multiple block styles
- Set your layout on point or diagonally to create movement without needing different blocks
- Add sashing (or skip it) to help with spacing and layout
That’s it.
This is just one of those things that isn’t talked about enough, especially if you’ve been quilting a long time or you’re just getting started.
You’re not doing it wrong. You’re just stepping outside the standard system. And I think that’s a good thing. Just because something is done one way doesn’t mean that’s the best way. Times change and so should our block sizes.
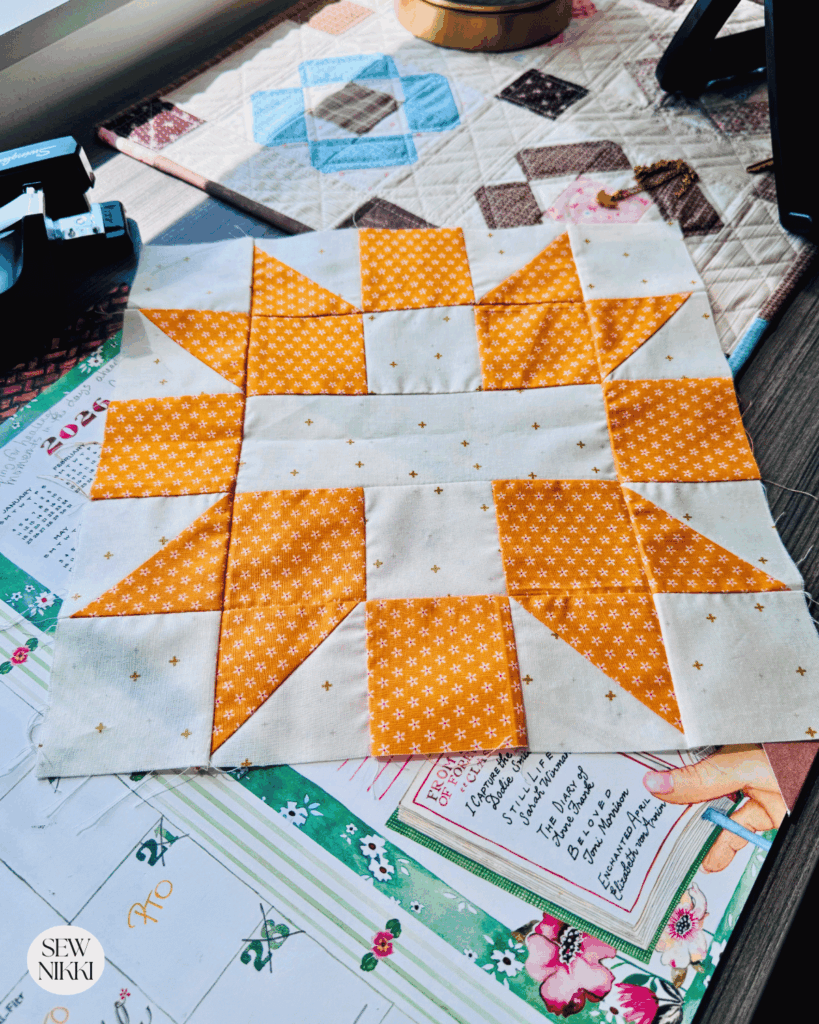
The Smart Way: Make a Test Block First
I don’t care how confident you feel. Make the test block.
Always.
I use:
- Scrap fabric
- Leftover yardage
- Whatever is sitting next to my machine
This does two things:
- Confirms your math works
- Shows you how the block actually looks at that size
Because sometimes what looks good on paper looks weird in real life. Plus, you don’t want to test with your nice fabric because you would be wasting it depending on how many test blocks you make in various sizes.
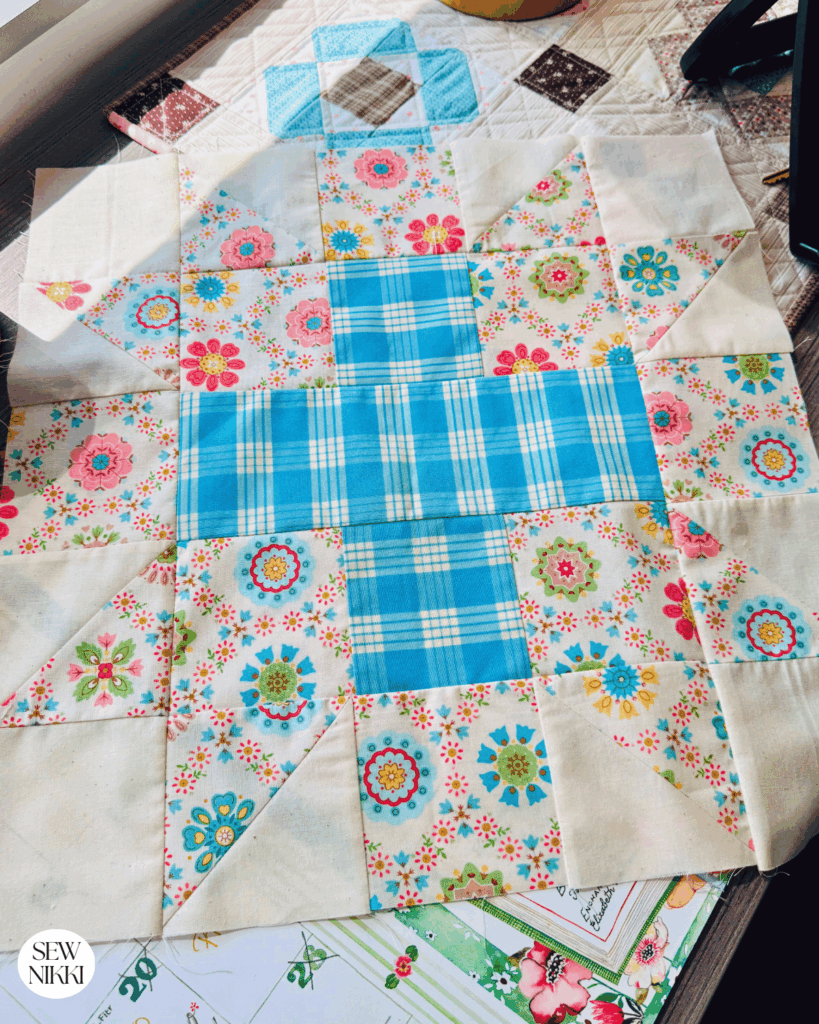
Use This Trick to Plan Your Quilt Size
Here’s the part nobody talks about enough.
After I make a test block, I literally:
- Lay it on my bed
- Step back
- Visually map out how many blocks I’ll need
No calculator. No stress.
Just real life perspective.
Because here’s what matters:
- You will lose inches when joining blocks
- You will lose more when adding borders
- Layout matters more than exact math
So eyeballing it? Surprisingly accurate. My favorite method for laying out quilts and testing block sizes is using my bed. Use what you have and embrace it.
Common Mistakes (Let’s Call Them Out)
1. Ignoring Seam Allowances
This is why your blocks don’t match your math.
Fabric disappears into seams. Accept it.
2. Using Random Measurements
If your ruler says 3.75″, just walk away.
Stick to whole and half inches. We’ve trained our eyes to use the grid lines in half inch increments. Why complicate things and slow you down with weird measurements.
3. Skipping the Test Block
This is how you waste fabric and get mad halfway through a quilt.
Make the test block. It will save you time in the long run.
4. Not Thinking About the Final Quilt Size
A giant block might look great until you realize you only need 6 blocks and your quilt looks empty.
Scale matters.
Want to Get Better at This Faster?
If you want to really understand how blocks come together and resize them confidently, these help a lot:
These aren’t complicated skills. They just take practice.
More Resources From My Site
If you’re resizing blocks, you probably need these too:
- My guide on half square triangles (this will save you a ton of time)
- My fabric yardage breakdown so you don’t run short
- My beginner quilt layouts post so your blocks actually look good together
How to Resize a Quilt Block Recap
Resizing a Sister’s Choice quilt block is not complicated.
You:
- Pick a bigger square size
- Multiply across
- Subtract seam allowances
- Test it
- Move on
That’s it.
The biggest upgrade to your quilts isn’t a new pattern. It’s scaling up what you already know.
Bigger blocks look cleaner. More modern. Less busy.
And honestly they’re faster too.
So grab your scraps, make a test block, and stop overthinking it.
If You’re New Here
I’m really glad you found your way here.
If you’re new to quilting, then welcome. The learning curve is fast, and yes, you’ll hit challenges. But I’ve got you.
Here’s where to go next:
- Free Pattern Index – all my free patterns in one place
- Digital, ad-free patterns – clean, printable, and beginner-friendly
- Handmade goodies – because sometimes you just want it finished
- Learn to Quilt Page – every step of making and finishing a quilt
My blog is built for the home sewist and quilter who wants to do it all themselves. With a nice but basic sewing machine and realistic expectations.
ABOUT SEW NIKKI
If this is your first time stopping by, welcome! Your place for free crochet, sewing and quilt patterns for beginner to intermediate skill levels. Want a digital pattern? We have those too! Plus tutorials to walk you through how to make each item from start to finish.
Follow me on social media (Pinterest, Instagram, Facebook and Twitter) so you get notifications when I post new patterns and tutorials.
Looking for your next quilt project? Then head on over to my free “Pattern Index”. It’s a page dedicated to all of my free patterns separated by categories for crochet, sewing and quilting.
If you prefer an ad-free printable version, head over to my shop and browse the Digital Patterns. These are instant digital downloads you print yourself.
This post contains ads and affiliate links, which means I make a small commission at no extra cost to you. While the ads may seem annoying, it helps keep this blog going. See my full disclosure here.