How to Finish a Quilt Without Binding (Fold Over Method)
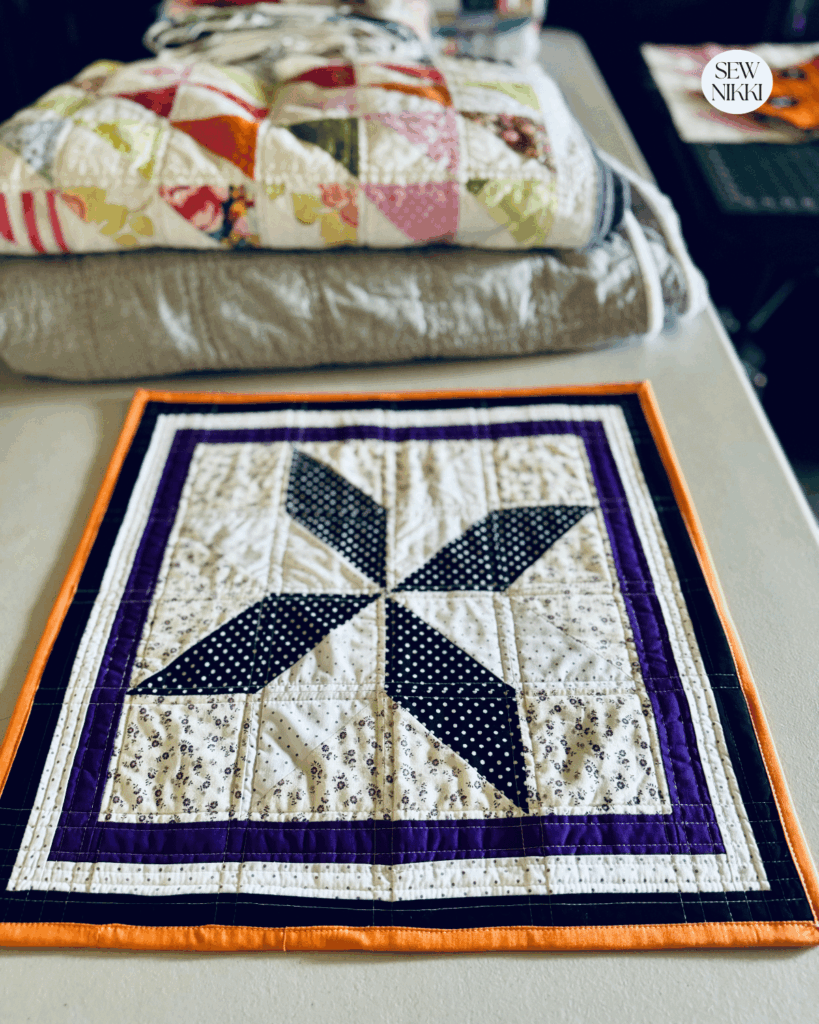
If you want to know how to finish a quilt without binding, this is one of the easiest methods you can try. Instead of making separate binding strips and sewing them onto the quilt edge, you use the backing fabric itself as the binding by folding it over the front of the quilt. It gives you a clean modern edge and works especially well for table runner projects and other small quilts.
I should mention right up front that I have only personally used this method on table runners and small projects. I think it works great for those types of projects, but I would find it difficult on a large quilt. More on that later.
Why Try a No Binding Quilt Finish?
Traditional binding is still my go-to for most quilts, especially large quilts, but this method can save a lot of time on smaller projects. Instead of making separate binding strips, sewing them together, attaching them to the quilt edge, flipping, and stitching again, the backing fabric does all the work for you.
This method works well for:
- Table runner projects
- Small quilts
- Wall hangings
- Quick gifts
- New quilter projects
It creates a softer, more modern edge and removes a few steps from the finishing process.
Supplies You Need
Before starting, you should already have your quilt sandwich quilted and ready to finish. You will need:
- Quilt top
- Batting
- Backing fabric
- Sewing machine
- Walking foot
- Hot iron
- Pins or clips
- Thread
- Scissors
- Ruler
- Fabric marking pen, chalk, or marking tool
Optional supplies include decorative stitches or hand sewing with a blanket stitch if you prefer a softer handmade finish.
MAKE SURE YOU CHECK THIS OUT!
After you read this post, make sure you also check out Learn How to Quilt for Absolute Beginners. It’s jam packed with information to make your first quilt. It also has links and resources that are so helpful when you’re first learning. There’s lots of free quilt patterns that are great for beginners and all skill levels too. So make sure you check this out, seriously don’t forget!
Grab a copy of my free Quilt Planning Journal. It’s filled with graph paper and note pages to help you design at least 4 quilt or sewing projects! Pin in fabric swatches, photos of your finished quilts and enjoy your creative process!
How to Finish a Quilt Without Binding
Step 1: Mark Your Backing Fabric
Before trimming, use a ruler and fabric marking tool to mark your backing fabric all the way around the quilt. You can use chalk, a washable fabric pen, a heat erase pen, or any quilting marking tool you prefer.
Measure from the edge of the quilt top outward and mark a consistent width around all four sides. I usually leave between 1.5″ and 2.5″ depending on the project. This step makes a huge difference because it keeps your fold-over edge even and accurate. Trying to eyeball it usually leads to uneven folds and wavy edges.
For table runner projects and smaller quilts, this marking process is pretty simple and fast.
Step 2: Trim the Quilt Top and Batting
Lay the quilt flat on your work surface with the right side facing up and trim the quilt top and batting evenly around all four outside edges while leaving the backing fabric oversized. Do not trim the backing fabric to match the quilt top because you need that extra fabric for the fold-over edge.
Since your backing is already marked, trimming becomes much easier and more accurate.
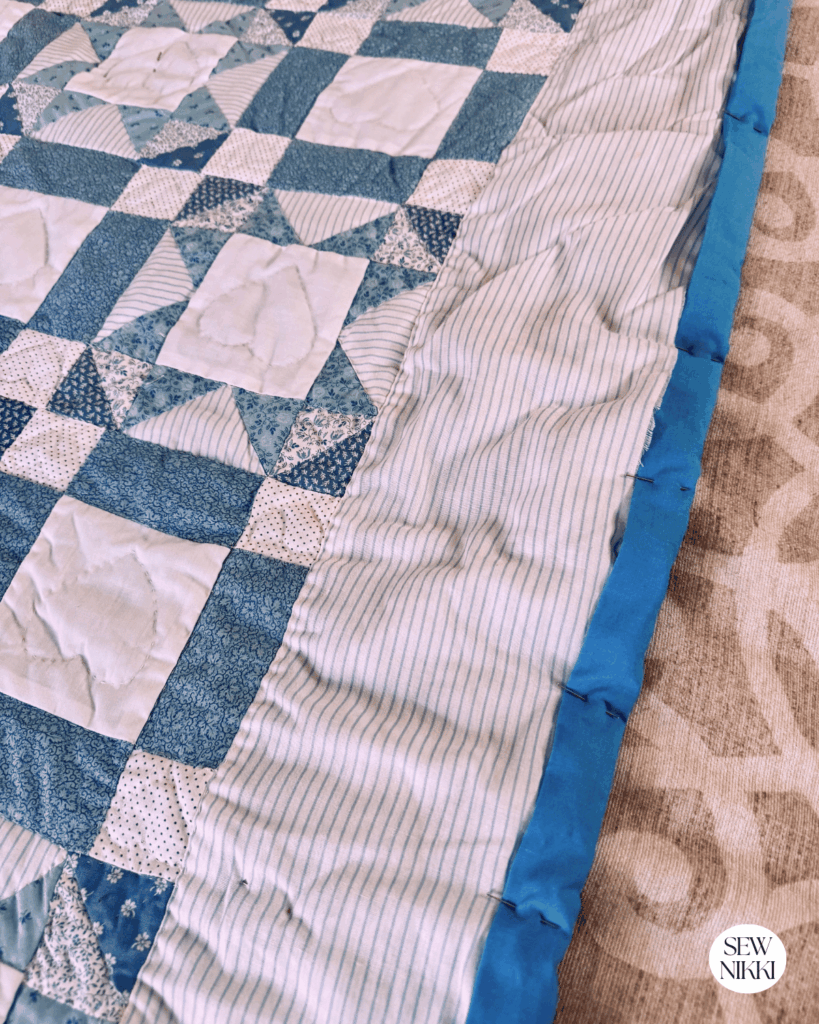
Step 3: Fold the Backing Fabric
Flip the quilt so you can see the back side and fold the backing fabric inward toward the quilt edge so the raw edges are tucked inside. Press the fold with a hot iron to help everything stay crisp and flat.
Next, fold the backing fabric again over onto the front of the quilt. This creates your finished edge. Pin or clip everything in place and try to keep the folds even all the way around the quilt so the front side looks neat and consistent.
Step 4: Fold the Corners
At each corner of the piece, fold the fabric neatly so it lays flat without bunching up. You do not need to obsess over getting a perfect corner, but keeping the folds clean and smooth will make the finished project look much more polished.
If needed, press the corners again with a hot iron before stitching.
Step 5: Sew Around the Quilt
Using your sewing machine, stitch close to the folded edge on the front of your quilt. A straight stitch works perfectly for this method, but you can also use decorative stitches if you want more detail along the quilt edge.
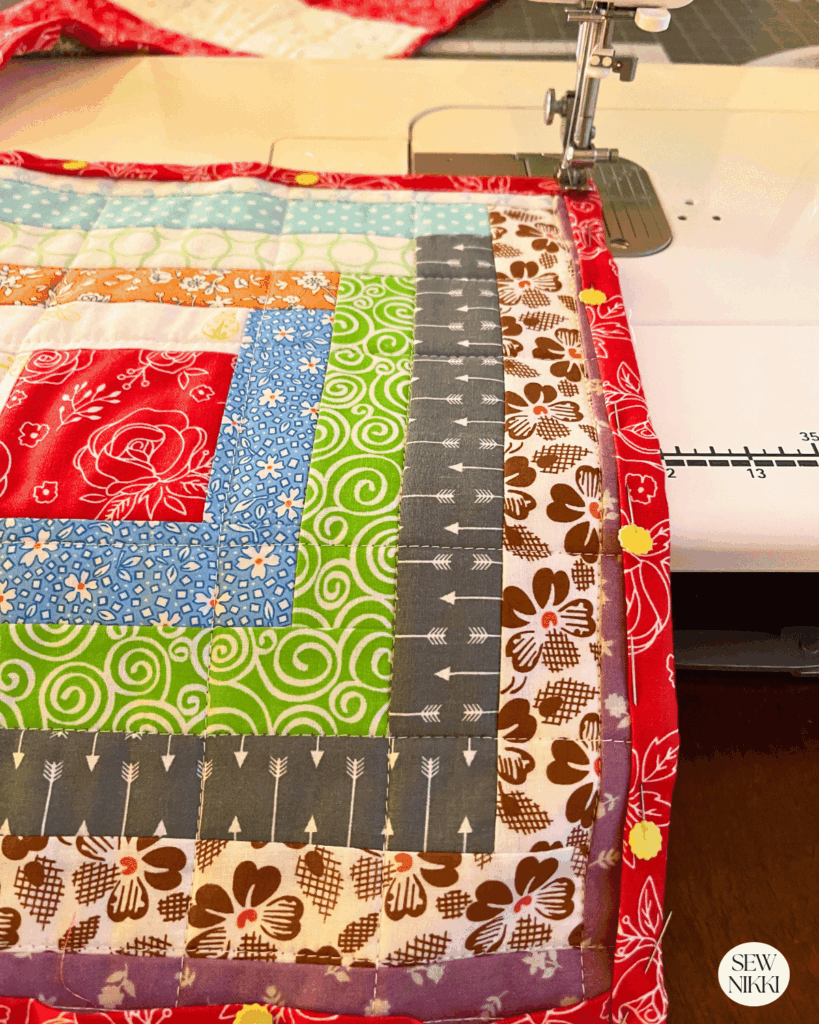
I recommend using a walking foot to help feed all the layers of the quilt evenly, especially near the corners and thicker areas. Hand sewing a blanket stitch also works nicely and gives the project a softer finish.
Why I Only Use This Method on Small Projects
I have only ever used this method on table runners and small quilts because I think large quilts would be much harder to trim accurately. With traditional binding, you can trim everything evenly with a rotary cutter and ruler before attaching your binding strips.
With a no binding quilt finish, you have to leave the backing fabric oversized while trimming only the quilt top and batting. That usually means using scissors instead of a rotary cutter around the entire quilt. For me, that would be very challenging on a large quilt and honestly not easy to do.
Once you master traditional binding, none of this becomes an issue anymore. Traditional binding is still the cleanest and easiest finish for larger quilts, especially when accuracy matters.
Tips for Better Results
Here are a few things that help make this method easier and cleaner:
- Mark your backing fabric before trimming
- Use a ruler for straight lines
- Press every fold with a hot iron
- Trim excess batting carefully
- Use clips if pins feel bulky
- Keep your stitch line straight
- Start with small projects first
- Practice on a table runner before trying smaller quilts
Quilt Facing vs No Binding
Some quilters call this quilt facing, but it is slightly different. Traditional quilt facing usually uses separate facing strips sewn onto the quilt edge and folded inward so they are hidden from the front of the quilt.
This method skips the facing strips completely and uses the backing fabric instead. Both methods create a cleaner modern edge than traditional binding.
For more information on how to attaching quilt binding, check out Easy Single Fold Binding and How to Join Quilt Binding Ends.
Helpful Quilt Tutorials
You may also like:
Best Rotary Cutter for Quilting
More Helpful Resources
Binding Quilts with Your Backing Fabric – WonderFil Specialty Threads
How to Add Mitered Border and Backing with No Binding – Missouri Star
My Personal No Binding Quilt Method
My process is a little different than the usual way, and honestly, that is what makes this manageable for me on small projects. I usually sew the front of the project directly onto a precut piece of batting first. Once the quilt top is attached to the batting, I place that finished piece onto the backing fabric.
From there, I trim around all four sides while leaving about 1.5″ to 2.5″ of backing fabric extending past the quilt top and batting. That extra backing fabric becomes the fold-over finish that replaces traditional binding.
The amount of backing fabric you leave should be close to the width your binding would have been if you finished the quilt the traditional way. If you want more information about binding widths, binding strips, and different sizes for different projects, check out my quilt tutorials section on the blog where I cover traditional binding in more detail.
FAQ: How to Finish a Quilt Without Binding
Can you finish a quilt without binding?
Yes. You can use the backing fabric as the binding by folding it over the quilt edge twice and stitching it in place. This creates a clean finish without separate binding strips.
Is this method good for beginners?
Yes. This is a beginner-friendly method for table runners, wall hangings, and small quilts because it removes some of the extra binding steps.
Why should I mark the backing fabric first?
Marking the backing fabric with a ruler and chalk or fabric pen helps keep your fold-over edge even all the way around the quilt. It also makes trimming much more accurate.
Does a no binding quilt hold up well?
Yes, especially on decorative projects and smaller quilts. A straight stitch or decorative stitches help secure the edges of the quilt and keep the folds in place.
Can you use this method on a large quilt?
You can, but I personally think it would be difficult. Trimming only the quilt top and batting while leaving the backing fabric oversized would be challenging on a large quilt.
What is the difference between quilt facing and no binding?
Quilt facing usually uses separate facing strips sewn onto the quilt, while a no binding quilt uses the backing fabric itself to finish the edge.
Can I sew the edge by hand?
Yes. Hand sewing with a blanket stitch creates a softer finish and works well for decorative projects.
If You’re New Here
I’m really glad you found your way here.
If you’re new to quilting, then welcome. The learning curve is fast, and yes, you will face challenges. But I’ve got you. If I can do it, so can you!
Here’s where to go next:
- Learn to Quilt Page – every step of making and finishing a quilt
- Free Pattern Index – all my free patterns in one place
- Digital, ad-free patterns – clean, printable, and beginner-friendly
My blog is built for the home sewist and quilter who wants to make a quilt from start to finish all by themselves. Take a full tour of this blog so you know your way around. Subscribe to the newsletter so you don’t miss out on new patterns or tutorials. And follow me on Pinterest, Instagram and Facebook.
ABOUT SEW NIKKI
If this is your first time stopping by, welcome! Your place for free crochet, sewing and quilt patterns for beginner to intermediate skill levels. Want a digital pattern? We have those too! Plus tutorials to walk you through how to make each item from start to finish.
Follow me on social media (Pinterest, Instagram, Facebook and Twitter) so you get notifications when I post new patterns and tutorials.
Looking for your next quilt project? Then head on over to my free “Pattern Index”. It’s a page dedicated to all of my free patterns separated by categories for crochet, sewing and quilting.
If you prefer an ad-free printable version, head over to my shop and browse the Digital Patterns. These are instant digital downloads you print yourself.
This post contains ads and affiliate links, which means I make a small commission at no extra cost to you. See my full disclosure here.