How to Finish a Quilt: Basting, Backing, Quilting, Binding
If you’re wondering how to finish a quilt without turning it into a frustrating mess, this is where things start to matter. Finishing is the part that can make your quilt look polished and professional or bulky, wrinkled, and slightly off.
Most issues don’t come from your quilt top. They come from rushing through basting, backing, quilting, and binding. This is where you slow down just enough to do it right, without overcomplicating everything.
How to Finish a Quilt Basting Tips
Basting is one of those steps that feels boring, so people rush it. And then they pay for it later.
If your quilt shifts, puckers, or ends up with wrinkles on the back, it’s almost always because of how it was basted.
Here’s what matters:
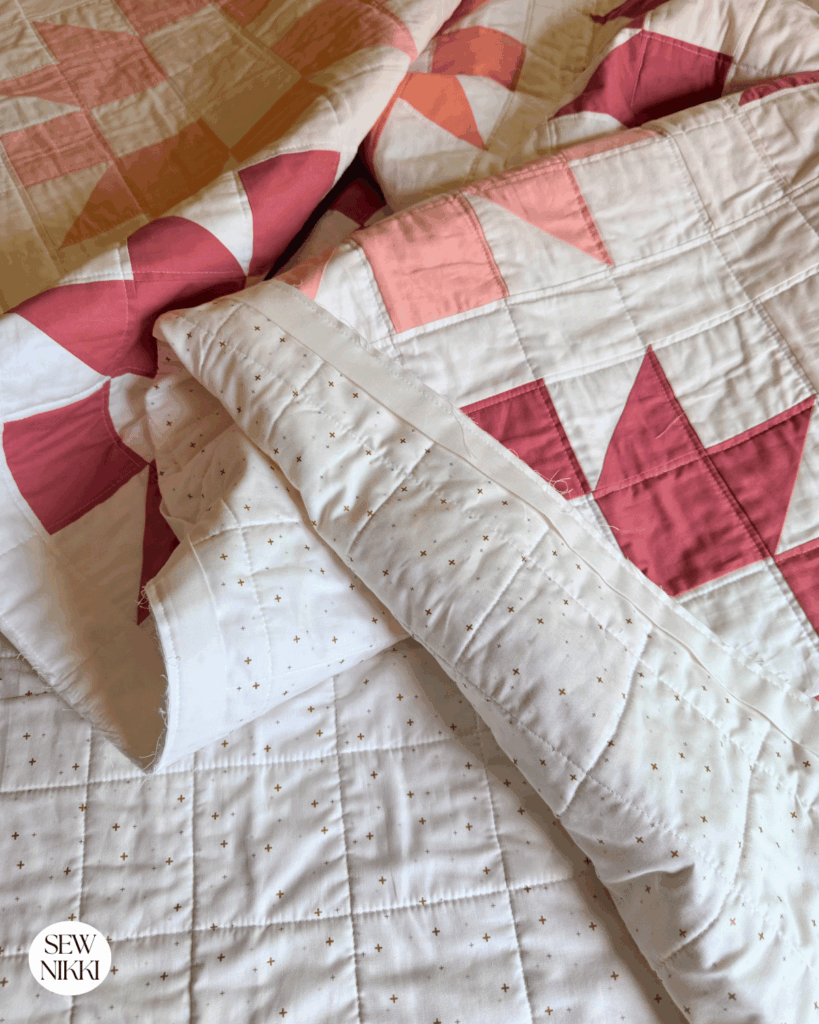
- Your backing fabric needs to be completely smooth before layering
- Your backing and batting should extend at least 3 to 4 inches beyond your quilt top
- Use more pins than you think you need
If you’re unsure if you used enough pins, you didn’t. Spray basting is a great option too, but it doesn’t replace smoothing everything out properly.
Good basting makes quilting easier. Bad basting makes everything harder.
MAKE SURE YOU CHECK THIS OUT!
After you read this post, make sure you also check out Learn How to Quilt for Absolute Beginners. It’s jam packed with information to make your first quilt. It also has links and resources that are so helpful when you’re first learning. There’s lots of free quilt patterns that are great for beginners and all skill levels too. So make sure you check this out, seriously don’t forget!
Grab a copy of my free Quilt Planning Journal. It’s filled with graph paper and note pages to help you design at least 4 quilt or sewing projects! Pin in fabric swatches, photos of your finished quilts and enjoy your creative process!
Quilt Backing Tips (And the Truth About Pieced Backing)
Pieced backing sounds like a great idea in theory. Use what you already have, save money, reduce waste. And sometimes it works out beautifully. But let’s be real.
Pieced backing is no joke and not for the faint of heart. You’re basically making another quilt, just bigger and less fun.
If you decide to go for it:
- Stick with larger pieces instead of tiny scraps
- Keep the layout simple
- Press your seams well
And here’s the honest part. If it doesn’t look good, don’t do it.
Using up fabric isn’t worth it if the finished quilt looks off. There is nothing wrong with using one solid piece of fabric for your backing and calling it done.
I love doing pieced quilt backings most of the time and experimenting with other options too. But I always try to keep the quilt top the star of the show.
How to Finish a Quilt Batting Tips
Batting is where preferences really start to show. There isn’t one right answer, but there are some clear differences.
- High loft polyester batting gives you that puffy comforter look
- It can feel stiff at first and softens after washing
- Cotton batting is thinner and gives a more classic quilt feel
- This is what most traditional quilts use
If you’ve tried Hobbs 80/20, you already know it’s on the thinner side. But it gives a really clean, flat finish that looks great.
If you prefer 100 percent cotton, you’re not alone. Warm and Natural is a favorite because it’s soft, reliable, and easy to work with.
At the end of the day, batting comes down to what you like the look and feel of.
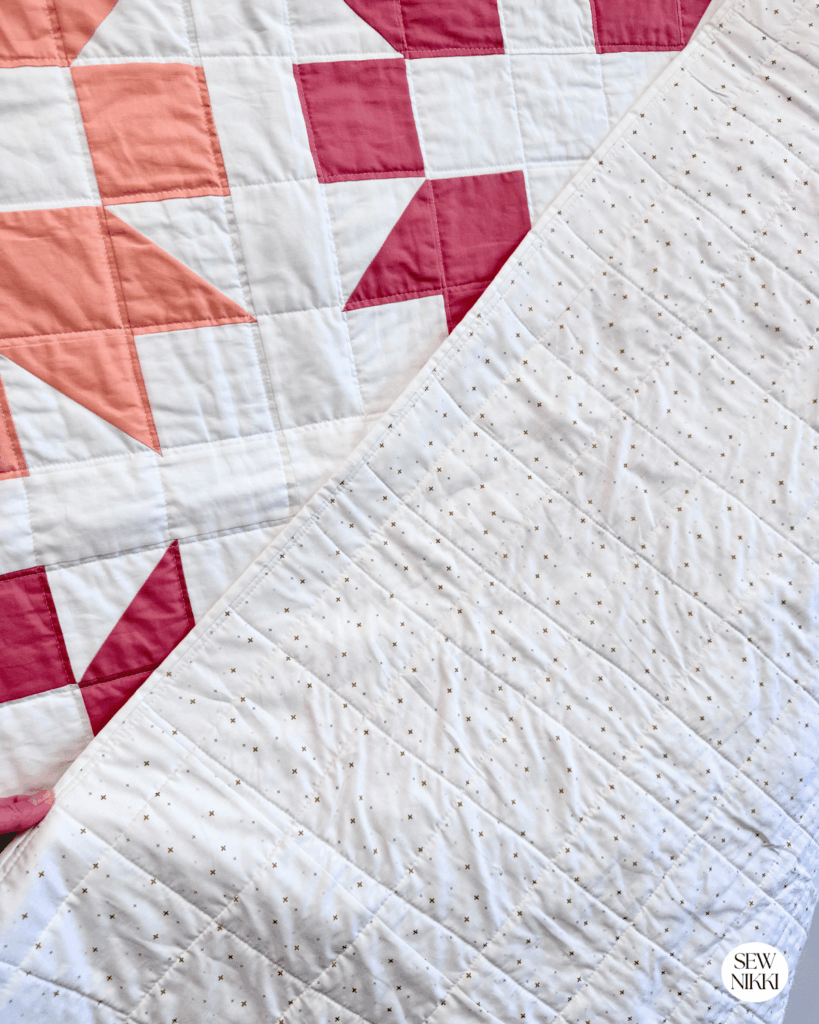
Quilting Tips (Keep It Simple)
This is where people tend to overdo it. More quilting does not mean a better quilt. In fact, too much quilting can make your quilt stiff and take away from your design.
Here’s a better approach:
- Pick a quilting design that doesn’t overpower your quilt
- Let your piecing be the focus
- Match your quilting scale to your block size
If your quilt already has a lot going on, keep the quilting simple. Straight lines and basic grids work for a reason.
If your quilt is more minimal, you can add texture with your quilting. Just don’t feel like you need to fill every inch.
Binding Tips That Make This Way Easier
Binding is where a lot of people try to power through in one go. You don’t need to do that.
First Side of Binding (Attach to First Side)
Notice I said first side and not back of quilt or front of quilt? That’s because we all have a preference here too.
We are taught to start on the back side and then finish on the front side. I’ve always preferred the opposite. Why?
When you attach binding with a sewing machine you will have stitch lines show on one the side of your quilt. I prefer those lines to show on the backing and not the front. You do you.
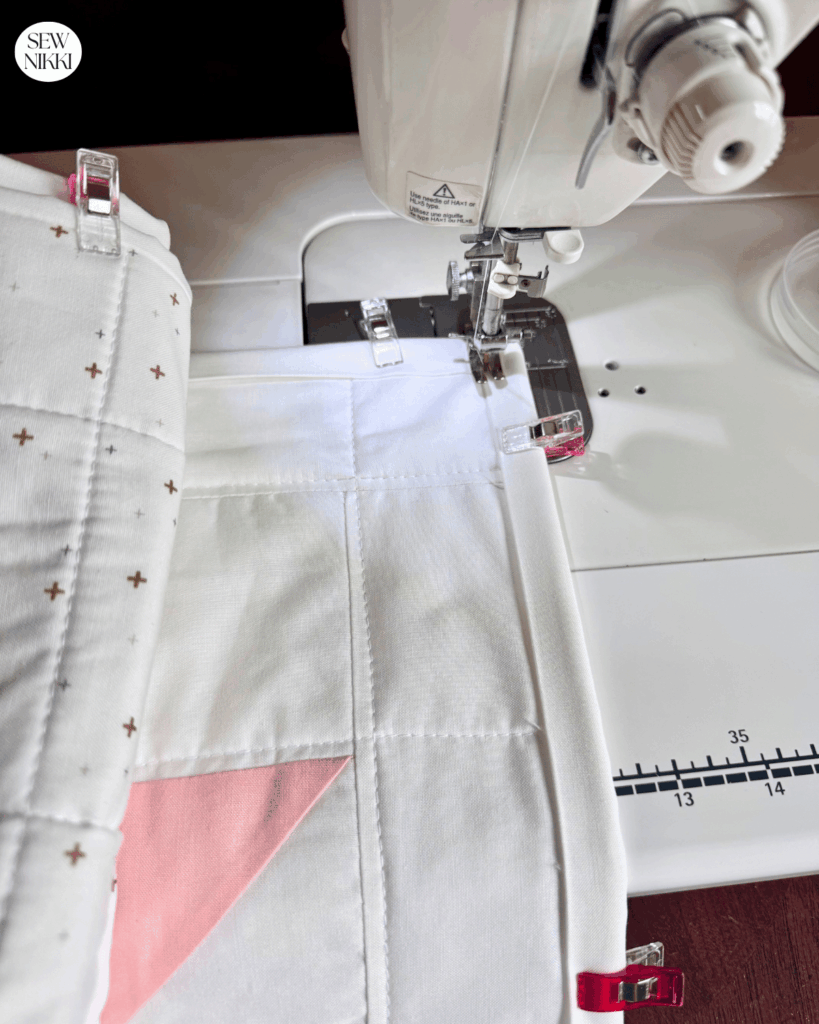
When you’re sewing the binding onto your quilt:
- Start sewing your binding in the middle of one side
- Leave extra binding for when you join at the end
- Stop when you reach a corner
- Backstitch then cut your thread
- Remove quilt from machine, turn your quilt on carpet or table and reposition it so it’s manageable
- Reroll and then start again on the next side
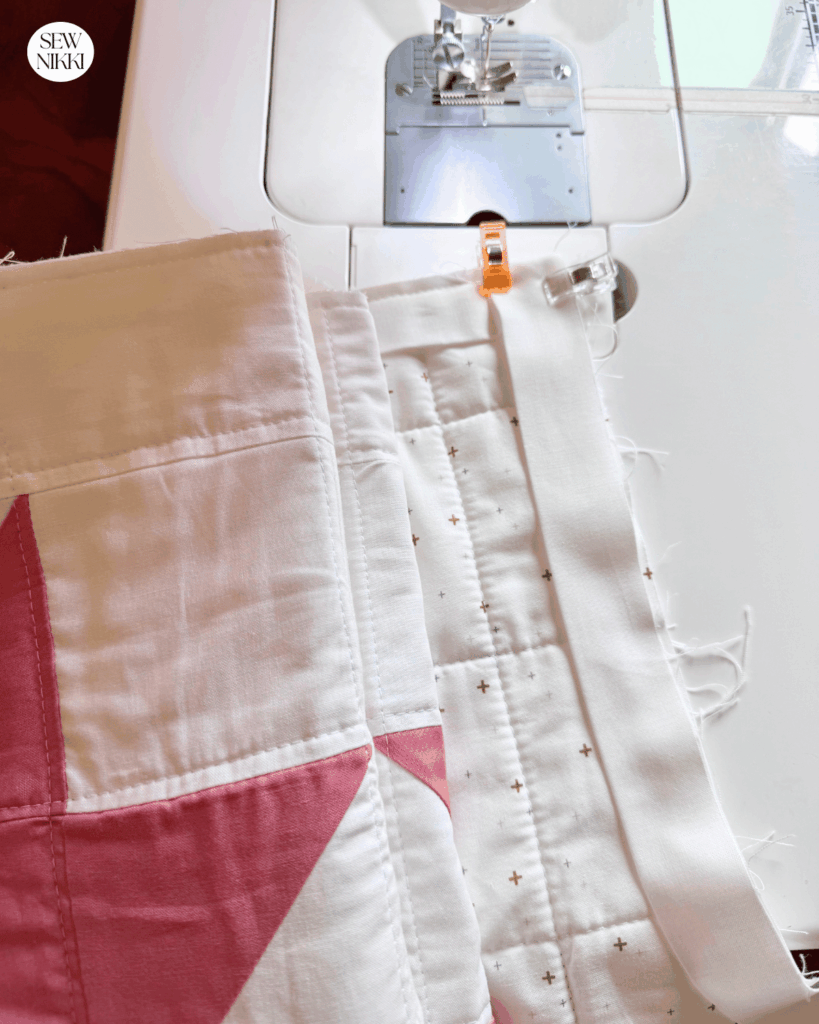
Repeat this for all four sides and you will be so happy because you aren’t fighting your quilt anymore. All you need to focus on is keeping your stitch as close to the left edge of the binding as you can.
You do not need to sew one continuous loop. Breaking it up makes it easier to control and gives you cleaner results.
Second Side of Binding (The Real-Life Method)
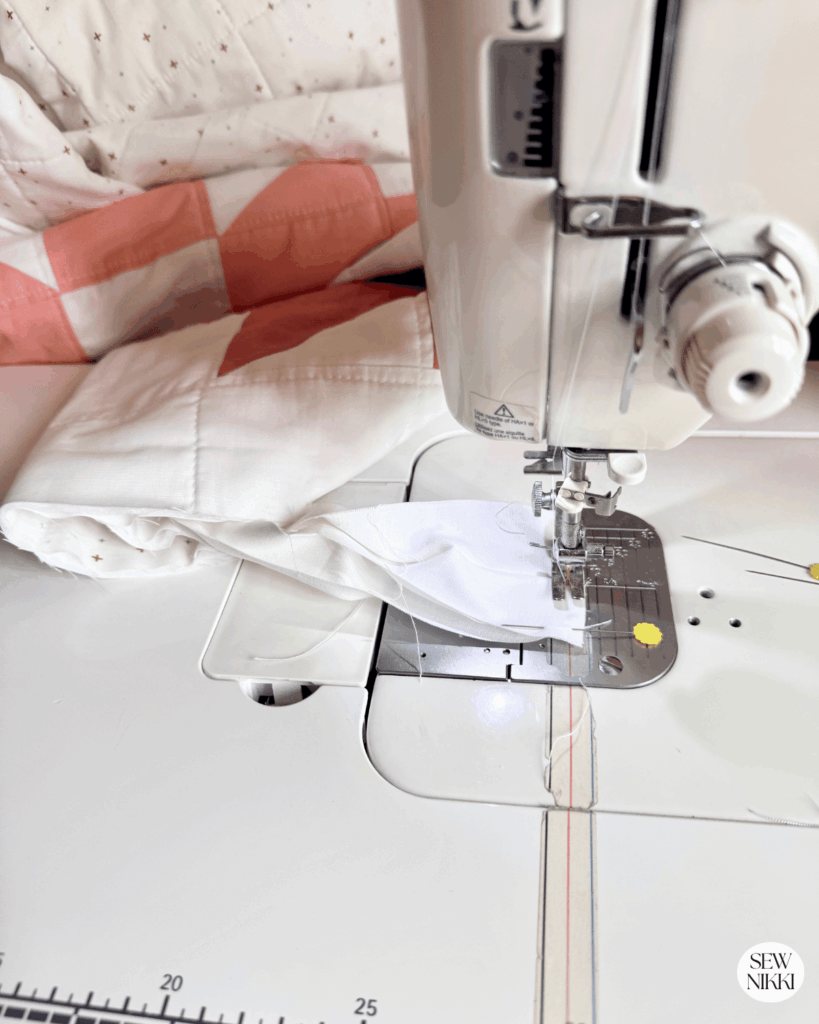
When you flip your binding over to the back, keep it just as simple.
- Start at one corner
- Sew all the way down one side
- Backstitch at the end
- Cut your thread
- Reposition your quilt
- Start again on the next side, backstitching at the beginning
Repeat this for all four sides. This is way easier for home sewists because you’re not wrestling the entire quilt at once.
Your stitches will look better, and you won’t feel like you’re fighting your machine the whole time. No need to overthink it.
FAQ: How to Finish a Quilt
What is the easiest way to finish a quilt?
The easiest way is to take it step by step. Focus on proper basting, choose a simple quilting design, and use manageable binding methods like sewing one side at a time.
How do you baste a quilt without wrinkles?
Start with a completely smooth backing fabric. Use enough pins or spray baste and work from the center outward to prevent shifting and bubbles.
If spray basting (one of my favorite methods), spray your quilt and let it dry overnight. Then lay it back out and smooth out again.
If using your home sewing machine to quilt, roll the quilt up on both sides and smooth out wrinkles if needed when you are rerolling after a pass.
What is the best batting for quilting?
Cotton batting is the most common because it is soft and low loft. Polyester batting creates a puffier quilt, while blends like 80/20 offer a balance between the two.
Since everyone has different preferences, you just have to buy and try with batting. It’s really the only way to know if you like it or not.
Most folks but precut batting packages for different size quilts. Or if you have the space and money, you can buy a roll.
Why is my quilt stiff after quilting?
This question recently came up on a quilting group on Reddit. Too much quilting or dense stitching can make a quilt stiff. Using a simpler design or less quilting can help keep it soft.
The type of fabric and batting can also result in a stiff quilt. For example, if you are using pieces of denim and the denim is stiff it will cause the quilt top to be stiff. Polyester or wool batting may also be the culprit.
Others said the quilt pattern was too dense, which means that every inch of the quilt had quilting stitches on it. You want your quilt to drape and so soft and cuddly. That typically means less quilting and more non quilted sections. Again, it’s all personal preference.
Do you have to sew binding all the way around at once?
No. You can sew one side at a time, stopping at each corner and repositioning your quilt. This makes the process easier and more manageable.
It’s really hard for me to sew in my small space and I sew on a small round table. It’s stupid really but that’s what I have. It’s impossible to twist the quilt around to the next side leaving it attached under the sewing needle. It’s hard to re-roll the quilt back up to fit under the throat.
Solution? Just cut the thread when you get to the the corners, backstitch and clip. Pull your work from the sewing machine and lay it down on the carpet or a table. Reroll and then start sewing again. Back and forth from the sewing machine to the carpet to reroll and unroll after each pass. That’s how I quilt on my home sewing machine.
Here’s more binding tips and tricks for intermediate quilters on sewing binding.
Is pieced quilt backing worth it?
Pieced backing can look great, but it takes extra time and planning. If the design doesn’t come together well, using a single fabric backing is often the better choice.
I love scrappy quilts with pieced backing but not everyone does. My quilts are piling up and I’ve given most of my family members one already.
Since I’m using up my fabric stash then I’m going to do pieced backing to get rid of the fabric but know they will most likely be my quilts and not items for sale.
Let me know if you think I should try selling these on Etsy along with my digital patterns.
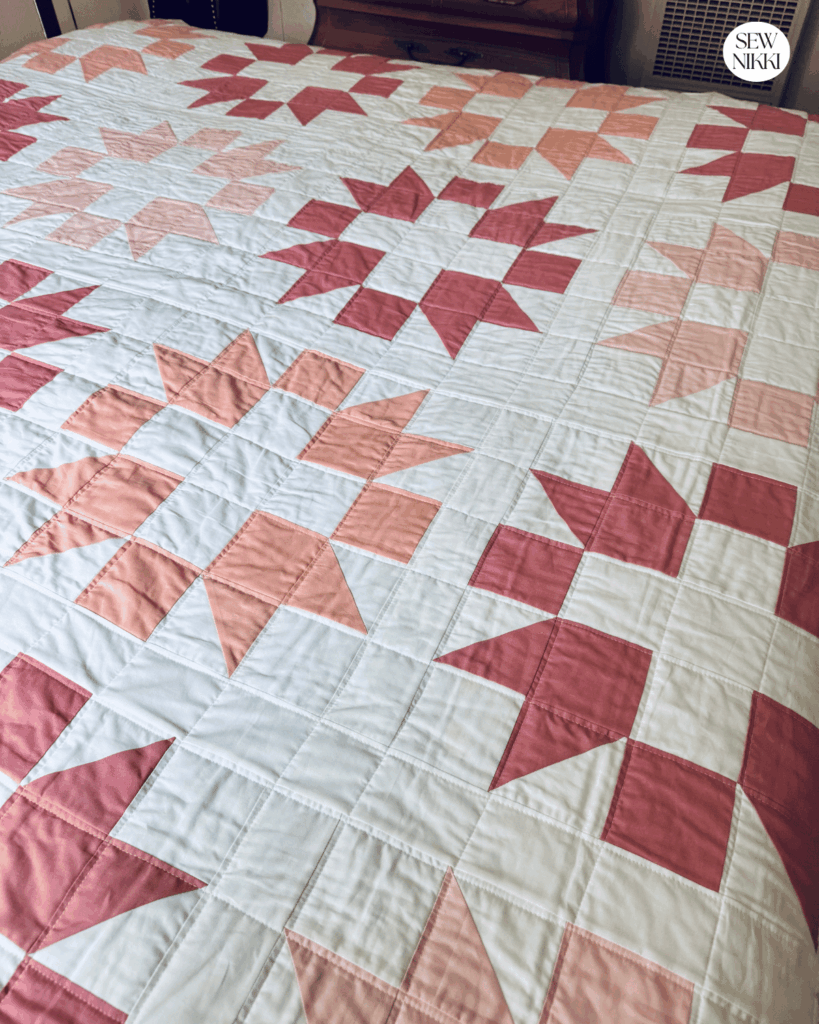
How to Finish a Quilt
Learning how to finish a quilt doesn’t have to be complicated. Most problems come from trying to rush or do too much at once. It took me 3 hours to piece a simple quilt back and spray baste.
Keep your approach simple. Give each step the attention it needs. And don’t make things harder than they need to be.
Your quilt will look better, feel better, and you’ll actually enjoy finishing it.
If You’re New Here
I’m really glad you found your way here.
If you’re new to quilting, then welcome. The learning curve is fast, and yes, you’ll hit challenges. But I’ve got you.
Here’s where to go next:
- Free Pattern Index – all my free patterns in one place
- Digital, ad-free patterns – clean, printable, and beginner-friendly
- Handmade goodies – because sometimes you just want it finished
- Learn to Quilt Page – every step of making and finishing a quilt
My blog is built for the home sewist and quilter who wants to do it all themselves. With a nice but basic sewing machine and realistic expectations.
ABOUT SEW NIKKI
If this is your first time stopping by, welcome! Your place for free crochet, sewing and quilt patterns for beginner to intermediate skill levels. Want a digital pattern? We have those too! Plus tutorials to walk you through how to make each item from start to finish.
Follow me on social media (Pinterest, Instagram, Facebook and Twitter) so you get notifications when I post new patterns and tutorials.
Looking for your next quilt project? Then head on over to my free “Pattern Index”. It’s a page dedicated to all of my free patterns separated by categories for crochet, sewing and quilting.
If you prefer an ad-free printable version, head over to my shop and browse the Digital Patterns. These are instant digital downloads you print yourself.


This information is incredible! Thank you!!
You are so talented, I love your work!
My sister just had a baby and I’m thinking about making her a quilt. Thank you!
Excellent tutorial, thank you!
Super helpful tutorial! I love how easy your instructions are to follow 🙂