Simple Irish Chain Quilt Pattern
There’s something deeply satisfying about making a quilt that looks like it took way more effort than it actually did.
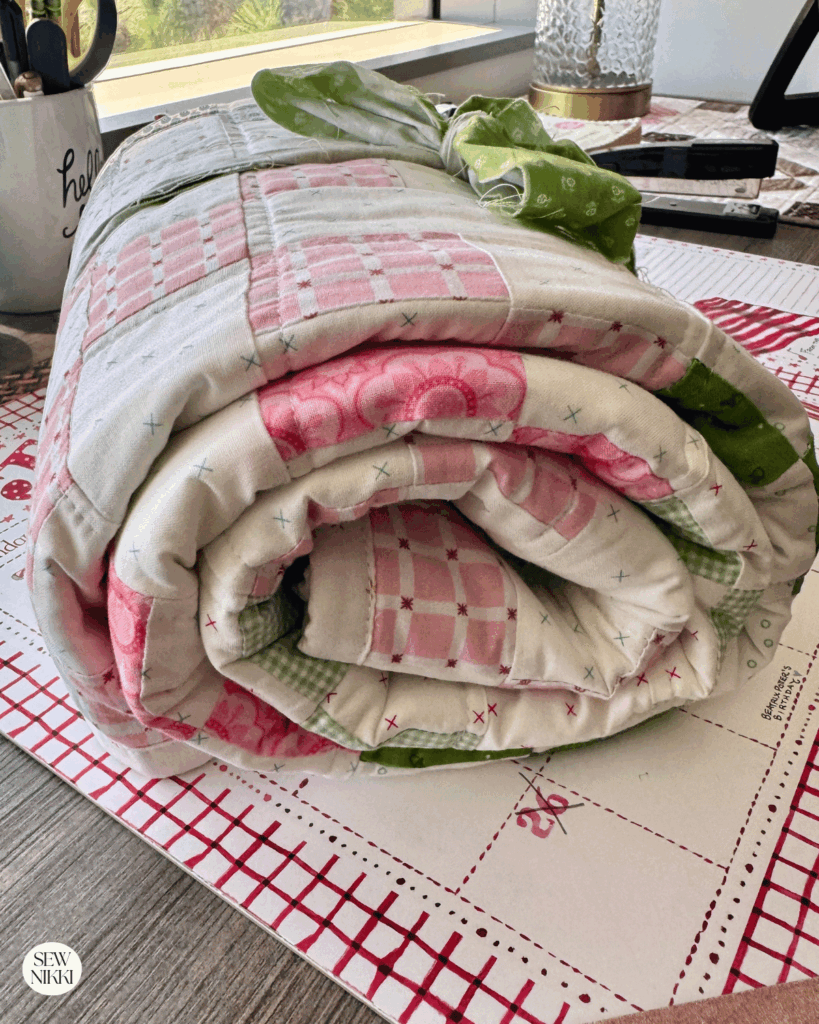
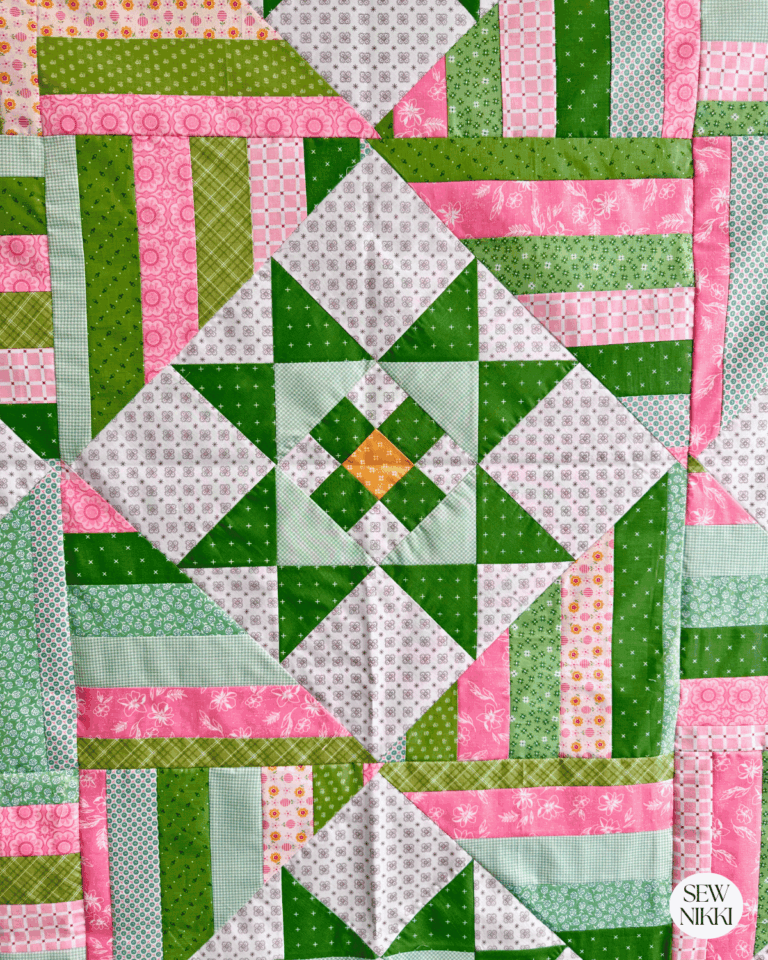
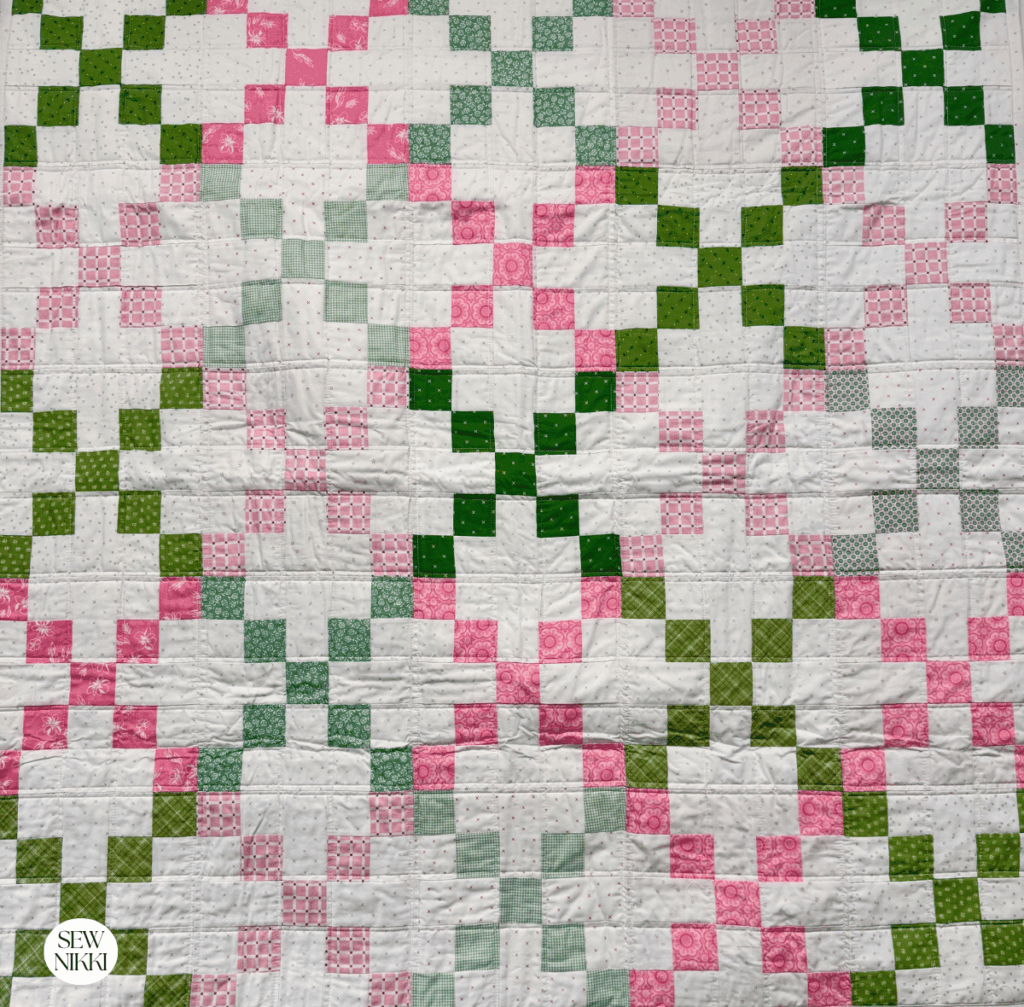
This Irish chain variation is exactly that kind of project. It delivers all the crisp, geometric charm of a traditional Irish chain without the soul crushing task of piecing a thousand tiny squares. Instead, you’ll use four patch units combined with borders and a sashing strip with center square to create blocks that look intricate but come together shockingly fast, giving the basic single Irish chain a “bigger chain” effect.
Whether you’re making your first pieced quilt or you just want something classic and giftable, this pattern feels timeless without feeling fussy.
Here’s how to build a throw quilt that looks like an heirloom but won’t steal your entire month. You can adjust the quilt size of this pattern just by adding more or less blocks.
The Roots of the Irish Chain
Irish chain quilts have been around since the early 1800s, and they’ve stuck around for good reason. The pattern is simple geometry at its best: alternating blocks of pieced squares and solid fabric that create a diagonal lattice across the quilt top. Despite the name, there’s no actual evidence the pattern originated in Ireland. It likely got the “Irish” label because of its resemblance to woven Celtic designs.
What makes this pattern so enduring is its versatility. You can make it scrappy or matchy, bold or soft, traditional or modern, depending on your fabric choices. The structure is forgiving, the finished look is always impressive, and it scales beautifully from baby quilts to bed sized projects. This variation keeps the classic chain effect but simplifies the construction so you’re not drowning in tiny pieces.
Why This Pattern Delivers Every Time
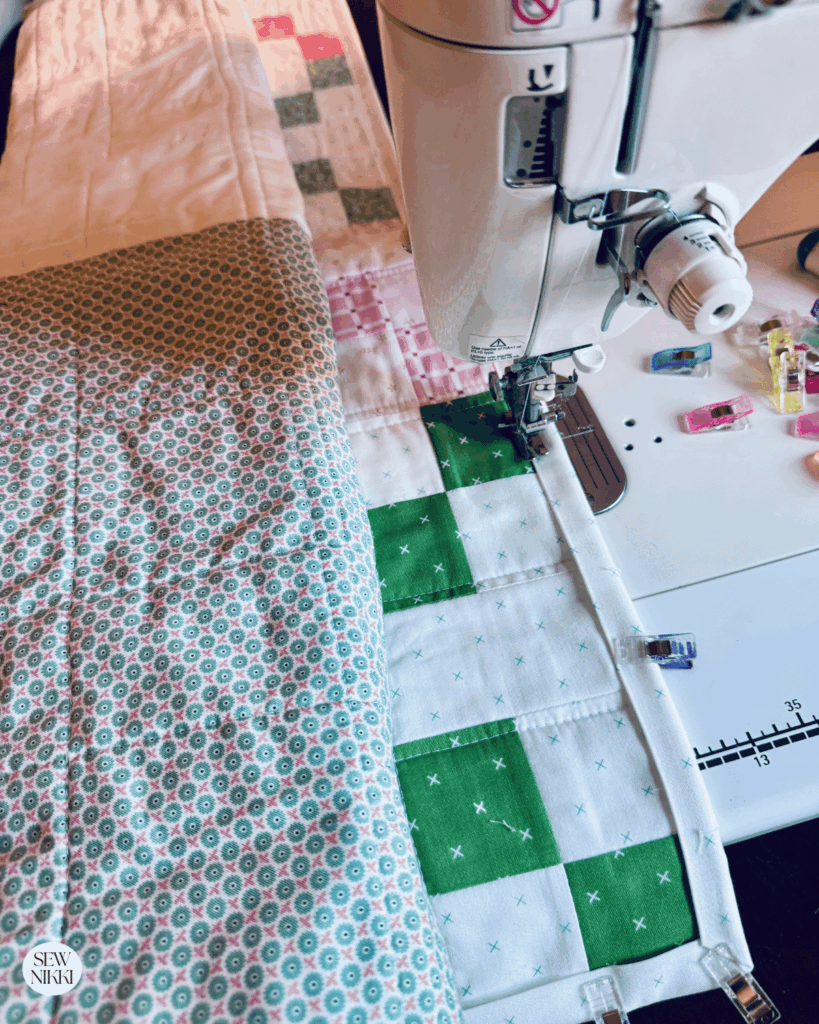
The magic here is in the method. This variation uses four patch units combined with borders and a sashing strip with center square to give the basic single Irish chain block a “bigger chain” effect. You’ll make strip sets to create the four patch units quickly and accurately. Each block is constructed with four four patch units arranged with borders and sashing to create the enhanced chain pattern.
This construction method keeps your seams consistent. When you work with four patch units, you’re building with manageable components that are easier to keep accurate than complex patchwork arrangements. That consistency carries through to your finished blocks, which means they’ll nest together cleanly when you assemble the quilt top. Less trimming, less frustration, better results.
The other reason this pattern works so well for throw quilts is scale. The finished size is generous without being overwhelming, the block layout is straightforward, and the design reads clearly even when you’re working with softer, pastel prints. You get a quilt that feels polished and intentional, no matter your skill level.
MAKE SURE YOU CHECK THIS OUT!
After you read this post, check out Learn How to Quilt for Absolute Beginners. It’s jam packed with information to make your first quilt. It also has links and resources that are so helpful when you’re first learning. There’s lots of free quilt patterns that are great for beginners and all skill levels too. So make sure you check this out, seriously don’t forget!
I made a free Quilting for the Seasons Calendar to help you plan your quilts around holidays and special occasions. It tells you when to begin a seasonal quilt so you can use it when the season arrives. Print it and keep it in your sewing room, planner or quilt notebook.
What You’ll Need to Build This
- Rotary cutter and self-healing mat: You’ll be cutting strips and squares, and accuracy here sets you up for success. A sharp blade makes all the difference.
- Acrylic quilting ruler: A 6″ x 24″ ruler is ideal for cutting width of fabric strips and trimming units to size.
- Sewing machine with a quarter-inch foot: Consistent seam allowances are what make piecing work. A quarter-inch foot takes the guesswork out.
- Iron and pressing surface: You’ll be pressing seams throughout construction. A firm surface and a hot iron keep things crisp.
- Pins or clips: When you’re nesting seams between blocks, a few well-placed pins make alignment effortless.
If you don’t have a quarter inch foot, you can mark a quarter inch guide on your machine with a piece of painter’s tape. It’s not as foolproof, but it works in a pinch. If your rotary blade is dull, replace it before you start. Dragging a dull blade through fabric shifts your cuts and throws off your measurements.
The Fabrics and What They’re Doing
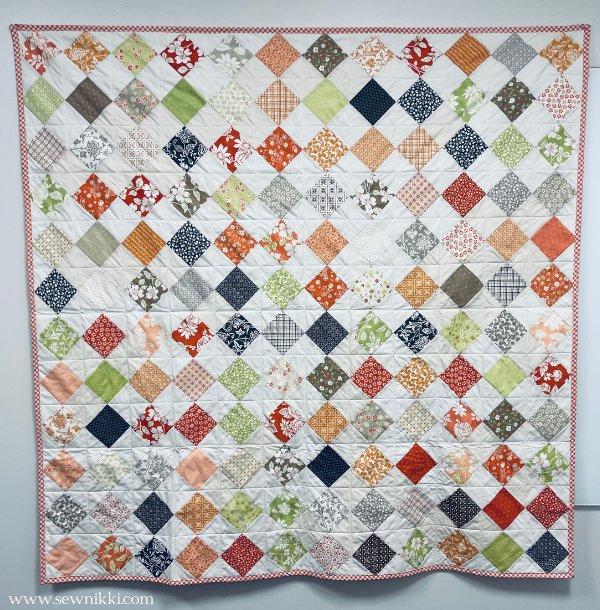
I used yardage from my fabric stash in green, pink and low volume white fabrics. Just make sure you have a visible contrast in your fabric so the chain stands out in your quilt top. Total yards needed is a guestimate since I used fabric from my stash.
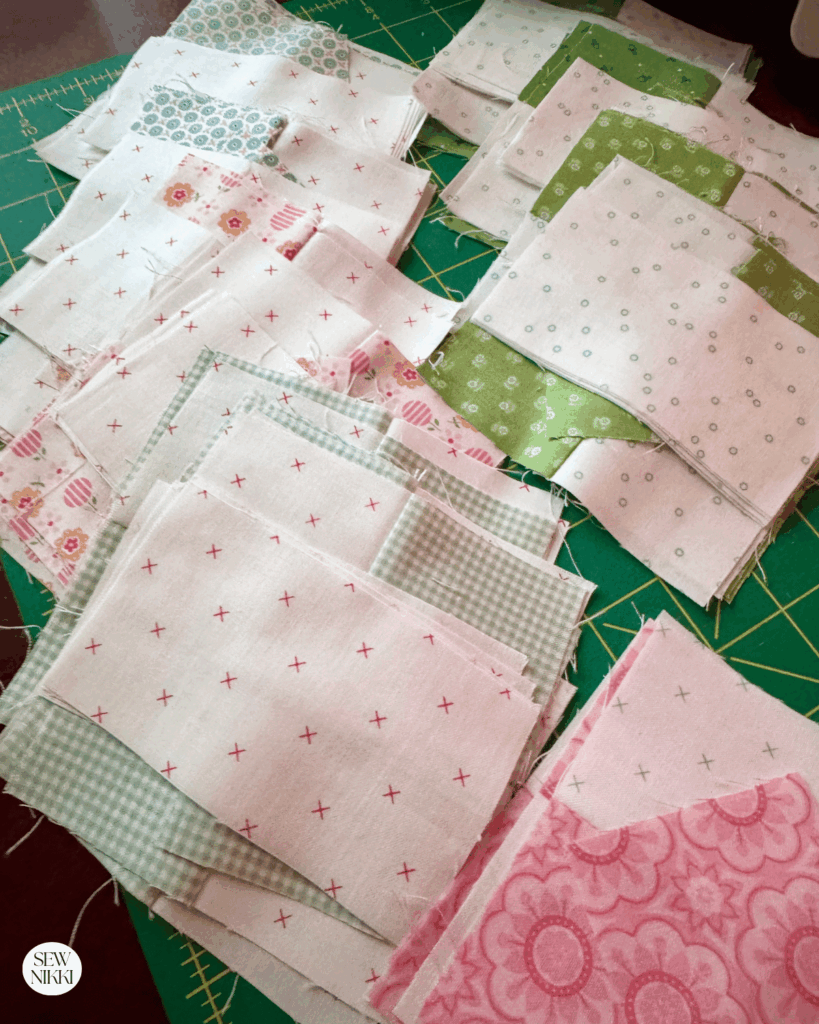
Print Fabric (1.5 yards): This is your star. Choose something that is darker so it stands out. My scrappy sample had some lighter prints and you can see they get lost in the quilt top. Small scale prints are always best for pieced quilts. Next time I will keep all my print fabrics the same level of color. Avoid large scale prints that might get chopped awkwardly when you cut your strips.
Background Fabric (2 yards): This is what makes your chain pop. White, cream, or a very light neutral gives you that classic, airy look. If you want something a little less stark, try a soft gray or a barely there low volume print. The background should recede visually so the chain pattern stays crisp.
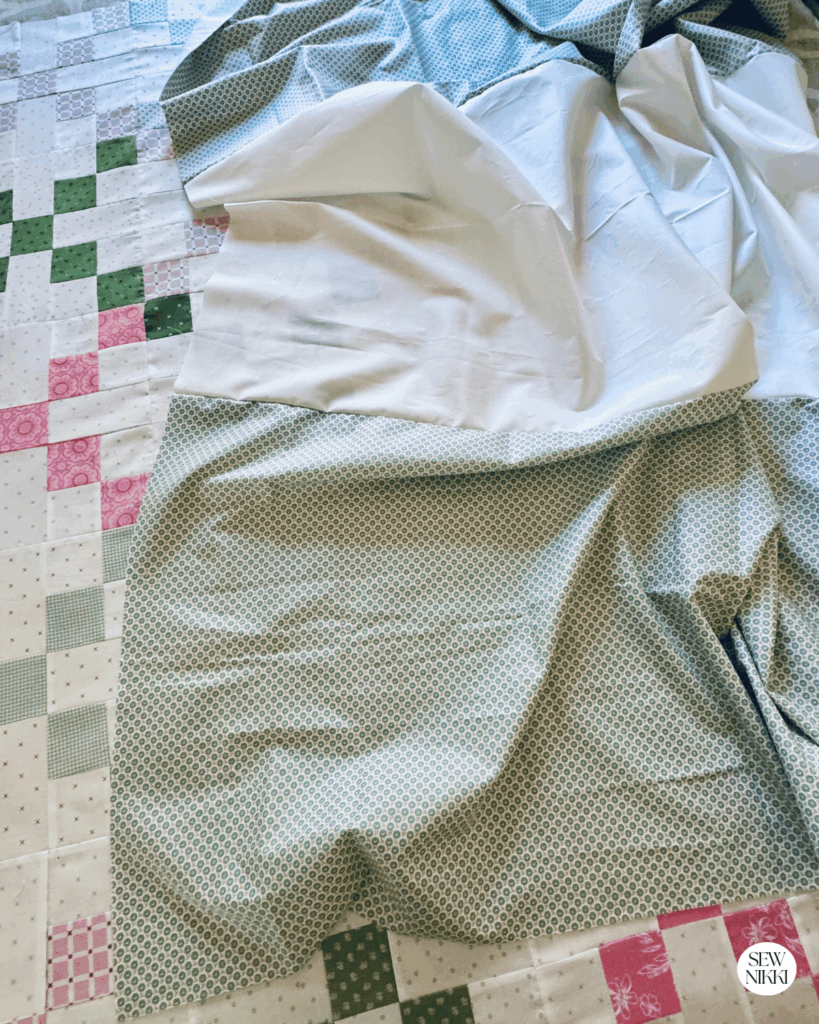
Backing Fabric (2 yards): Go with something that ties the quilt top to the back.
Binding Fabric (0.5 yards): This is your chance to frame the quilt. You can match your print, use your background, or introduce a third color for contrast. A narrow stripe cut on the bias can add a subtle detail that feels intentional.
Batting (45″ x 60″): Low loft cotton or cotton poly blend batting works best for throw quilts. It’s breathable, soft, and easy to quilt.
If you’re working with jelly rolls or precut strips, you can absolutely adapt this pattern. Just make sure your strip width matches the pattern requirements, or adjust your cutting plan accordingly. Fabric with a strong directional print (like stripes) can create interesting secondary patterns if you’re intentional about how you orient your strips.
How to Piece This Quilt from Start to Finish
- Make your four patch units using strip sets. Sew strips of print and background fabric together to create strip sets, then cut into segments and pair segments to create four patch units. Each block requires four four patch units. You’ll need four four patch units for each of your blocks.
- Cut your borders and sashing. From your print and background fabrics, cut border strips and sashing strips according to your pattern measurements. Cut center squares for the sashing intersections. Keep your cuts clean and your edges straight.
- Assemble your blocks. Arrange four four patch units with your border strips and sashing strip with center square to create the bigger chain effect. Pin at the seam intersections, then sew the components together. Press seams carefully. Your blocks should be uniform in size.
- Lay out your quilt top. Arrange your blocks into rows. Step back and look at the overall flow. Make sure your chain is traveling diagonally the way you want. Once you’re happy, take a photo so you don’t lose your layout.
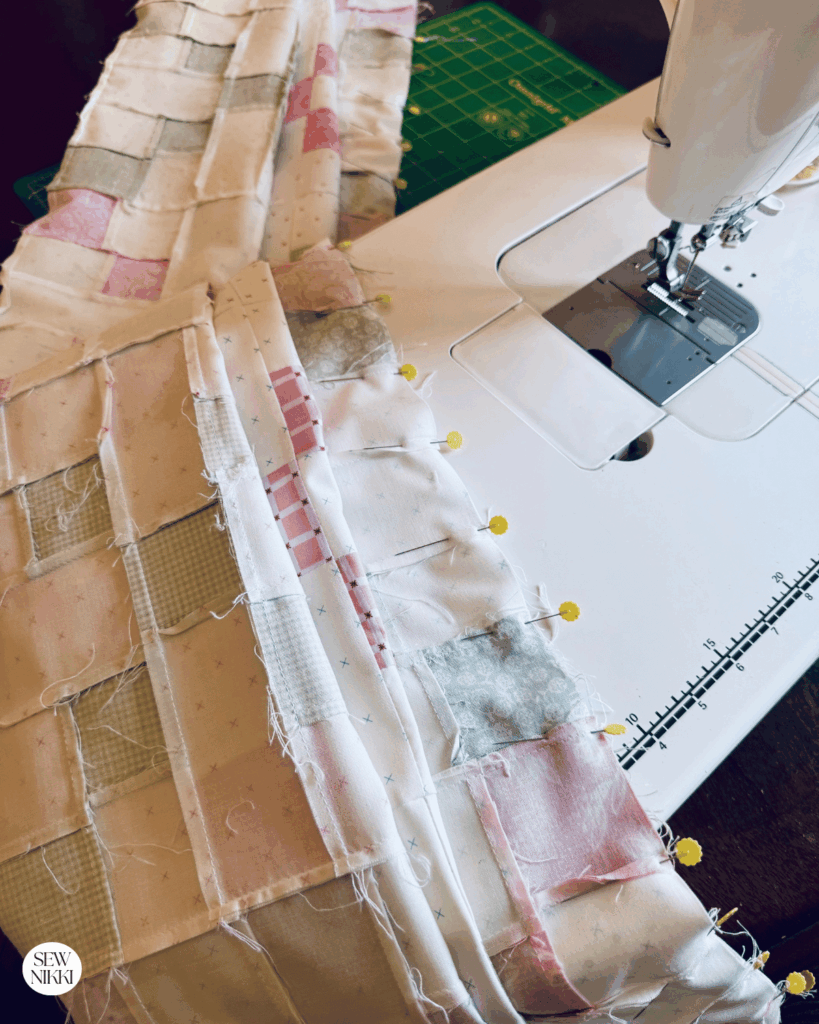
- Sew your rows. Join the blocks into horizontal rows, pinning at each seam intersection. Press seams in alternating directions from row to row. This keeps your seams nesting cleanly when you join the rows and reduces bulk.
- Join your rows. Pin rows together, matching seams carefully. Sew, press, and repeat until your quilt top is complete. Press the final seams all in one direction.
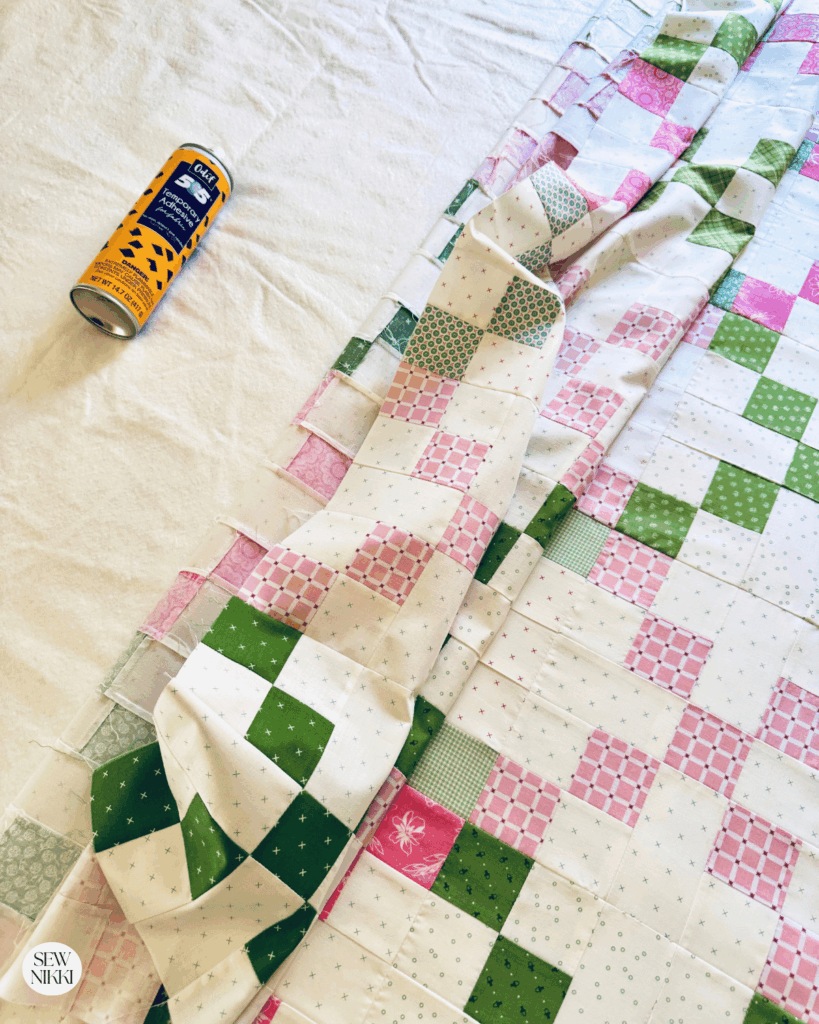
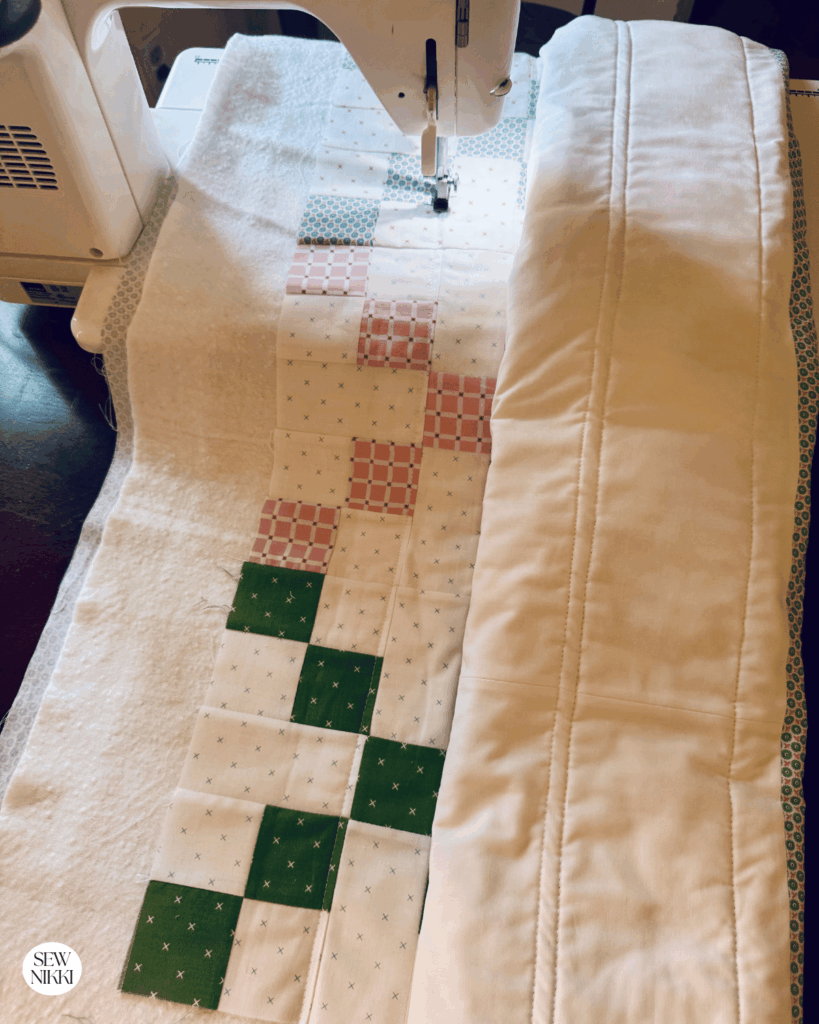
- Baste, quilt, and bind. Layer your backing, batting, and quilt top. Baste with pins, spray, or thread. Quilt as desired. Straight line quilting in a grid or diagonal lines keeps the focus on the piecing. Trim, attach your binding, and you’re done.
The key to clean blocks is consistent seam allowances and careful pressing. If your seams are even a little off, it shows up fast in a geometric pattern like this. Take your time at the machine, and don’t skip the pressing between steps. It’s not optional. It’s structural.
You can alter this pattern to any size quilt by adding more rows or columns.
Get the digital pattern.
You can get the full digital pattern with fabric measurements here.
Easy Quilt Block Patterns
There’s something quietly powerful about finishing a quilt that feels both classic and completely yours. This Irish chain variation gives you that satisfaction without the piecing marathon. The blocks come together faster than you expect, the pattern holds up over time, and the finished quilt has enough presence to anchor a room.
Easy Digital Quilt Patterns
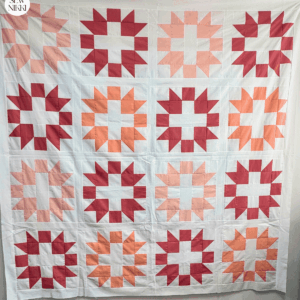
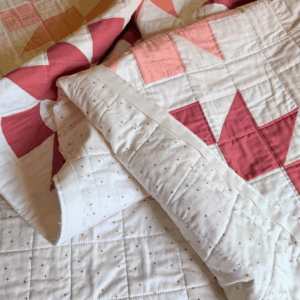


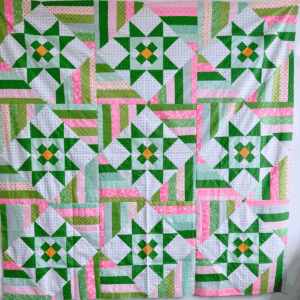
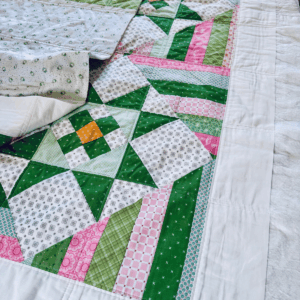
If You’re New Here
I’m really glad you found your way here. If you’re new to quilting, then welcome. The learning curve is fast, and yes, you will face challenges. But I’ve got you. If I can do it, so can you!
Here’s where to go next:
- Learn to Quilt – helps beginners grasp the basics without making quilting seem complicated
- Free Pattern Index – free patterns that are suitable for beginners and intended to help you develop your skills while at the same time making something that you will actually want to use
- Digital Patterns – To make quilting easy so you spend less time concerned about doing it right and more time actually quilting
My blog is built for the home sewist and quilter who wants to make a quilt from start to finish all by themselves. Take a full tour of this blog so you know your way around. Subscribe to the newsletter so you don’t miss out on new patterns or tutorials. And follow me on social media (Pinterest, Instagram, Facebook and Tik Tok).
ABOUT SEW NIKKI
If this is your first time stopping by, welcome! Your place for free crochet, sewing and quilt patterns for beginner to intermediate skill levels. Want a digital pattern? We have those too! Plus tutorials to walk you through how to make each item from start to finish.
Follow me on social media (Pinterest, Instagram, Facebook and Twitter) so you get notifications when I post new patterns and tutorials.
This post contains ads and affiliate links, which means I make a small commission at no extra cost to you. See my full disclosure here.