Stitch in the Ditch Beginner Quilting Tutorial
Such a funny name for a quilting method. While this is not one of my go to quilting methods, it recently came in handy on a quilt design. So here’s a quick tutorial on stitch in the ditch quilting in case you ever need to use it. Stitch in the ditch can be done on any sewing machine, even the most basic. It’s a technique where you quilt right in the seam (aka the “ditch”) of your quilt top to hold all the layers together. I’ll show you two products to make this even easier and share the link to this quilt pattern below.

This scrappy Christmas tree quilt with presents underneath and a candy cane border is by Maker Valley. It’s 72″ x 81″ and it’s just a charm square quilt for the most part. Some blocks are half square triangles. You can grab this pattern by itself or you can purchase the quilt kit so you don’t need to curate the scrappiness. It’s a printed pattern that you will receive in the mail.

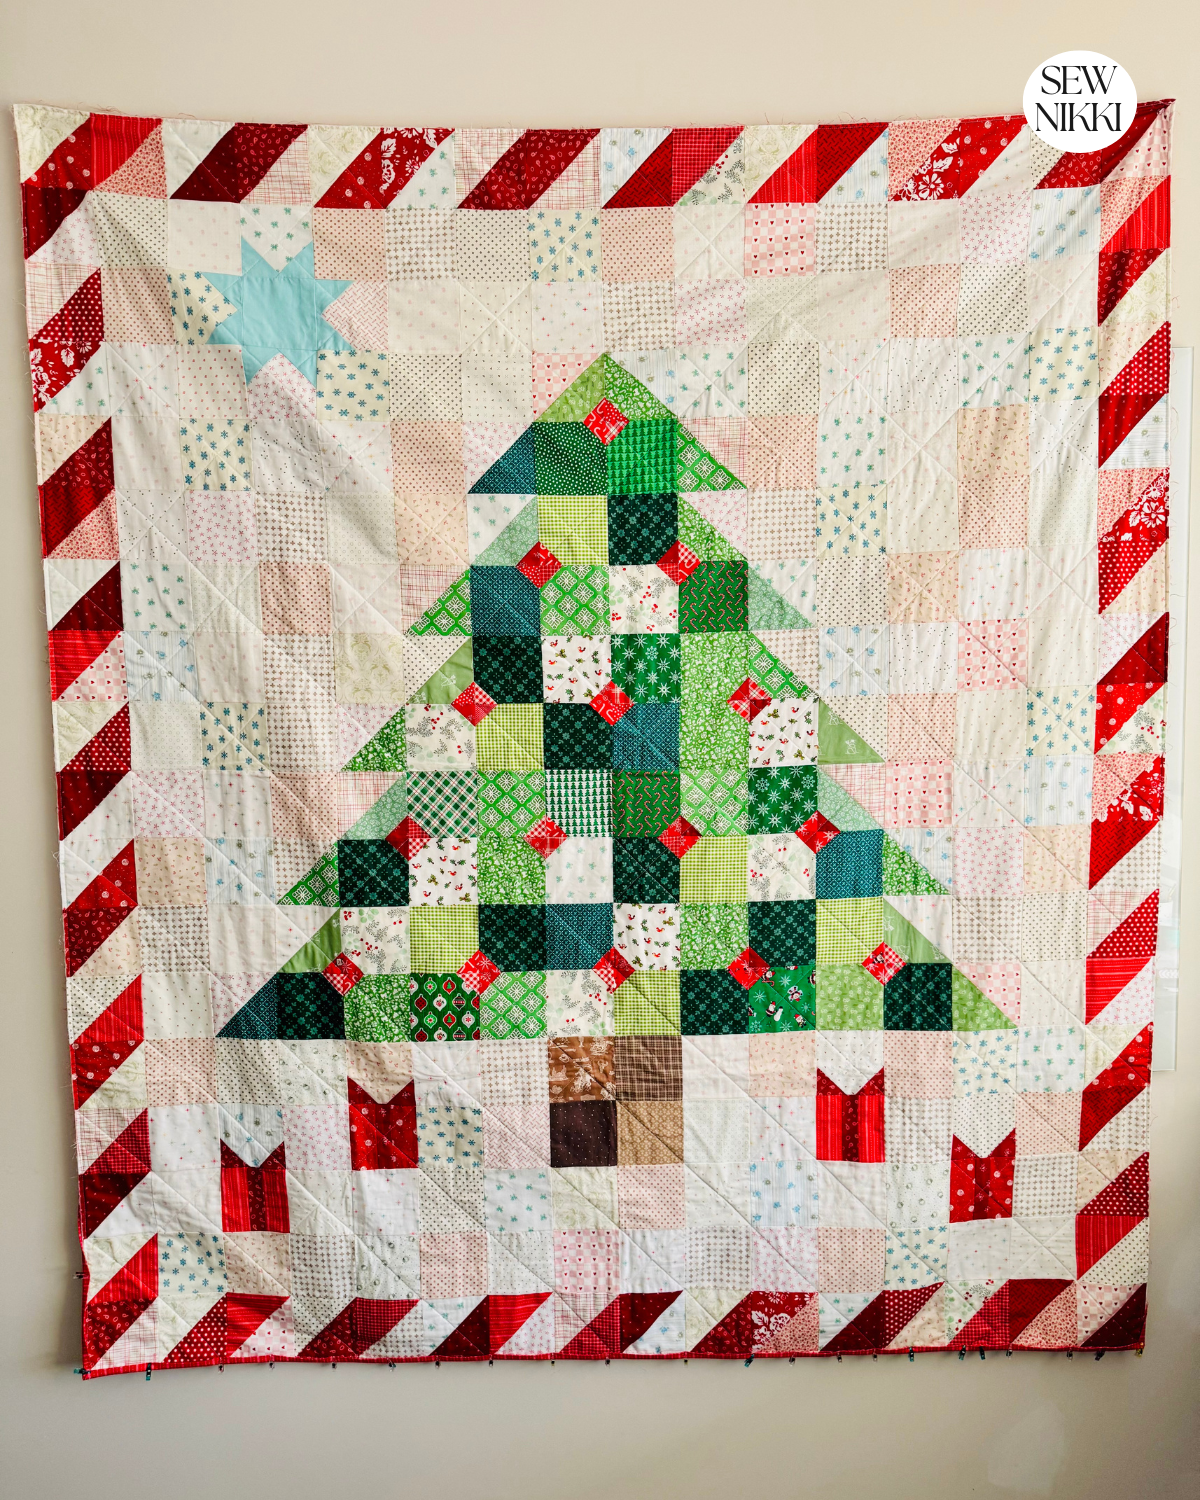
Want to make this quilt? Grab the Happy Christmas Quilt Pattern by Maker Valley


Back to stitch in the ditch quilting. Most of you know that for beginners, I always recommend quilting 1/4″ from the side of the seam lines. You just line your walking foot to the seam line and quilt in straight or diagonal lines. Charm pack quilts end up with a grid pattern on the quilt backing when you do this for each row and column. It’s easy for beginners to follow the outline of the quilt block or the outline of rows and columns.
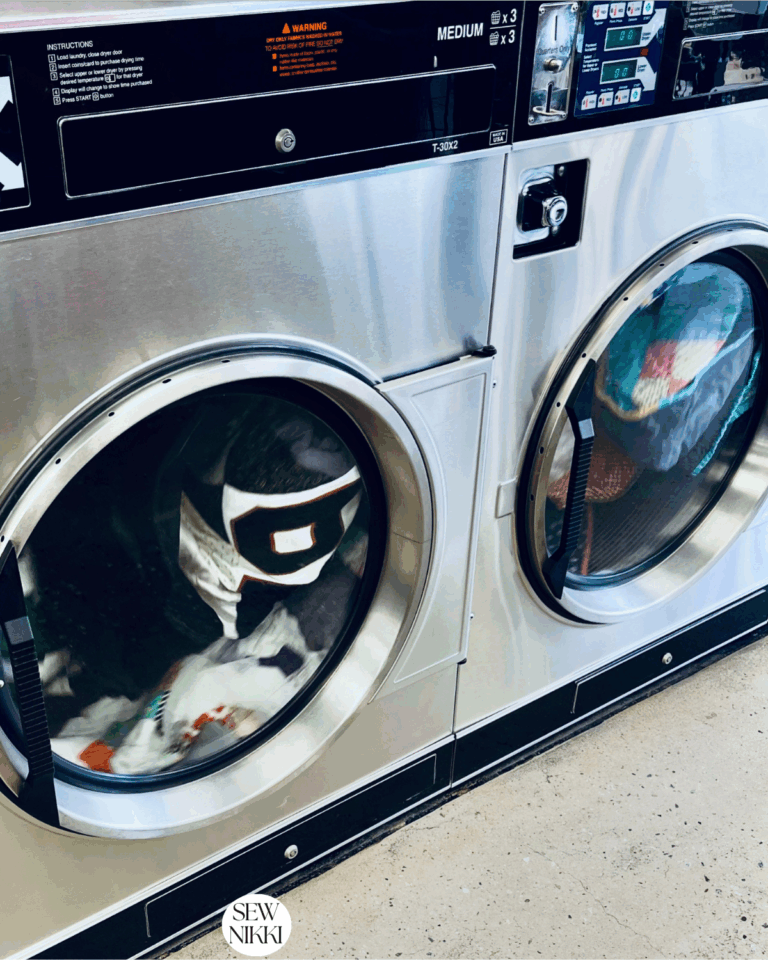
Stitch in the ditch is used when you don’t want the quilting to show on the front of the quilt because you are highlighting the pattern and the piece work. When you stitch in the ditch, in the seam line, the stitch should disappear in that line. You won’t really see the final results until after you wash and dry the quilt. Or if you use invisible thread.
But it can get tricky when you are just starting out and trying to quilt in the ditch, especially if you are using a non-neutral thread for your quilt design. Thread color is really important when using this technique so it doesn’t show mistakes. For my example, I’m using plain old white cotton quilting thread on this scrappy Christmas quilt. It’s a quilt I was hired to make right after Christmas for my nephew’s fiancé Paige.
For this quilt, I decided to do diagonal straight line stitches through charm squares. Some of those charm squares were simple squares and others were half square triangles. When quilting through the half square triangles, I ended up doing the stitch in the ditch method and to my surprise it came out beautifully.
What Is Stitch in the Ditch Quilting?
“Stitch in the ditch” means quilting directly in the seams between your patchwork blocks. When done well, the stitching blends in so it’s barely visible from the top, and it lets the piecing shine while still securing all three layers of your quilt sandwich (top, batting, and backing).
It’s perfect for:
- Beginners learning how to quilt on a machine
- Quilts with straight seams (like log cabins, four-patch, nine-patch, etc.)
- Anyone who wants a clean, no-frills look
Want to try a beginner-friendly quilt pattern? Check out the Checkerboard Quilt Pattern (Free) — it’s perfect for stitch in the ditch quilting!
Before we dive in, here’s what you’ll need:
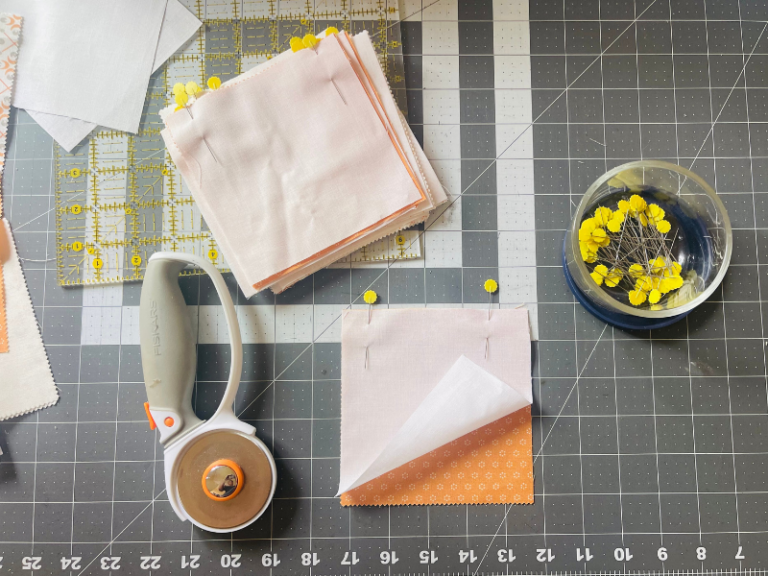
- Your quilt sandwich: basted and ready to go (spray basted, pin basted—your choice)
- Walking foot: This helps feed all the layers evenly and prevents shifting. Highly recommended.
- Thread: Choose a color that blends in with your quilt top if you want your stitches to disappear. Bobbin thread should match top thread. For best results, clean machine and change machine needle before you begin.
- Home sewing machine: Any regular sewing machine will work! Practice on a little sample before quilting on your real quilts. Practice the sewing technique first or just go for it.
- Straight line quilting: Check out this tutorial for more information.
If you’re working with a larger quilt, you’ll appreciate more throat space. I reviewed my favorite budget-friendly machine here: Best Large Throat Quilting Machines (Under $900)
MAKE SURE YOU CHECK THESE OUT!
After you read this post, make sure you also check out Learn How to Quilt for Absolute Beginners. It’s jam packed with information to make your first quilt. It also has links and resources that are so helpful when you’re first learning. There’s lots of free quilt patterns that are great for beginners and all skill levels too. So make sure you check this out, seriously don’t forget!
Make sure you grab a copy of my free Quilt Planning Journal. It’s filled with graph paper and note pages to help you design at least 4 quilt or sewing projects! Use it to jot down ideas, fabrics, patterns and inspiration all in one place. Or create your own patterns and share with others. Pin in fabric swatches, photos of your finished quilts and enjoy your creative process!
How to Stitch in the Ditch (Step-by-Step)
1. Start in the Middle
First step is to start quilting near the center of your quilt and work your way out. Starting in the middle helps to prevent puckering of your quilt layers. Things move around when you quilt and all the rolling up of the quilt sides to get it under the sewing machine throat may move things around too. You quilt on the front of the quilt (quilt top) until both directions of the entire quilt are done. Know the quilt plan and what patchwork seam you don’t want to quilt in before you begin.
2. Use Your Walking Foot
Attach your walking foot to your machine or use a quilting foot for higher end domestic machines. You can also get a special presser foot call a “ditch foot” but you don’t have to have it. However, the special foot helps you push through the seam line whereas the walking foot or quilting foot does not do this..
3. Line Up Your Needle in the Seam
Set your stitch length to 3.0 to 3.5, depending on your machine and adjust the presser foot to raise it so the tension is not too tight. You don’t need a super tight stitch length when quilting your sandwich. On the flip side, you don’t want your stitch length so big that you can snag it will a fingernail. Then carefully position your needle right in the seam line, that’s the ditch. Some seams may be pressed to one side so stitch on the lower side of the ditch.
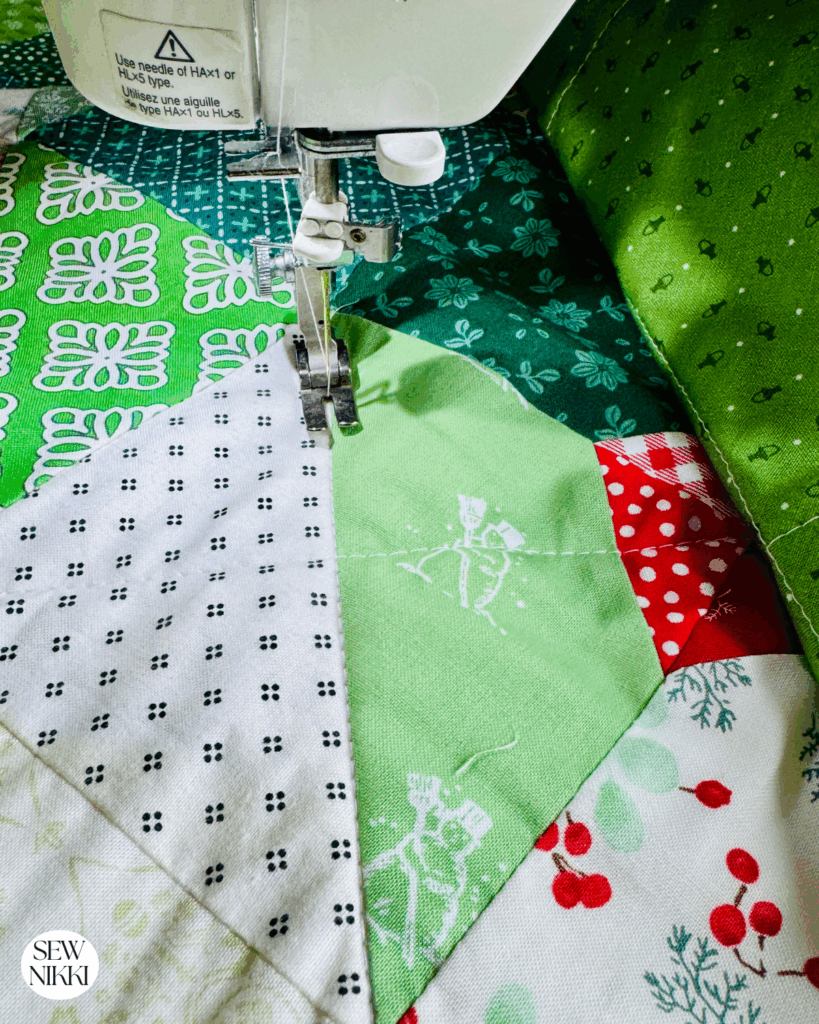
Don’t stress if it’s not perfectly in the seam. Just do your best. This is where a neutral thread color really comes in handy. The darker the thread, the more your mistakes will show. The lighter the thread, the less your mistakes will show.
4. Quilt in Straight Lines
Follow the seam lines across the quilt—either horizontally, vertically, or both. You can do a full grid if your quilt design supports it. Map out your quilting lines before you start quilting. Decide how you want to quilt and where your stitch lines will go before you start. For example, I have a star on my quilt and didn’t want to quilt through the center of it so I planned how far apart I would quilt and which middle row to start in. Do not backstitch at the beginning and end of each line, this is not necessary. You can trim off long thread tails when you square up your quilt once you are done machine quilting.

5. Rotate and Repeat
Once you’ve done the vertical lines or horizontal lines, rotate your quilt and go the other direction. Work slowly so your stitch length is nice and even across your quilt top. Sometimes if you try to sew super fast, your stitches will get shorter and tighter. Take your time to get that nice stitch throughout our project.
Bonus Tips for Success
- Use quilting gloves for better grip, especially on larger quilts.
- Roll or bunch the quilt to fit it through the throat space.
- Take breaks. Your shoulders will thank you.
- If your seams aren’t perfectly matched, don’t worry—this quilting method is forgiving. Once the quilt is washed, you won’t notice little mistakes if you use a neutral color of thread.
Try It on a Beginner Quilt Pattern
Want to practice stitch in the ditch on an actual quilt? Here are a few of my patterns that are perfect for it:
- Blushing Blocks – Square in a square quilt
- Bow Tie Quilt – Great for beginners
You can find ad-free digital downloads of all my quilt patterns in the new Sew Nikki Pattern Shop — everything is easy to print and follow, no popups or distractions.

Stitch in the Ditch Products
This special “stitch in the ditch” presser foot has a blade that is placed in the middle of the seam. It slides through seam before your sewing machine stitches and is supposed to make this quilting technique much easier and your stitching more invisible. If you buy the ditch foot, make sure you sewing machine brand is listed in the product posting. They make presser feet for low shank or high shank machines. My Juki is a low shank so this is the foot I would purchase.

You can also try using invisible quilting thread and use this with any presser foot for machine quilting. I have not tried this brand but you can give it a try. Go to the Resource page for a list of all my favorite quilting products.
ABOUT SEW NIKKI
If this is your first time stopping by, welcome! I’m Nikki, a maker obsessed with quilting, crochet, and all things fabric. Here, you’ll find easy-to-follow patterns, helpful tutorials, and plenty of inspiration for your next handmade project. Whether you’re stitching up a cozy quilt, crocheting a vintage-inspired blanket, or diving into upcycled sewing, I’m here to make the process fun and stress-free. Grab your fabric (or yarn), and let’s create something beautiful together!
Just do your best with you stitch in the ditch. The best part of washing a quilt is that those little mistakes won’t even be noticeable after it’s washed and dried. Quilts get crinkly and awesome, so don’t stress. I used to stress out so much over every little thing. Just breathe and finish that quilt!
Got questions or tips to share? Drop them in the comments below!
Follow me on social media (Pinterest, Instagram, Facebook and Twitter) so you get notifications when new patterns and tutorials are posted.
Want to learn how to crochet? Check out this post, How to Learn How to Crochet – Guide for Beginners.
This post contains ads and affiliate links, which means I make a small commission at no extra cost to you. While the ads may seem annoying, it helps keep this blog going. See my full disclosure here.


So pretty! On my list to learn someday!
Love this quilt! You did a great job explaining the technique and making it easy for beginners!
Love this!! I feel like I always learn from your great posts!
I want a hobby like quilting. My grandma has always been into it. There is so much good info here.
This is so cool. I have made a few quilts a long time ago and did not use this technique, but I really like the way it looks! You did a wonderful job on that quilt and thank you for sharing these very helpful and detailed instructions for the stitch in the ditch technique!
Beginning in the middle to avoid puckering is so smart! It seems obvious now, but I definitely should have started doing this sooner.