Trip Around The World Quilt Pattern
The Trip Around The World Quilt Pattern is a fun way to use up leftover fabric scraps and turn simple 2.5 inch squares into a beautiful quilt. This mini version starts with one square in the center, and you build outward, adding rows of fabric squares until you reach your desired quilt size. The best part is that you don’t have to quilt on point or deal with setting triangles. We square up the sides by decreasing selected rows around the quilt to create straight edges.
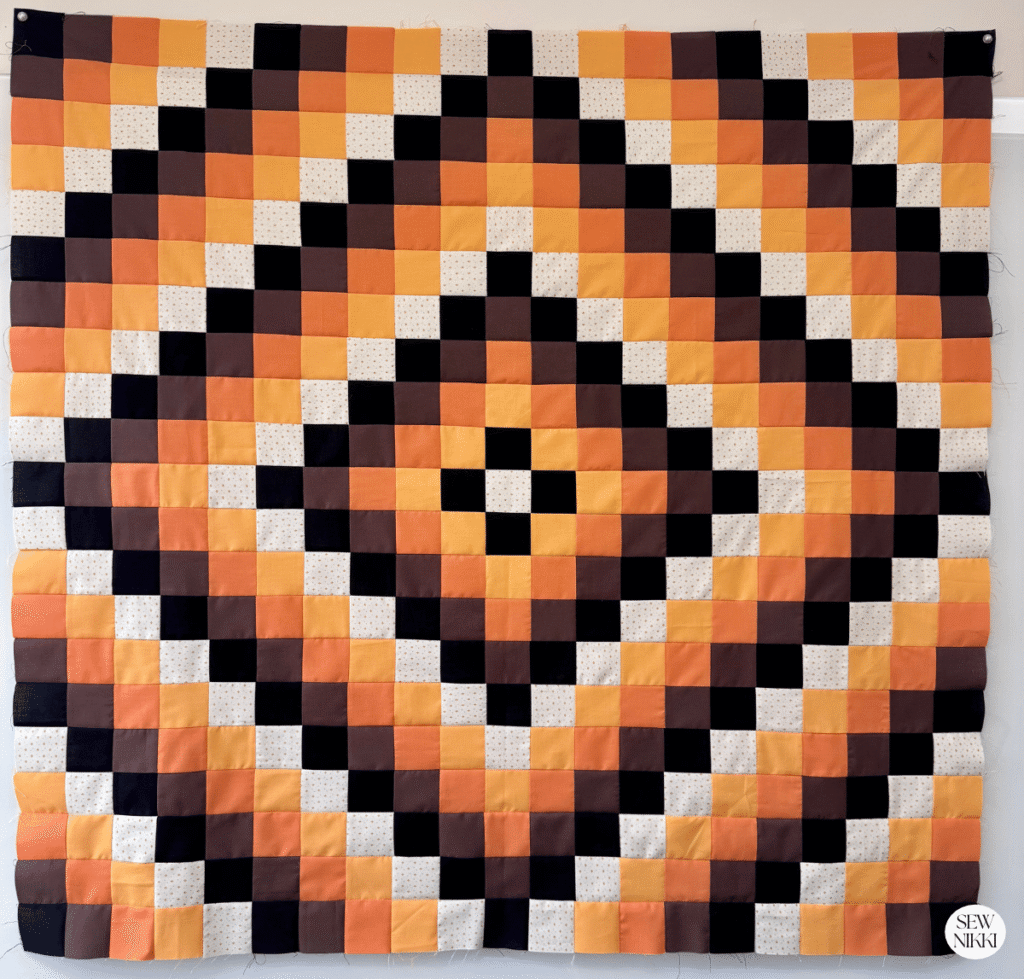
I’m making this smaller version using leftover fabric scraps from my last quilt. I always seem to have pieces of quilting cotton left over from previous projects, and I’m happy to find another way to use them. This is a great scrap quilt because you can mix different prints, colors, and fabrics without needing to buy anything new.
The traditional Trip Around The World quilt has a beautiful design that looks complicated, but it’s made with simple squares. You can use jelly rolls, charm squares, layer cakes, fat quarters, fabric yardage, or whatever you have in your fabric stash.
Why Make a Trip Around The World Quilt?
One of the things I like about this quilt is how easy it is to change the colors and make it your own. Traditional Trip Around The World quilts often use a gradual color change, but you don’t have to follow any rules. Pick colors you love, use what you have, and have fun with it.
This mini version is especially good for using leftover fabric from other quilting projects. You don’t need large pieces of fabric, and you can mix prints with solids, add low volume fabrics, or use several shades of the same color.
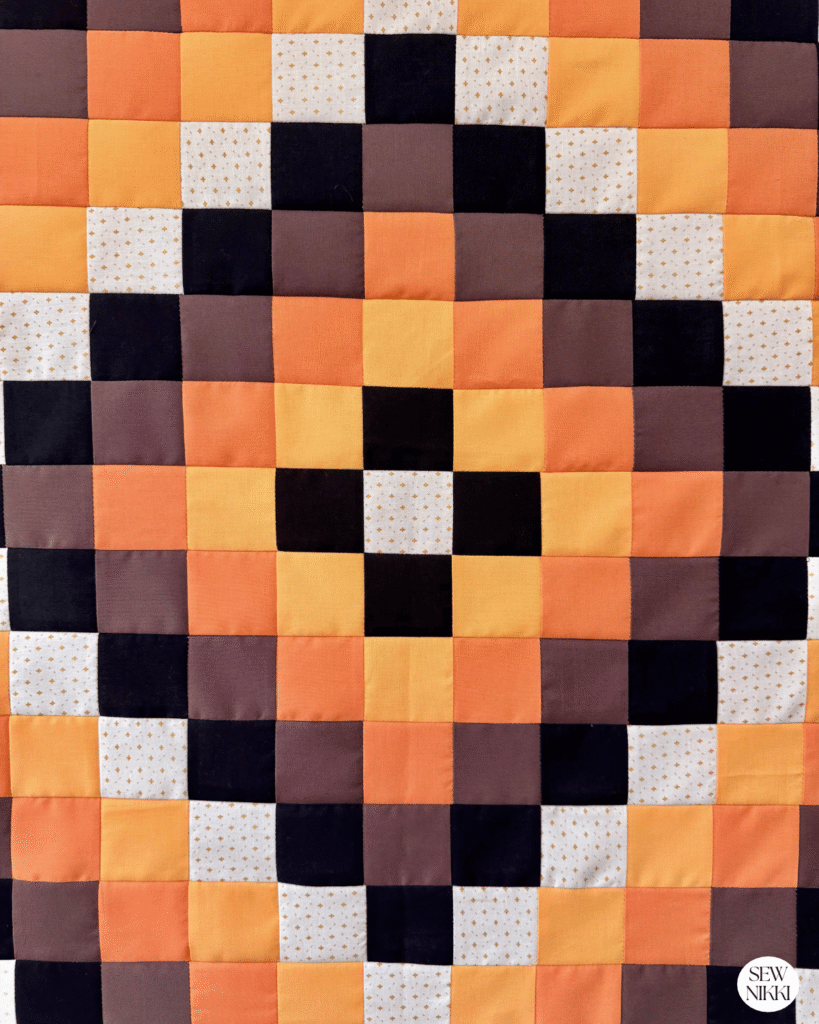
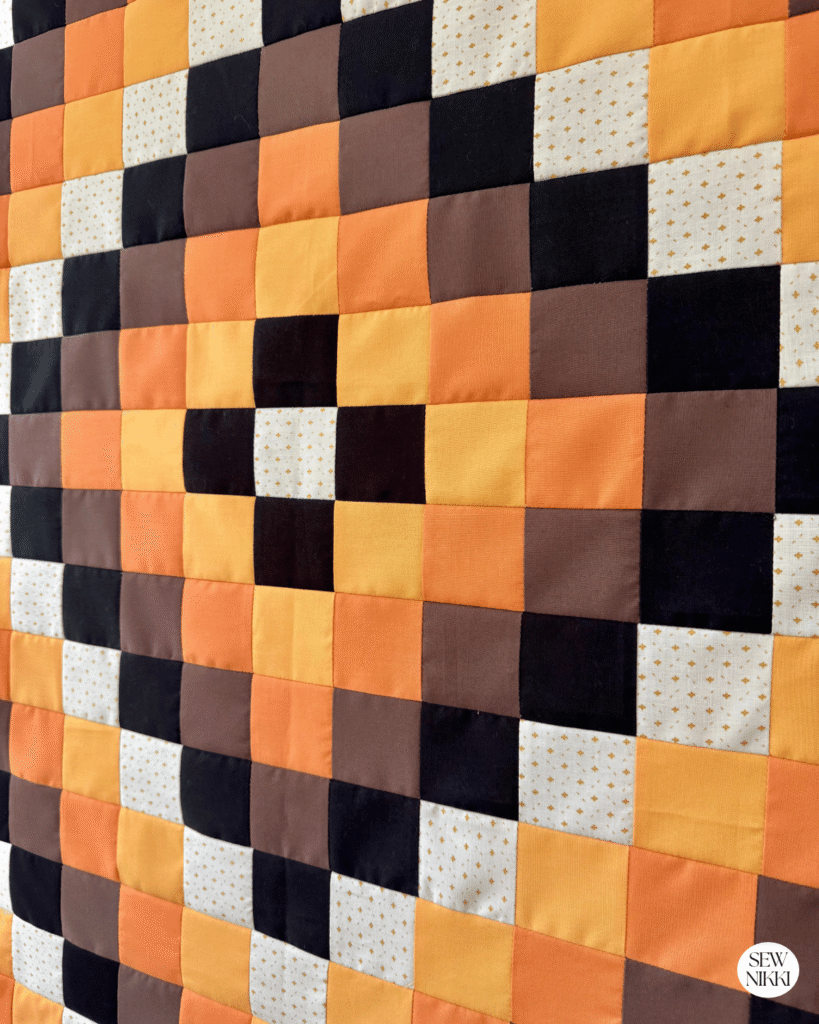
It’s also a good way to practice sewing accurate 1/4″ seams and keeping your squares lined up. Since the quilt is made with smaller squares, pressing the rows as you go will help keep everything laying flat.
Fabric and Supplies for Your Trip Around The World Quilt
For this quilt, you’ll need 2.5 inch fabric squares. Cut them from leftover quilting cotton or use precut fabrics.
Here are a few ways to get your fabric ready:
- Jelly rolls: Cut your 2.5 inch strips into squares.
- Charm squares: Cut your 5 inch squares into four smaller squares.
- Layer cakes: Cut your 10 inch squares into smaller squares.
- Fat quarters: Cut 2.5 inch strips from your fat quarters and then cut those strips into squares.
- Fabric yardage: Cut as many 2.5 inch squares as you need.
- Fabric scraps: Mix and match leftover pieces from previous projects.
You’ll also need a sewing machine, rotary cutter, cutting mat, quilting ruler, thread, iron and ironing board.
I recommend laying out your fabric squares before sewing. This gives you a chance to move colors around and see how the different prints look together.
MAKE SURE YOU CHECK THIS OUT!
After you read this post, check out Learn How to Quilt for Absolute Beginners. It’s jam packed with information to make your first quilt. It also has links and resources that are so helpful when you’re first learning. There’s lots of free quilt patterns that are great for beginners and all skill levels too. So make sure you check this out, seriously don’t forget!
Grab a free Quilt Planning Journal. It’s filled with graph paper and note pages to help you design at least 4 project! Pin in fabric swatches, photos of your finished items and enjoy your creative process!
Trip Around The World Quilt Pattern
This quilt is built around one 2.5″ starting square. Each new round is made by adding more squares around the previous square. You’ll continue building outward until the quilt top reaches your desired width. Then you will square the quilt top by only adding rounds up to the sides and stopping.
The trick to this version is how we finish the outside edges. Instead of sewing the entire quilt on point and adding setting triangles, we decrease selected rows along the outside edges. This creates a straight, square quilt top without having to turn the whole quilt diagonally.
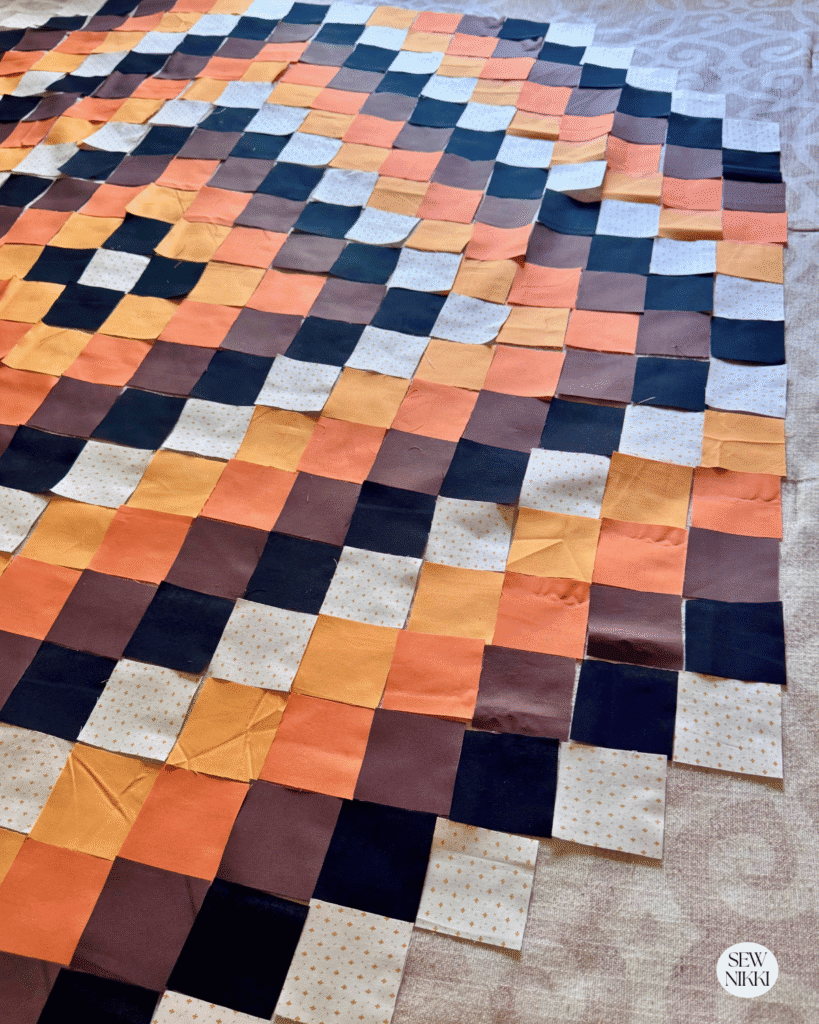
Fabric placement
- Fabric A: Low volume print. (Riley Blake Ivy Reese by Deena Rutter)
- Fabric B: Solid black. (Kona Black)
- Fabric C: Solid light orange.
- Fabric D: Solid dark orange.
- Fabric E: Solid dark brown.
Number of squares needed
Here are the number of 2.5″ squares I used in the sample quilt. My quilt top dimensions are 42″ x 43.75″.
| Fabric | 2.5 inch squares |
|---|---|
| Fabric A (off white) | 84 |
| Fabric B (black) | 92 |
| Fabric C (light orange) | 88 |
| Fabric D (dark orange) | 88 |
| Fabric E (dark brown) | 88 |
You can get approximately 112 to 120 two and a half inch squares from a half yard of fabric. Double that amount from a full yard of fabric.
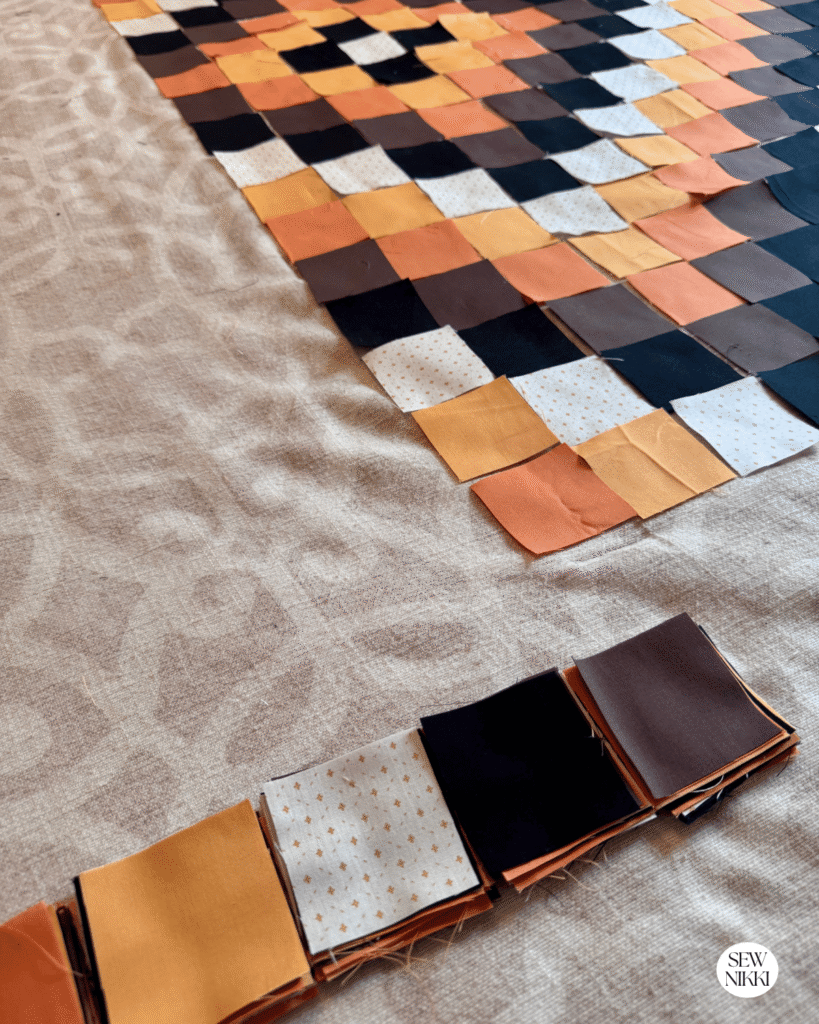
This quilt pattern uses a 1/4″ seam allowance for all sewing portions.
I use my bed (or floor) to layout the pattern and then sew squares to form rows. Sew rows together to form quilt top. Here’s the basic construction below:
- Start with one 2.5″ low volume fabric square in the center.
- Add the next round of squares (black) around the center square.
- Continue adding rows around the quilt, use my photo if you are following my color chart.
- Once you have your desired width, decrease selected rows along the outside edges to create straight sides.
- Continue building until your quilt top is square in all four corners.
- Press your rows before joining to another row. This will make life easier in the long run.
- Once the quilt top is complete, finish the rest of the quilt steps. You can also add wide borders on all sides to make it a throw size quilt.
Get the digital pattern.
You can get the digital pattern without ads here.
Choosing Fabric for Your Quilt
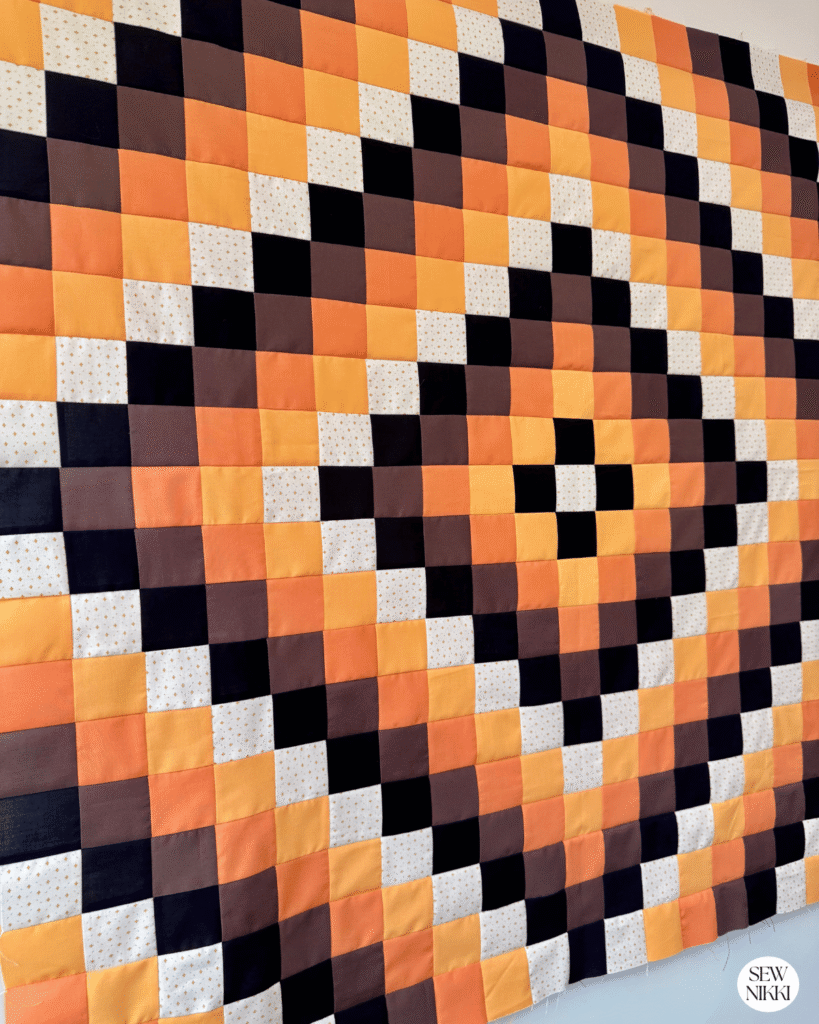
I’m using a total of 5 fabrics. I did two full rounds of these fabrics and then squared the quilt out. If you want to make this quilt larger, each finished square will be 2″ so use that number to make this quilt larger. My sample measures 42″ x 43.75″.
Since I’m using leftover scraps from my Giant Granny Square quilt, I’m mixing Fall colors and removing any Halloween prints. I also added a solid dark brown fabric I had in my stash. You could also try:
- Christmas fabrics for a holiday mini quilt.
- Blues and creams for a traditional look.
- Bright colors for a fun scrappy project.
- Neutrals for a simple modern quilt.
- Leftover fabric from previous quilting projects.
Don’t worry about having matching fabric collections. Sometimes the best scrap quilts come together using fabrics you wouldn’t normally put together.
If You’re New Here
I’m really glad you found your way here. If you’re new to quilting, then welcome. The learning curve is fast, and yes, you will face challenges. But I’ve got you. If I can do it, so can you!
Here’s where to go next:
- Learn to Quilt – helps beginners grasp the basics without making quilting seem complicated
- Free Pattern Index – free patterns that are suitable for beginners and intended to help you develop your skills while at the same time making something that you will actually want to use
- Digital Patterns – To make quilting easy so you spend less time concerned about doing it right and more time actually quilting
My blog is built for the home sewist and quilter who wants to make a quilt from start to finish all by themselves. Take a full tour of this blog so you know your way around. Subscribe to the newsletter so you don’t miss out on new patterns or tutorials. And follow me on social media (Pinterest, Instagram, Facebook and Tik Tok).
More Digital Quilt Patterns
If you enjoy square quilt patterns and scrappy projects, take a look at my other quilt patterns.


ABOUT SEW NIKKI
If this is your first time stopping by, welcome! Your place for free crochet, sewing and quilt patterns for beginner to intermediate skill levels. Want a digital pattern? We have those too! Plus tutorials to walk you through how to make each item from start to finish.
Follow me on social media (Pinterest, Instagram, Facebook and Twitter) so you get notifications when I post new patterns and tutorials.
This post contains ads and affiliate links, which means I make a small commission at no extra cost to you. See my full disclosure here.