How to Machine Quilt With Walking Foot For Beginners
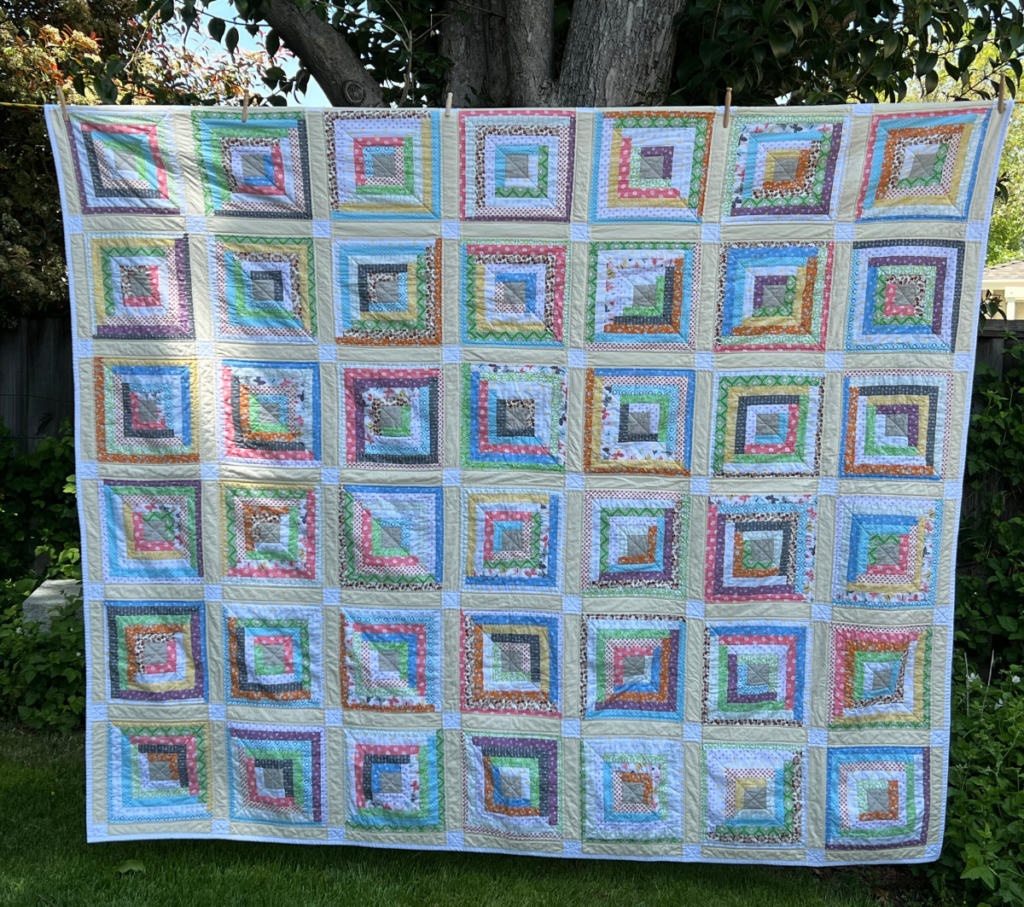
Today I will show you some machine quilting patterns with a walking foot. Straight line, diagonal line and stitch in the ditch machine quilting patterns all done with your walking foot or 1/4″ foot. I am straight line and diagonal line quilting my king size log cabin quilt and sharing instructions for a beginner to follow. If you are a newbie quilter and want to quilt your own quilt, you’ve come to the right place.
We will cover walking-foot quilting designs using straight lines for beginner quilters on either modern quilts or classic quilts. Following seam lines in the quilt top using a walking foot or a 1/4″ presser foot (presser foot recommended for professional grade machines only).
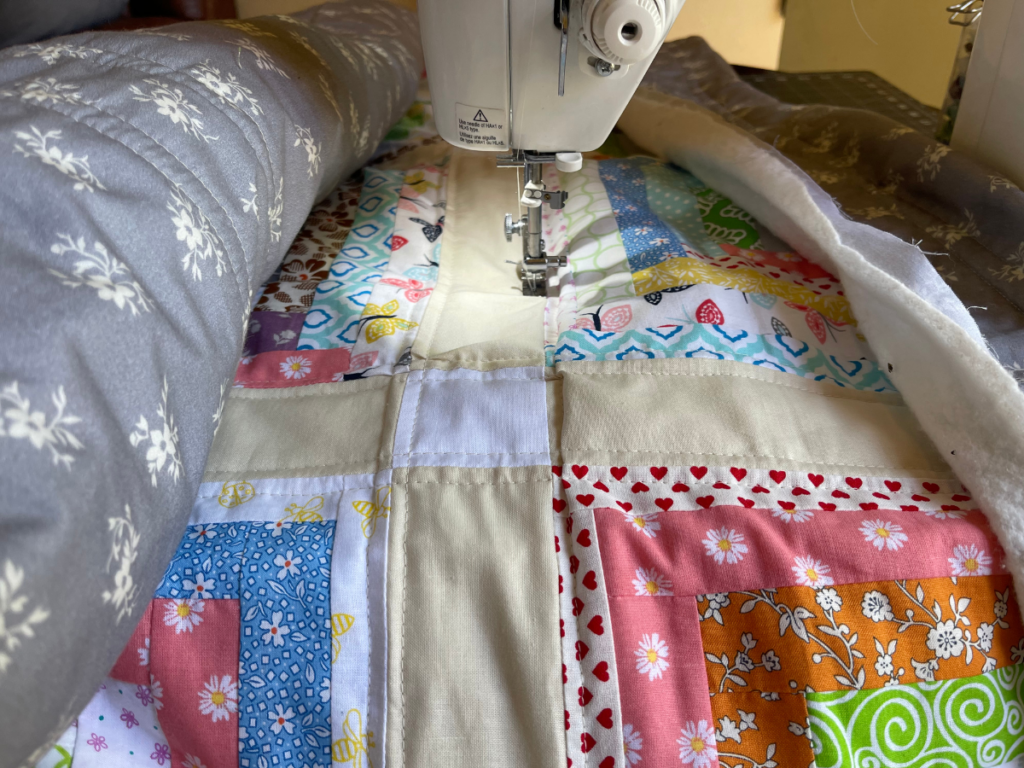
It’s a good idea to start on a small baby quilt first before moving on to a king size quilt but the walking foot quilting designs follow the same quilting technique no matter what size your project is. Below is a picture of my very first quilt, using a Singer Start and walking foot. I had no clue what I was doing! The above picture is my new log cabin quilt using a Juki professional machine and 1/4″ presser foot.

MAKE SURE YOU CHECK THESE OUT!
After you read this post, make sure you also check out Learn How to Quilt for Absolute Beginners. It’s jam packed with information to make your first quilt. It also has links and resources that are so helpful when you’re first learning. There’s lots of free quilt patterns that are great for beginners and all skill levels too. So make sure you check this out, seriously don’t forget!
Make sure you grab a copy of my free Quilt Planning Journal. It’s filled with graph paper and note pages to help you design at least 4 quilt or sewing projects! Use it to jot down ideas, fabrics, patterns and inspiration all in one place. Or create your own patterns and share with others. Pin in fabric swatches, photos of your finished quilts and enjoy your creative process!
4 Steps to Making a Quilt
There are 4 main steps all skill levels follow when making a handmade quilt. Creating quilt top, basting entire quilt sandwich, free-motion quilting or walking-foot quilting and binding. Here are step-by-step instructions for machine quilting on a domestic sewing machine or home sewing machine with a walking foot.
These instructions are for completing a whole quilt and not a quilt as you go in small sections. This is not a new design but tried and true walking-foot designs common to all quilters.
Since these instructions are for a walking foot, they will not be useful if you are free motion quilting. When free motion quilting, you would only use a free motion quilting foot. Lower your feed dogs and a walking-foot would never be used.
Caring for Your Machine
There are 3 layers of a quilt sandwich and the straight stitch goes through them like butter if you start with a clean sewing machine. Refer to your user manual on how to operate and maintain your domestic sewing machine. If you don’t take care of your home sewing machine it will not run properly, will skip stitches, will break sewing needles and the list goes on and on.

Change Your Needle Often
Change your sewing needle every day you sit down and sew a lot for a few hours. Take the throat plate apart and clean everything, change the needle and rethread before you start quilting. Repeat this step again if your project is really big and the machine starts skipping stitches or your thread keeps breaking.
Check Your Stitches and Thread Tension
Use your eyes and ears when you sew because your machine will talk to you when it’s not running right. Make sure you are always looking at your stitches and the stitches on the back of the quilt to make sure your tension is not too loose or too tight and that it looks correct.
Oil Your Machine
Remove all lint and tiny thread pieces cleaned from below the needle plate, put in a fresh sewing needle and re-thread your machine.
When cleaning your machine keep it well oiled with sewing machine oil. This is true for Singer’s and less expensive machine. This is NOT true for more expensive sewing machines. When in doubt, refer to the user manual or find your local sewing machine repair shop and ask them. Local stores are your best resource for all things sewing machine. Even if they don’t see your brand, they will most likely know how to maintain and repair it.
Make sure your bobbin thread is full and you have some bobbins threaded on the bobbin spools as backup and ready to go when you run out. Finally, make sure your tension is adjusted properly so that when you do a practice swatch there are no puckers on the back of the quilt.
Change to Walking Foot
If you have been piecing blocks together then you have been using your quilting foot, also called a 1/4″ presser foot. Remove that and follow your instructions manual for your machine to install your walking foot. If you cannot follow your instructions, then try watching this YouTube tutorial and mimic on your machine.
Annual Maintenance
It’s also recommended to have your machine cleaned and serviced annually. I had mine for 2.5 years before I took it in for maintenance and that’s because it wouldn’t sew for me. Now it works like butter and I know the importance of having this done.
Machine Quilting Patterns With Walking Foot – Instructions
To begin, you need to find the middle of your quilt sandwich and roll both sides towards the middle until the right roll will fit in your sewing machine throat. This is the section on your sewing machine between the section where the hand turn dial is and where you sew (where the needle is).

You will begin quilting in the middle section of the quilt and working your way to the right until done, rolling up on the left side and unrolling the right side as needed. Start at the top of the quilt just before the quilt top begins (your walking foot should be sitting on the backing fabric with batting only on top of it. First line that you quilt will be in the middle section of the quilt. Start in the middle of the quilt, right side facing up, and with stitch length set to 3 or 3.5, sewing machine’s feed dogs are up in the standard position (and not lowered for free motion quilting).
Straight Line Stitch
Line up your presser foot or walking foot so that it touches the seam line on your quilt top and you sew a straight stich from the top of the quilt all the way off the bottom of the quilt. Then flip the quilt and do the other section starting in the middle and working your way to the right. Now you will have one half of the quilt complete. Now it’s time to turn it the other direction and repeat the steps above.

Next, you will take your quilt sandwich and unroll it. Now we are going to quilt in the other direction. Again, find the middle of the quilt and roll up both sides so that it will fit in your sewing machine throat. Follow the steps above, starting on the batting before your quilt top begins, following the seam line with your foot up against the seam and sewing a straight stitch all the way to the bottom of the quilt top. Make sure you start and stop sewing a little before the quilt top and a little after the quilt top ends. You want to quilt on the entire quilt top so you don’t mess any portion of it.
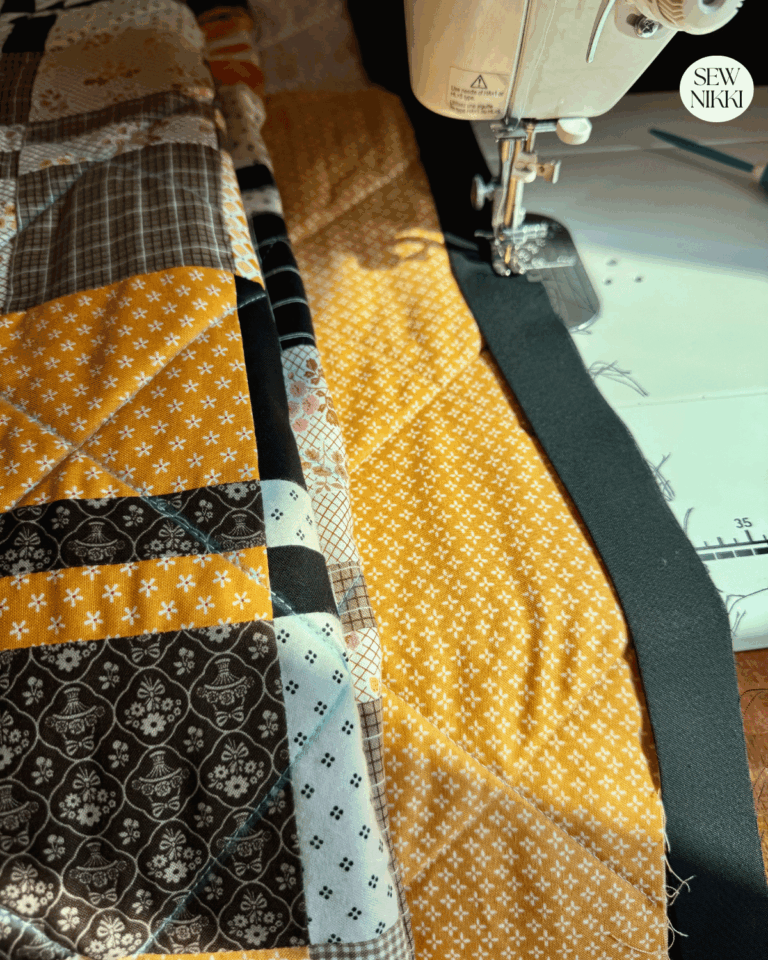
Diagonal Line Stitch
Now you should have all horizontal and vertical lines quilted. You could add parallel lines, wavy lines or decorative lines as well but I opted for diagonal lines for my log cabin quilt. The process is the same for doing diagonal lines but you start rolling the quilt top on an angle. Lay your quilt out and find the upper right corner. Now turn the quilt so that the right corner is now the top (it should be on the diagonal). Not roll up both sides of the quilt top (it will be a little funky but you start rolling on the corners). Roll until it will fit in your sewing machine throat and follow the steps above until you have completed.

Stitch in the Ditch
Another straight line stitch is called stitch in the ditch. This one is a little bit harder to quilt, you quilt ON the seam lines. The seam lines are called the ditch. It’s a good stitch but it takes longer to quilt because you really need to take your time to make sure you are hitting the seam in the dead center. Here’s another YouTube tutorial from Missouri Star Quilt Company, click here.
Let’s recap how to machine quilt with walking foot for beginners. Try out each of these stitches and have fun with your quilting. Don’t be a perfectionist when you first start quilting. Start with small charm pack quilts and build your quilting skills. You will pick it up fast, trust me.
I use this easy way to set the quilting line or stitching lines when machine quilting with walking feet. Sewing next to the seam lines with straight lines is my go to stitch for beautiful quilts every time. I highly recommend this stitch design when you are new to quilting or trying to quilt for the first time.
Find your grove and finish that quilt! And while I don’t have an actual quilt pattern in one blog, there is a quilt pattern for the log cabin blocks, cutting instructions and measurements for the sashing and cornerstones that have full tutorials linked below.
Beginner Quilting Supplies
Here are some quilting tools and supplies I recommend. I make a small commission if you purchase through the links, this helps to support this free content. For more info, check out Supplies for Beginners (Best Tools To Start).
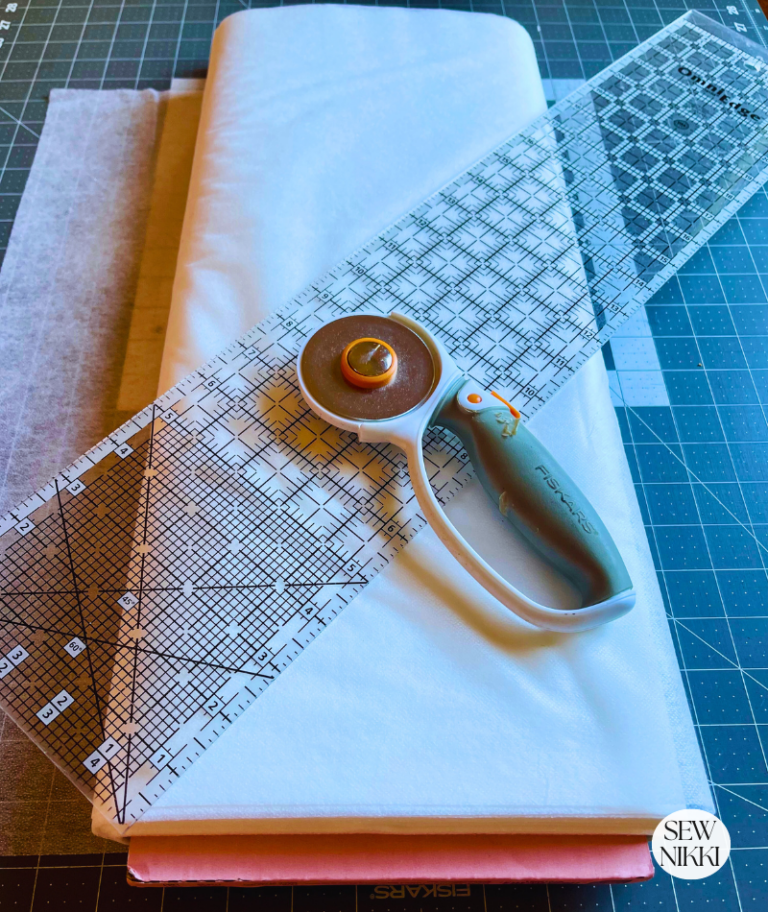
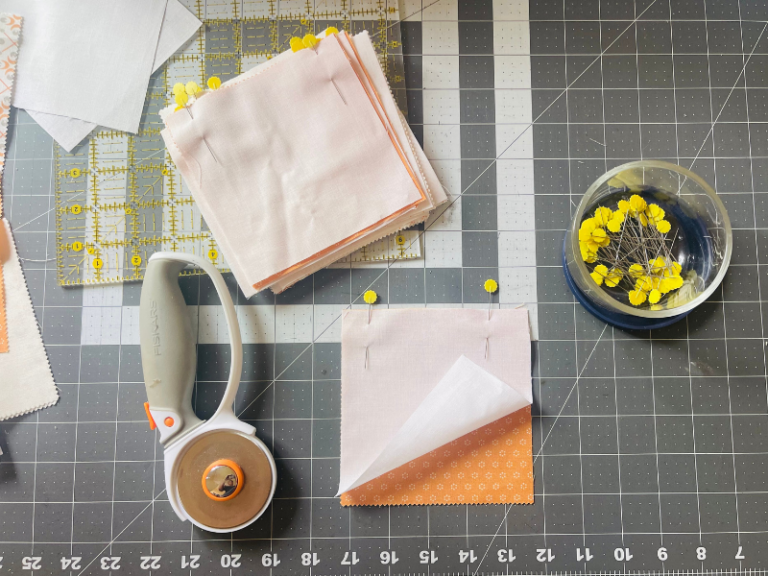
Rotary Mat Cutting Mat (Self-Healing Mat)
28 mm Rotary Cutter Replacement Blades
45 mm Rotary Cutter with Sharp Blade (start with this one)
45 mm Rotary Cutter Replacement Blades (start with this one)
60 mm Rotary Cutter Replacement Blades
4.5″ Square Ruler for half square triangles
12.5″ Square Ruler for blocks

This post contains ads and affiliate links, which means I make a small commission at no extra cost to you. While the ads are annoying, it helps keep this blog going. See my full disclosure here.
About Sew Nikki
If this is your first time stopping by, welcome! I’m Nikki, a maker obsessed with quilting, crochet, and all things fabric. Here, you’ll find easy-to-follow patterns, helpful tutorials, and plenty of inspiration for your next handmade project. Grab your fabric (or yarn), and let’s create something beautiful together!
Hope you enjoyed this tutorial on how to machine quilt with walking foot for great results. It’s such a simple design and beginner friendly. I can’t say enough about this easy quilting design. Try it out on your next quilt and let me know how you did in the comment section below.
Follow me on social media (Pinterest, Instagram, Facebook and Twitter) so you get notifications when I post new patterns and tutorials.
Want to learn how to crochet? Then check out this post, How to Learn How to Crochet – Guide for Beginners.


Great instructions! I have to admit… I never oil my machine …
Thanks Barbara-Sue. Loved your sewing lesson with your granddaughter. She did a great job following those lines!
Hi Nikki, great tutorial! And such a beautiful quilt! 🙂
Thank you Alicia!
Great Post! I would love to make a quilt. Your quilt is beautiful!
Thank you Dusty!