Quilt Binding Tips and Tricks for Intermediate Quilters (Home Sewing Machine)
How I Attach Quilt Binding on a Home Sewing Machine (No Rules Required)
If you’ve been quilting for a bit, you already know this truth: binding is where quilts go to die. Not because it’s hard, but because most of us were taught methods that assume we have a massive sewing room, a $6,000 machine, and endless patience.
Spoiler alert: most of us don’t.
This post is for the everyday quilter. The one quilting on a home sewing machine, in a small space, probably rolling a quilt on the floor and wrestling it under the needle. It’s also for intermediate quilters who already know the “rules”… and are ready to bend them.
I’m going to show you:
- How quilt binding is usually taught
- How I attach binding instead (fully machine sewn)
- Why I don’t stress about thread color
- How this method makes binding easier in a small space
- And why you can absolutely make your own quilting rules
If that sounds like your kind of quilting – welcome. You’re in the right place.
How Quilt Binding Is Traditionally Taught
Most binding tutorials follow the same structure:
- Attach binding to the front of the quilt
- Use one thread color for the quilt top and another for the back
- Hand stitch the binding to the back
- Sew continuously around the quilt without stopping
- Finish corners in one uninterrupted pass
And listen, there’s nothing wrong with that.

But here’s the issue:
👉 Those methods assume your quilt is easy to maneuver
👉 They assume you have room to rotate the quilt freely
👉 They assume you’re okay hand sewing for hours
If you’re quilting in a small space (like me), constantly turning and re-rolling a quilt under your machine is exhausting. Add a heavy quilt sandwich to that, and binding suddenly feels like punishment instead of a finish line.
So I stopped doing it “the right way” and started doing it the way that actually works.
👉 using chalk to mark quilt grid lines
My Quilt Binding Philosophy (AKA: You Don’t Need to Follow All the Rules)
Here’s the mindset shift that changed everything for me:
If it’s secure, clean, and looks good when it’s done then it’s done.
The people you gift quilts to?
They don’t know traditional binding rules.
The people who buy quilts?
They can’t tell the difference.
And honestly?
Most popular quilters online are working on machines and setups that the rest of us will never own.
My blog is for home sewists and quilters. People using good, basic sewing machines and figuring out how to do everything themselves from start to finish.
That includes binding.
The Thread Rule I Refuse to Follow
Let’s talk thread because this stresses people out way more than it should.
I Use the Same Thread for Quilting and Binding
No matter the binding color.
Why?
Because I don’t want:
- 47 spools of thread
- To constantly rethread my machine
- To overthink something that doesn’t matter

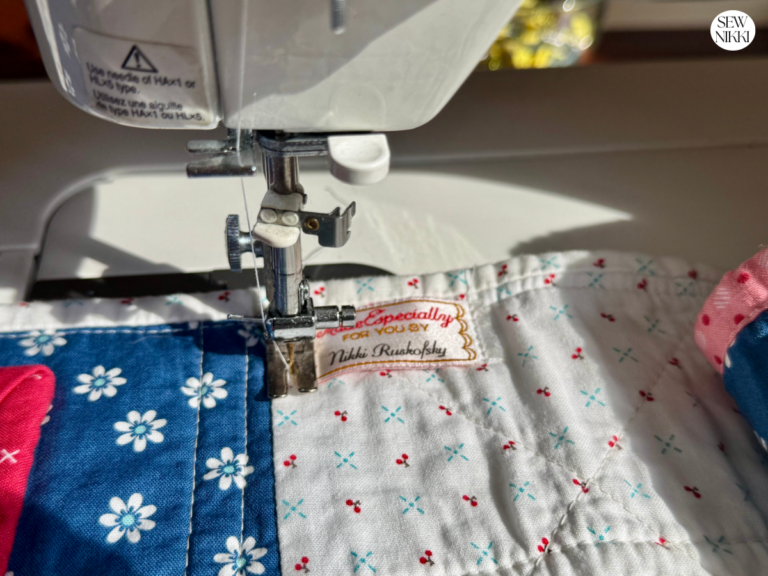
I primarily use three thread colors: white, soft gray, and multicolored. They are all from Coats & Clark quilting thread. I use the same thread to machine quilt and attach my binding, no matter the color of the binding. Why? Because I don’t want to manage a million thread colors, and once the quilt is washed and used, you truly can’t tell the difference.
That’s it.
These colors blend into almost everything. Once the quilt is washed and used, you cannot tell. And yes, I use the same thread to machine quilt and attach the binding.
Because that’s the way I do it.
MAKE SURE YOU CHECK THIS OUT!
Grab a copy of my free Quilt Planning Journal. It’s filled with graph paper and note pages to help you design at least 4 quilt or sewing projects! Pin in fabric swatches, photos of your finished quilts and enjoy your creative process!
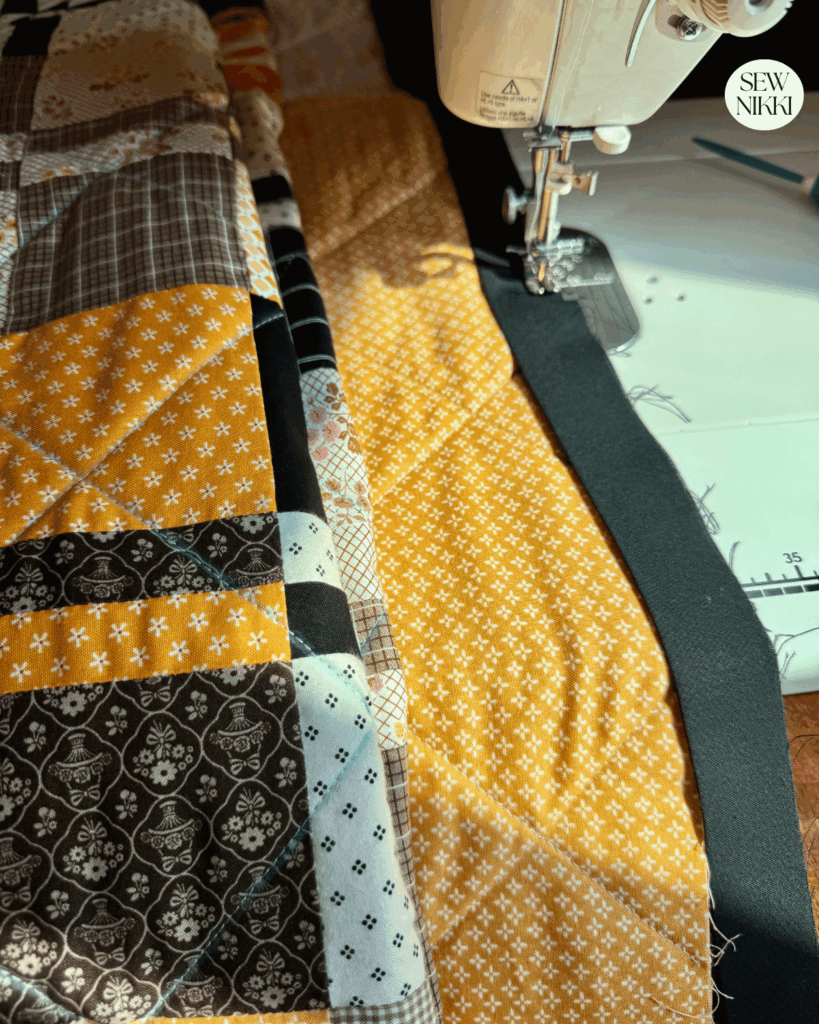
How I Attach Quilt Binding on a Home Sewing Machine
This method is fully machine sewn and designed for small spaces.
Step 1: Attach the Binding to the Back of the Quilt
I start by sewing the binding to the back of the quilt first.
- Place binding raw edges aligned with the quilt edge
- Sew using a 1/4” seam allowance
- Start almost half way down on the your starting side
- This leaves room for you to comfortably join your binding
Here’s the important part:
I cut the thread at the end of each side
I do not sew continuously around the quilt.
Why?
Because stopping makes it easier to:
- Re-roll the quilt
- Manage bulk
- Avoid fighting the weight of the quilt
For more info on this, you can go to my full machine quilt binding tutorial. This tutorial has everything you need to know about quilt binding and attaching for the beginner quilter.
Step 2: Managing Corners (Without Stress)
When I reach the end of a side:
- I stop sewing 1/4” from the end
- Sew off at a 45-degree angle
- Cut the thread
Then I re-roll the quilt on the floor and start the next side.
At the beginning of each side:
- Backstitch at the front of the binding
- Sew the length
- Repeat the same corner process
Do this until the binding is fully attached and joined.
No dragging, no wrestling, no frustration.
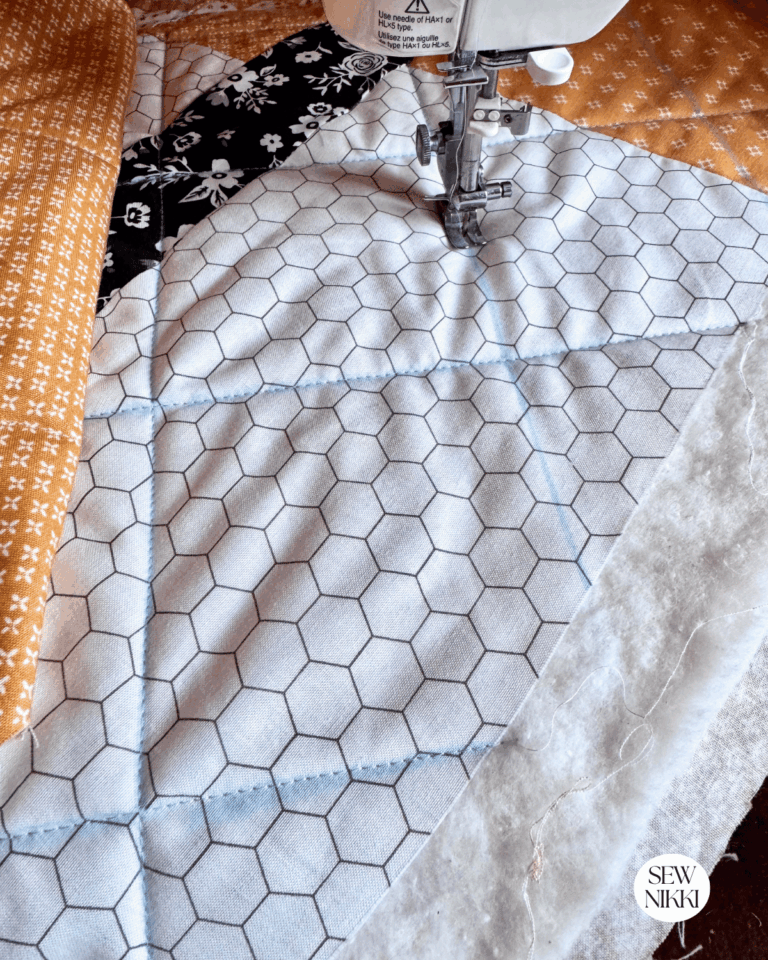
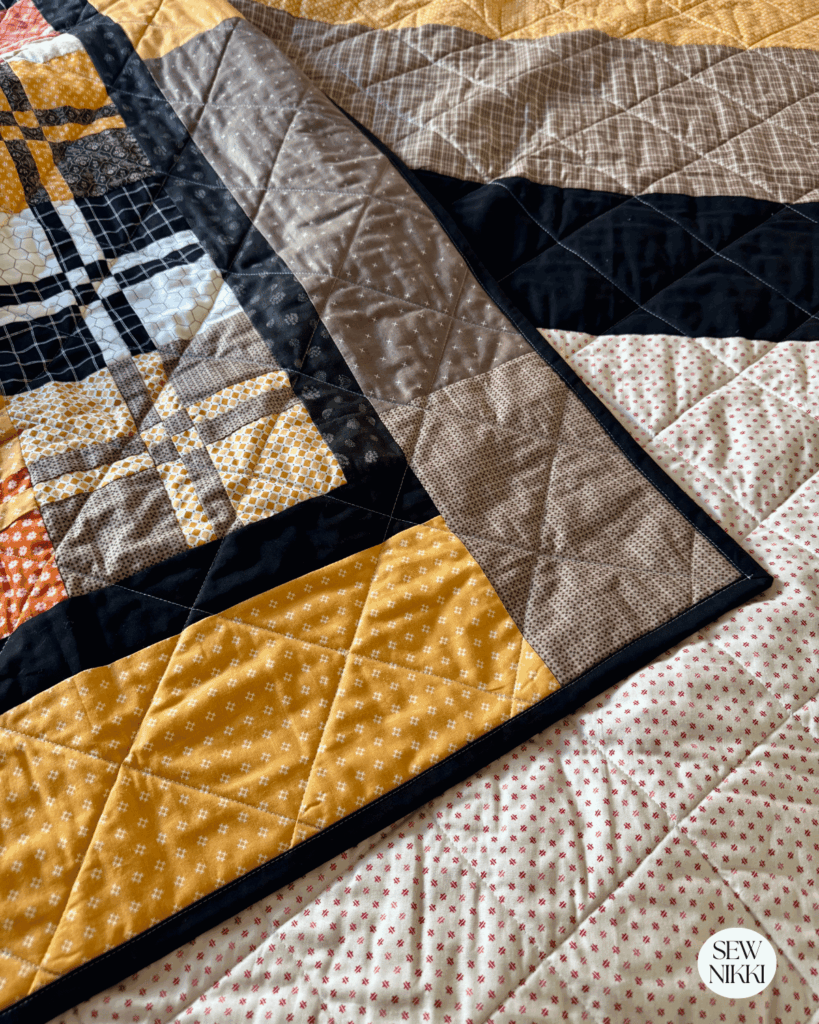
Pressing the Binding (This Part Matters)
With the binding now sewn to the back:
- Take the quilt to the ironing board
- Press the binding away from the seam on the back
- Flip the quilt over
- Press the binding to the front
Then:
- Clip the binding in place
- Miter the corners
- Press everything flat

Once the binding is attached, pressing makes all the difference. If you’ve ever wondered how pressing affects quilt binding, this is where clean edges and crisp corners are made. Press the binding away from the seam on the back first, then flip and press it down on the front before clipping in place.
So I press when I’m making the quilt top but I iron when working on the binding. Applying pressure and smoothing the binding down to make it really flat for attaching.
Sewing the Binding Down on the Front
This part mirrors the back process.
- Start at the very top of one side
- Sew as close to the left edge of the binding as possible
- Backstitch at the start

When you reach the bottom corner:
- Backstitch
- Cut the thread

Then:
- Go back to the floor (or table, or bed)
- Re-roll the quilt
- Start the next side
- Backstitch at the upper corner
- Sew down as close to the left edge as possible
- Backstitch again at the bottom corner and cut thread

Repeat until all sides are finished.
Yes, this means more stops and starts.
No, it does not affect durability or appearance.
It makes binding manageable, and that’s the goal.

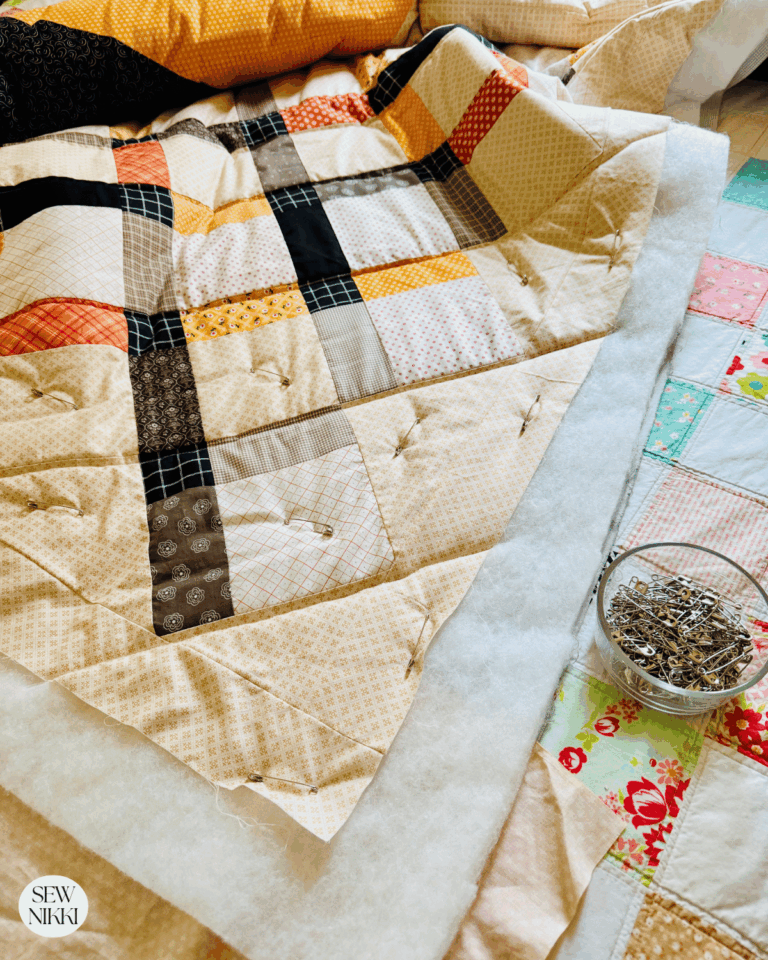
Final Step: Clean It Up
Once everything is sewn:
- Lay the quilt out on the bed
- Trim all loose threads
- Clean up the corner threads
- Wash it to remove any chalk quilting lines and use Shout Color Catcher sheets.
That’s it.
You now have a fully machine bound quilt that:
- Looks clean
- Holds up to washing
- Was made on a home sewing machine
- Didn’t make you hate quilting
Why This Method Works (Especially for Small Spaces)
If you quilt in a small room, apartment, or shared space, you already know:
- Turning a quilt under the needle is hard
- Re-rolling constantly is unavoidable
- Large quilts get heavy fast
This binding method:
- Breaks the process into manageable sections
- Lets you reposition the quilt as needed
- Reduces strain on your machine
- Keeps the quilt under control
And most importantly, it keeps quilting fun.

You’re Allowed to Quilt Differently
You don’t always have to follow traditional methods.
You’re allowed to:
- Use fewer thread colors
- Machine sew everything
- Stop and start as needed
- Adjust techniques for your space
The end result matters not how perfectly you followed someone else’s rules.
Most people will never know.
And even if they did?
It wouldn’t matter.
Save This Project
Pin this tutorial so you can come back to it later or use it whenever you need to bind a quilt.

If You’re New Here…
I’m really glad you found your way here.
If you’re new to quilting, then welcome. The learning curve is fast, and yes, you’ll hit challenges. But I’ve got you.
Here’s where to go next:
- Free Pattern Index – all my free patterns in one place
- Digital, ad-free patterns – clean, printable, and beginner-friendly
- Handmade goodies – because sometimes you just want it finished
- Learn to Quilt Page – every step of making and finishing a quilt
My blog is built for the home sewist and quilter who wants to do it all themselves. With a nice but basic sewing machine and realistic expectations.
If that sounds good to you, you’re exactly where you should be.
I got you.
Glad you’re here.
ABOUT SEW NIKKI
If this is your first time stopping by, welcome! Your place for free crochet, sewing and quilt patterns for beginner to intermediate skill levels. Want a digital pattern? We have those too! Plus tutorials to walk you through how to make each item from start to finish.
Follow me on social media (Pinterest, Instagram, Facebook and Twitter) so you get notifications when I post new patterns and tutorials.
Looking for your next quilt project? Then head on over to my free “Pattern Index”. It’s a page dedicated to all of my free patterns separated by categories for crochet, sewing and quilting.
If you prefer an ad-free printable version, head over to my shop and browse the Digital Patterns. These are instant digital downloads you print yourself.
This post contains ads and affiliate links, which means I make a small commission at no extra cost to you. While the ads may seem annoying, it helps keep this blog going. See my full disclosure here.