Easy Fabric Box Sewing Pattern (Storage Basket)
If you’re looking for a simple fabric box sewing pattern that actually stands up, you’re going to love this project. This free sewing pattern and tutorial walks you through how to make a sturdy fabric storage basket using basic squares of fabric, simple boxed corners, and stabilizers that give your basket structure without making it stiff or fussy. You can follow along with the free pattern instructions in this post.
Fabric boxes (also called fabric baskets or storage bins) are one of those sewing projects you’ll make once… and then keep making in every size. They’re perfect for organizing sewing supplies, storing yarn, holding toys, corralling clutter on shelves, or even gifting.
This pattern is beginner friendly, stash busting approved, and totally customizable. You can make it in a square shape or rectangle shape too. Instructions for both in the free pattern below.
Why This Fabric Box Sewing Pattern Works
There are a lot of fabric box tutorials out there, but this one focuses on three things that matter:
- Clean boxed corners so the basket stands on its own
- Flexible sizing so you can make any size you need
- Stabilization options that work with everyday cotton fabrics
You can use pre-quilted fabric, quilt your own fabric from scraps, or keep it simple with solid fabric and interfacing. No fancy tools required.
Where to Use Fabric Storage Boxes
These fabric baskets are perfect for:
- Sewing rooms
- Yarn storage
- Shelves and cubbies
- Craft rooms
- Gift baskets
- Toy storage
Once you make one, you’ll want a whole matching set.
Finished Fabric Box Size
For this tutorial, we’re making a medium fabric box using:
- Two 11″ x 11″ squares for the outer fabric
- Two 11″ x 11″ squares for the lining
- 2.5″ x 2.5″ boxed lower corners on all pieces
This creates a fabric box that’s roomy but not bulky and easy to resize using the chart below. The size shrinks a little if you fold over the top to show off the lining fabric!
Supplies Needed
To make this fabric box sewing pattern, you’ll need:
- Cotton fabric for outer fabric (13″ x 13″)
- Cotton fabric for lining (11″ x 11″)
- Foam fusible interfacing or high-loft polyester batting (13″ x 13″)
- Thread
- Sewing machine
- Rotary cutter & ruler
- Iron
- Clips or pins
Recommended Stabilizers
For baskets that actually stand up, stabilization matters.
I recommend:
- Foam interfacing for crisp, structured sides
- Fusible fleece interfacing for softness with stability
- High-loft polyester batting for a softer but still sturdy basket
Fabric Options (Great for Stash Busting)
These easy storage containers are the perfect project for scrap fabric. You can make these in different sizes and shapes with ease once you learn how they are constructed.
You will need exterior fabric for the outside of the handmade basket, lining fabric for the inside and a stabilizer to make it stand on it’s own. Foam interfacing or high loft polyester quilt batting are great options. You can also use Insul Bright for a light weight but study stabilizer. If you’re using solid, non-quilted fabric, simply cut one solid outer piece and one lining piece, then add interfacing or batting for structure.
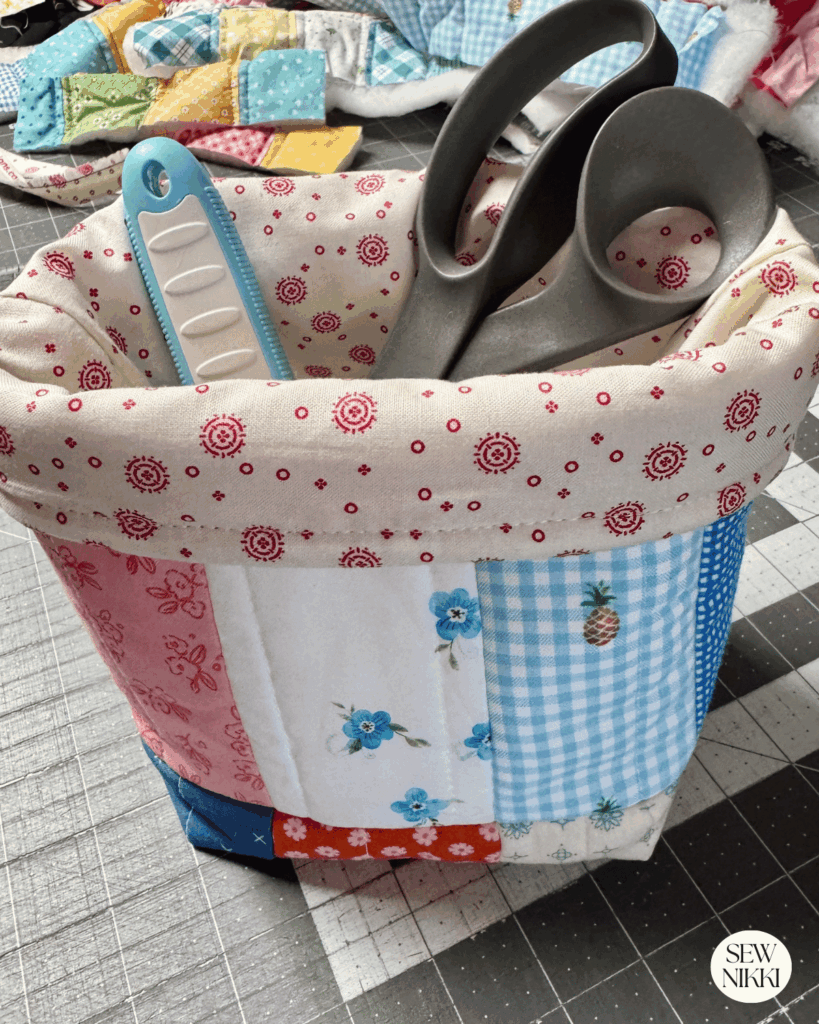
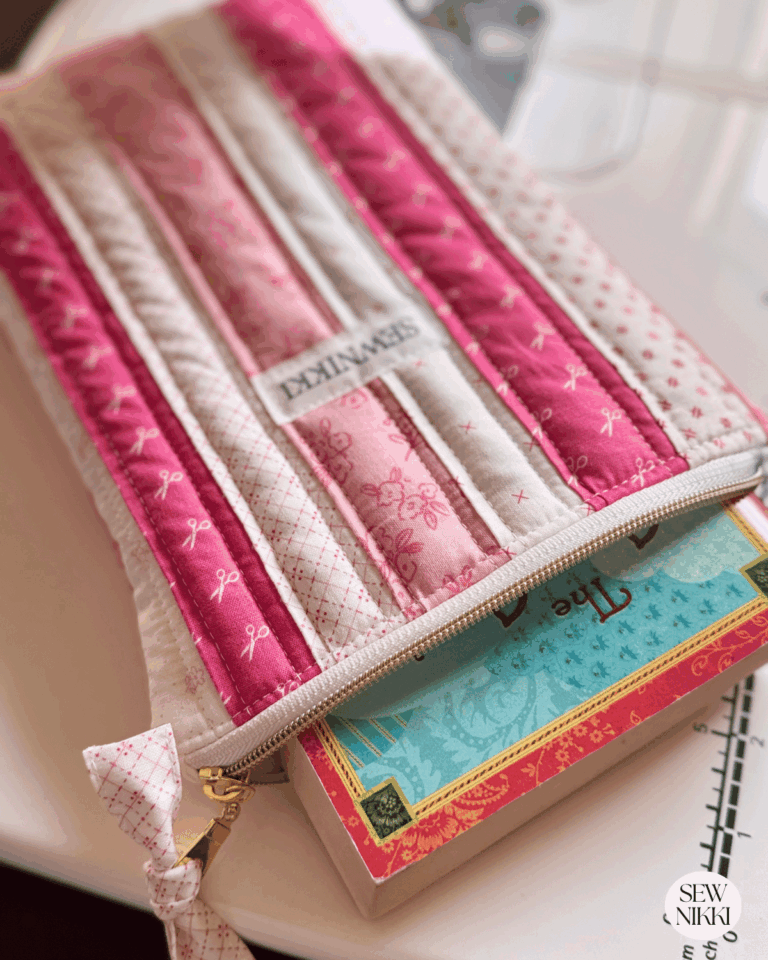
I’m going to be using some unique fabric choices in this tutorial but you don’t have to. My exterior fabric will be made with left over quilted scraps from trimming makeup bags to the pattern size. Let me show you the free pattern for these adorable fabric boxes.

For this fabric box sewing pattern, I’m using quilted fabric from my stash left over from making makeup bags for my Etsy and blog shop. This is a great way to use those odd quilted panels that don’t quite fit another project.
MAKE SURE YOU CHECK THIS OUT!
After you read this post, make sure you also check out Learn How to Quilt for Absolute Beginners. It’s jam packed with information to make your first quilt. It also has links and resources that are so helpful when you’re first learning. There’s lots of free quilt patterns that are great for beginners and all skill levels too. So make sure you check this out, seriously don’t forget!
Make sure you grab a copy of my free Quilt Planning Journal. It’s filled with graph paper and note pages to help you design at least four quilt or sewing projects! Use it to jot down ideas, fabrics, patterns and inspiration all in one place. Or create your own patterns and share with others. Pin fabric swatches, photos of your finished quilts and enjoy your creative process!
Fabric Box Sewing Pattern
Cutting Instructions
Cut the following:
- (2) Outer fabric squares – 13″ x 13″
- (2) Lining fabric squares – 11″ x 11″
- (2) Batting or stabilizer squares – 13″ x 13″
Preparing Exterior Panels from Scraps
For my sample, I dumped my container that had all the leftover quilted fabric scraps from making the quilted makeup bags that I sell in my Etsy shop and blog shop. Besides making free patterns, I also sell the digital patterns and some handmade items to those who don’t craft like you.
It feels like a crime to toss out those pretty fabric scraps and it’s a waste of materials. I’ve seen other people doing fabric baskets so that’s what I’m going to do too.
Just sew your pieces together until you have two panels that you can trim down to the measurements above. For this pattern we need 11″ x 11″ squares. The pics below show what this looks like.

Instructions for Quilted Panels
Take the two exterior panels that are 13″ x 13″ and both batting or stabilizer pieces and start quilting to attach fabric to batting. Fabric will shrink up when you quilt it.
Quilt any way you like but most do straight line quilting in in vertical lines or cross hatch quilt pattern. After you have quilted both exterior panels, trim both to 11″ x 11″ squares.

Box All Corners
All your pieces should now be11″ x 11″ and we need to cut out the corners on all four pieces. Using a quilting ruler, line up the 2.5″ x 2.5″ marks to both raw edges of the bottom and side and cut out. You can mark the fabric with a pencil or fabric pen. Or you can use your rotary cutter to cut and then finish with fabric scissors.

Repeat for the 11″ x 11″ lining panels. You want to cut out the box corners before you sew the external panels together and before you sew the lining panels together.
Read this post on three ways to make a bag with a flat bottom for more ways to box corners.

Sewing the Fabric Box Together
Step 1: Sew the Outer Box
- Place the outer fabric pieces right sides together, wrong side should be facing you
- Sew both side seams and the bottom seam using a ¼” seam allowance
- Leave the top open

Step 2: Box the Bottom Corners
- Open one corner so the side seam and bottom seam line up
- Pin or clip the opening
- Sew straight across the corner opening
- Repeat for the remaining corners

You’ll now see the box shape forming.
Step 3: Sew the Lining
Repeat the same steps with the lining fabric but leave a 3″ opening along the bottom seam for turning.

Step 4: Assemble the Fabric Box
- Turn the outer box right side out
- Place it inside the lining (right sides together)
- Match side seams
- Sew around the top edge
- Turn the basket right side out through the lining opening
- Stitch the lining opening closed

Finishing Touch: Folded Top Edge
One of my favorite details in this fabric box sewing pattern is folding the top edge down so the lining shows.
Simply:
- Push the lining fully inside the basket
- Press the top edge
- Fold the top down 1–2 inches
- Press again
This gives your basket a clean, finished look and shows off your lining fabric.

Fabric Box Size Chart (Make Any Size You Want)
Here’s a quick reference chart so you can resize this fabric box sewing pattern easily:
| Finished Box Size | Cut Fabric Size | Corner Cut Size |
|---|---|---|
| Small | 8″ x 8″ | 2″ x 2″ |
| Medium (Tutorial) | 11″ x 11″ | 2.5″ x 2.5″ |
| Large | 14″ x 14″ | 3″ x 3″ |
| Extra Large | 16″ x 16″ | 3.5″ x 3.5″ |
Tip: The larger the box, the more important stabilizer choice becomes. You can make any square basket, just adjust the measurements using the chart.
Rectangle Fabric Box Sewing Pattern
If you prefer a perfect rectangle basket sewing pattern instead of a square basket, you can easily adjust the cutting measurements. Rectangle fabric baskets are great for shelves, drawers, and organizing longer items like rulers, crochet hooks, or sewing tools.
The construction steps stay exactly the same except for the width, height, and corner cut size.
Rectangle Fabric Box Size Chart
| Finished Basket Shape | Cut Fabric Size (Outer & Lining) | Corner Cut Size |
|---|---|---|
| Small Rectangle | 9″ x 12″ | 2″ x 2″ |
| Medium Rectangle | 10″ x 14″ | 2.5″ x 2.5″ |
| Large Rectangle | 12″ x 16″ | 3″ x 3″ |
| Drawer Organizer | 8″ x 14″ | 2″ x 2″ |
| Shelf Storage Bin | 12″ x 18″ | 3.5″ x 3.5″ |
Tip: When making larger rectangle baskets, foam interfacing will give the cleanest structure and help the long sides stay upright.
Save This Project

More Useful Sewing Projects
If you enjoyed this fabric box sewing pattern, here are a few more favorites from my blog:
Helpful Resources
Stacey Lee Creative – how to sew a reversible fabric box video tutorial
Erica Arndt – fabric notions bowl video tutorial
Fabric Box Sewing Pattern
I hope you enjoy this free fabric basket tutorial. These are easy, practical, customizable, and perfect for using what you already have. You can make fabric box sizes to your liking so you get the perfect size for what you need.
Look around your sewing room, see what you have and make a really cute storage bin for your bathroom, desk, home office, or sewing room. You can download the ad free pdf pattern from my shop. This easy fabric basket pattern is great for beginners. These also make the perfect gift for any occasion.
ABOUT SEW NIKKI
Welcome to Sew Nikki! Your place for free crochet, sewing and quilt patterns for beginner to intermediate skill levels. Want a digital pattern? We have those too! Plus tutorials to walk you through how to make each item from start to finish.
Looking for your next quilt project? Then head on over to my free “Pattern Index”. It’s a page dedicated to all of my free patterns separated by categories for crochet, sewing and quilting.
If you prefer an ad-free printable version, head over to my shop and browse the Digital Patterns. These are instant digital downloads you print yourself.
Follow me on social media (Pinterest, Instagram, Facebook and Twitter) so you get notifications when I post new patterns and tutorials.
This post contains ads and affiliate links, which means I make a small commission at no extra cost to you. See my full disclosure here.


These are adorable and I love the pattern! Great shares.
Love this, so cute! Fabric scrap patterns have my heart!
These are so cute and practical! Thanks for the step by step guide 😊
I’m obsessed with this! So stinkin’n cute & easy to follow instructions!
This is too cute and could be used for so many different things!
Quilting and making some bags are on my list of projects for the year so this is perfect!
I love this idea! We have leftover fabric I think this would be perfect for once I get my sewing machine serviced!
What a great tutorial! So cute and easy to follow.