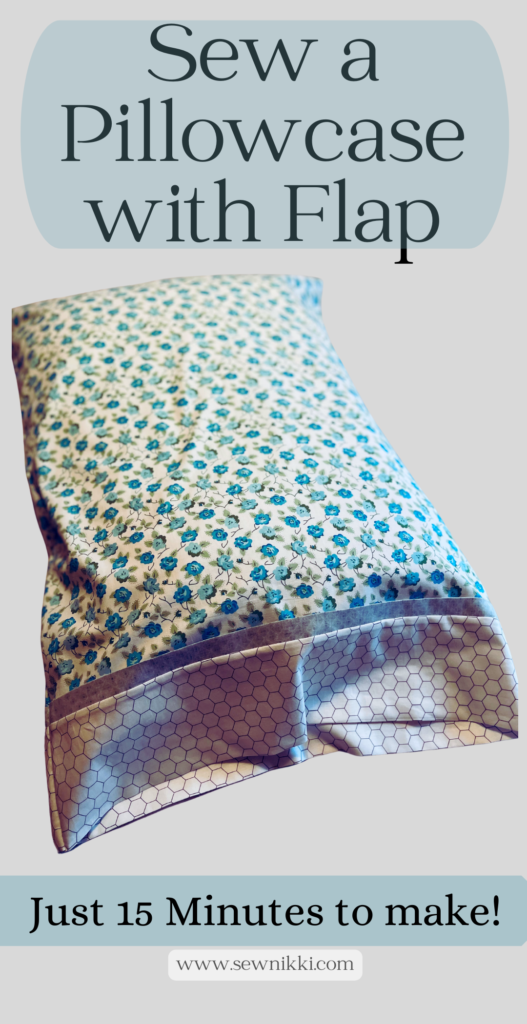
How to Sew Pillowcase with a Flap in 15 Minutes
Today’s sewing tutorial will teach you how to sew a pillowcase with a flap for your bed in 15 minutes using the Burrito Method. You will need a few supplies and a sewing machine. I’ll show you how easy it really is to make your own standard pillowcase with inner flap. In this step-by-step tutorial, you will learn the easiest way to make a decorative standard size pillowcase. Learn how to sew a pillowcase with this quick pattern using the burrito method, and you’ll spruce up every bedroom in the house! Get the free pattern!
This quick and easy project will not only add a touch of personalized charm to your bedroom but also leave you with a sense of accomplishment as you create a functional, handmade item for your home. It’s also a great beginner sewing project and you only need about a yard of fabric to make one standard pillowcase. You don’t need a fancy sewing machine or even a serger machine either, I’ll show you how to secure your seams with two rows of straight line stitches.
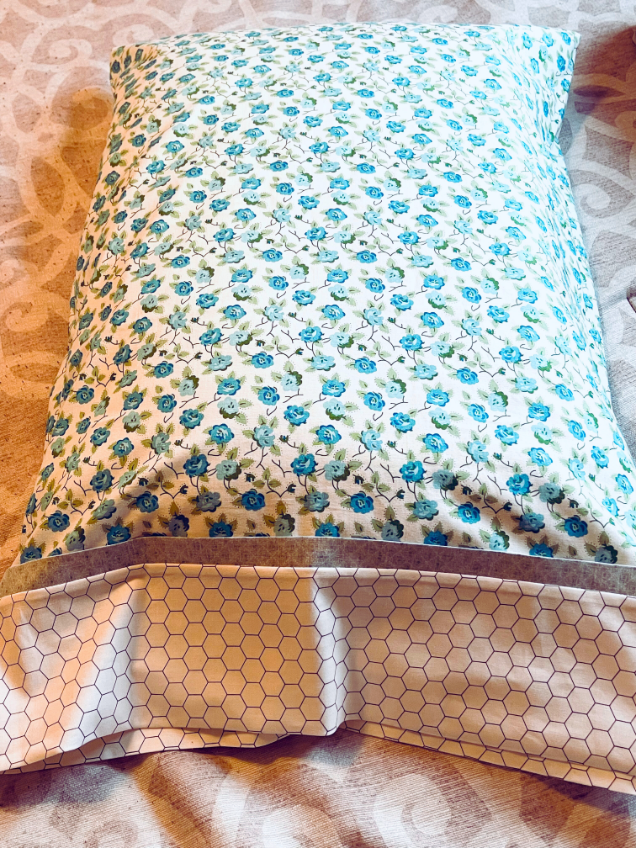
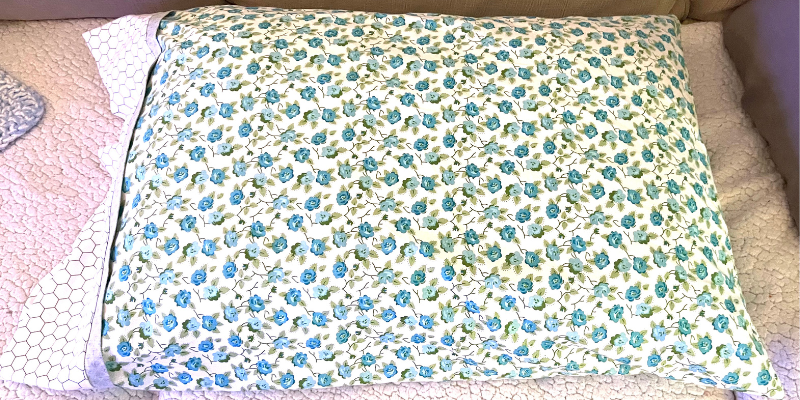
One of my pillowcases for my bed ripped a few weeks ago and needed to be tossed in the trash. That’s good news for you because this is a tutorial on how to sew a standard bed pillowcase that looks so professional because it has a flap and piping.
There are several ways you can make DIY pillowcases but today we are using the sewing process called the “Burrito Method” and you are going to love how fast and easy this simple project is. There are no exposed seams when you use this method, it’s so clever, fast and fun to make.
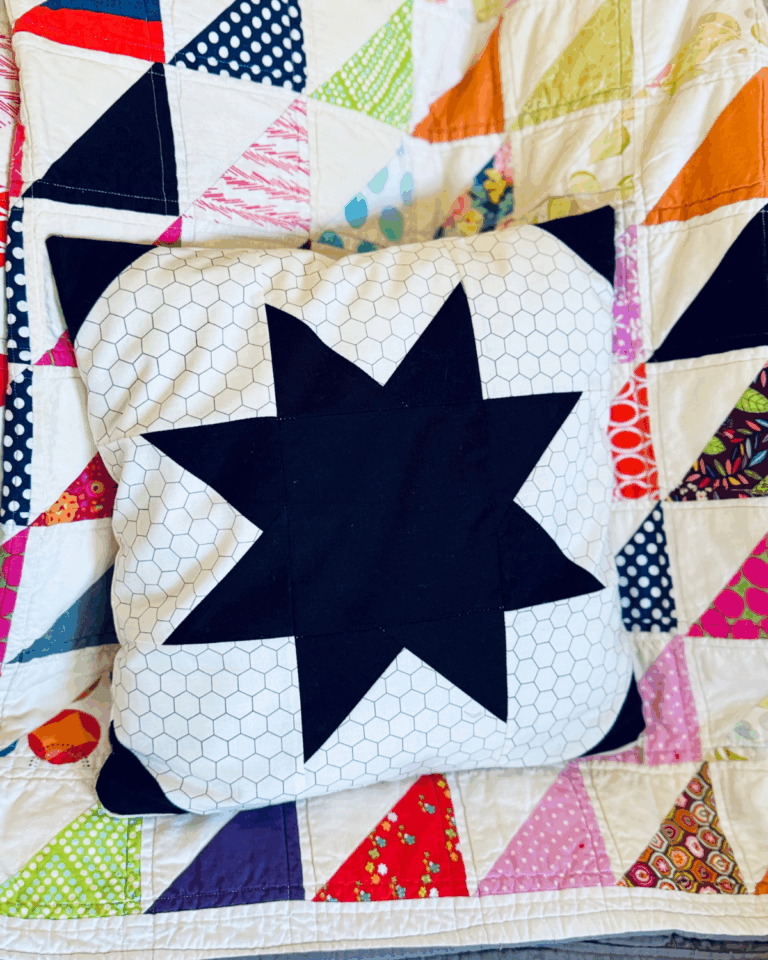
It looks store bought and expensive but you made it with your own two hands and a few pieces of fabric. The flap and piping elevates the pillowcase to the next level. Let me show you how to do it.
MAKE SURE YOU CHECK THESE OUT!
After you read this post, make sure you also check out Learn How to Quilt for Absolute Beginners. It’s jam packed with information to make your first quilt. It also has links and resources that are so helpful when you’re first learning. There’s lots of free quilt patterns that are great for beginners and all skill levels too. So make sure you check this out, seriously don’t forget!
Make sure you grab a copy of my free Quilt Planning Journal. It’s filled with graph paper and note pages to help you design at least 4 quilt or sewing projects! Use it to jot down ideas, fabrics, patterns and inspiration all in one place. Or create your own patterns and share with others. Pin in fabric swatches, photos of your finished quilts and enjoy your creative process!
How to Sew a Pillowcase with Flap – Instructions
Materials Needed:
- Fabric: You need a yard of main fabric.
- Contrasting or coordinating fabric for the flap and piping – You need 1/4 yard for flap and 1 jelly roll strip for the piping.
- Sewing machine
- Matching thread
- Rotary cutter or fabric scissors
- Ruler
- Cutting Mat
- Straight pins
- Iron and ironing board
Cutting Instructions:
You need three different fabrics for this pillowcase. All three fabrics should be folded in half, the way the fabric is folded and cut when you buy it off the bolt. Grab yardage fabric from your stash, it’s a great way to use up fabric especially large prints. My pillowcase has three different fabrics by Lori Holt of Riley Blake Designs. All were purchased in the discount racks at my local fabric store for $3.49 a yard. The Granny Chic fabric with the blue and green roses reminds me of my grandma’s house and sleeping over on her rose fabric bedding. This is the PERFECT project for my rose fabric. More info on how to shop for the best fabric like a pro, click here. Total amount of fabric for this project is around one yard, that’s not much fabric.
Main fabric: Granny Chic Blue Roses 27″ by WOF (width of the fabric)
Flap fabric: Bee Backgrounds Gray Honey 9″ by WOF
Piping fabric: Farm Girl Vintage Green Tractor 2″ by WOF
Step-by-Step Instructions for Burrito Method:
We will layer the fabric pieces on top of each other along the top edge of the pillowcase. The raw edge of the fabric will always be facing upwards. We will roll the pillowcase upwards, pin and sew the top edge of the pillowcase to form a burrito. Then unroll the pillowcase by pulling the fabric from the middle out. Last step is to sew around the side edges of the pillowcase to finish it off. Here are the step-by-step instructions with a few pics too. Gather all the materials mentioned above and ensure your sewing machine is in good working order. Use quilting cotton fabric so your pillowcase will be soft and durable.
Using the measurements above, cut the main body fabric, flap fabric and piping fabric to the measurements listed above. Before you start cutting, make sure that all three fabrics are folded in half, the way the fabric is folded when you buy it off the bolt. This is the width of the fabric. Main 27″ x WOF, Flap 9″ x WOF and Piping 2″ x WOF.
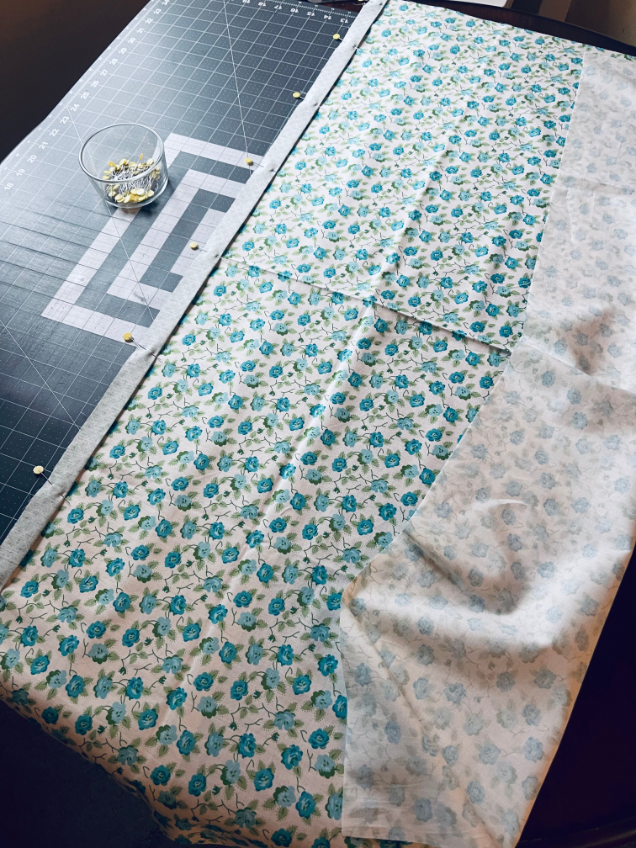
Lay all three pieces of fabric on your cutting mat so the salvage edge for all three is facing to the right and in the sam direction. Lay the main fabric out first, still folded with salvage edge to the right. Then lay the flap fabric, still folded with salvage edge to the right but line this up with the left side of the main fabric. Do the same with the piping fabric.
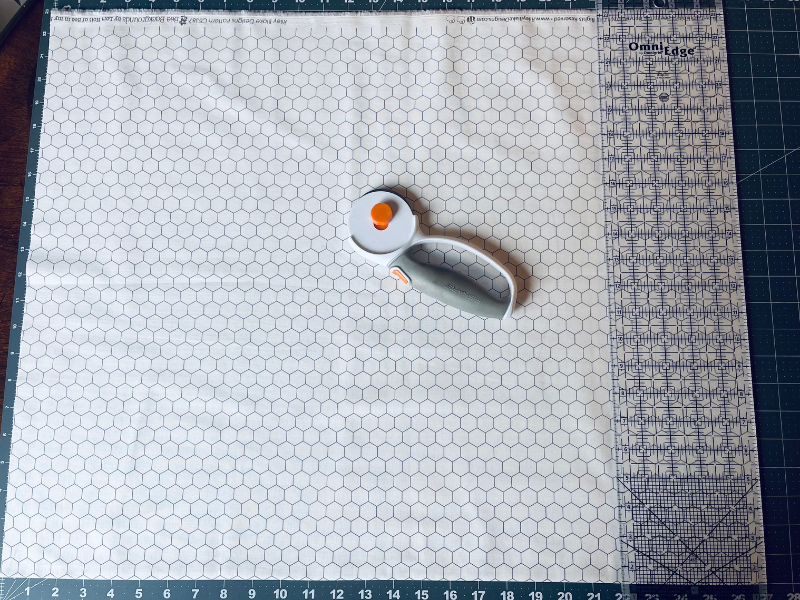
Take your straight line quilt ruler and rotary cutter and trim off the salvage at one time. This will keep all pieces of fabric the same width.
Next, iron and press the flap fabric and piping fabric in half, right side of fabric facing you.
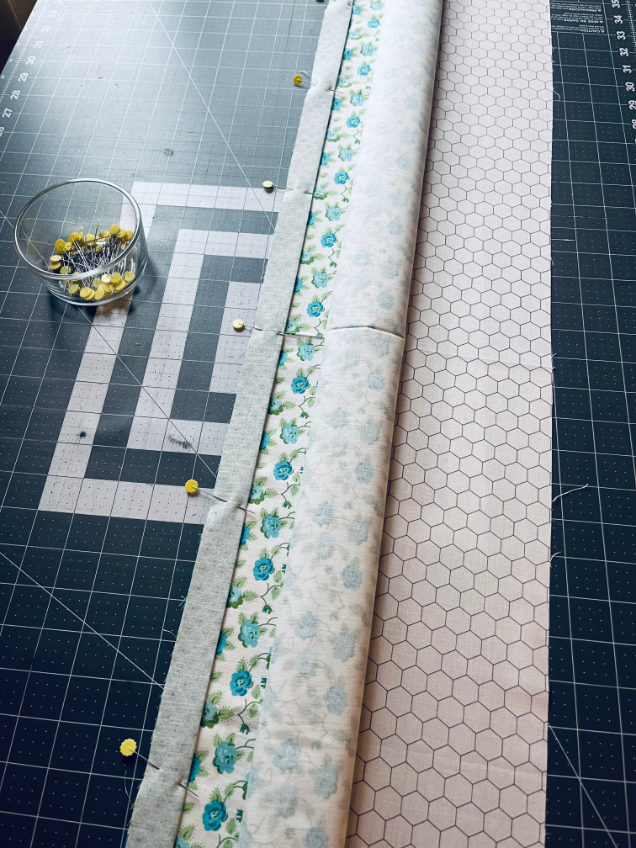
After you are done cutting, lay all three layers face up in the order listed below.
First layer is the flap fabric. Unfold it and lay it flat on your table, right side of fabric facing you.
Second layer is the main fabric. Unfold it and lay it on top of the flap fabric, right side of the fabric facing you.
Third layer is the piping fabric. Keep this folded in half with right side of fabric facing you. Lay this on top of the main fabric with the raw edge facing the top.

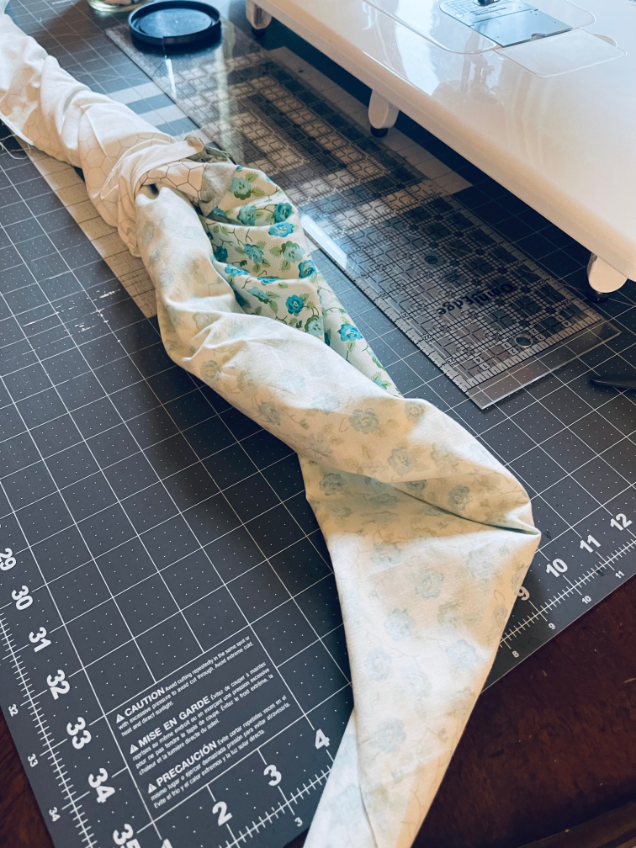
Roll the main fabric up, starting at the bottom.
Then take the flap fabric, pull up and over (wrong side of the fabric will be facing up.
Pin in place, lining up with raw edge at the top of the pillowcase.
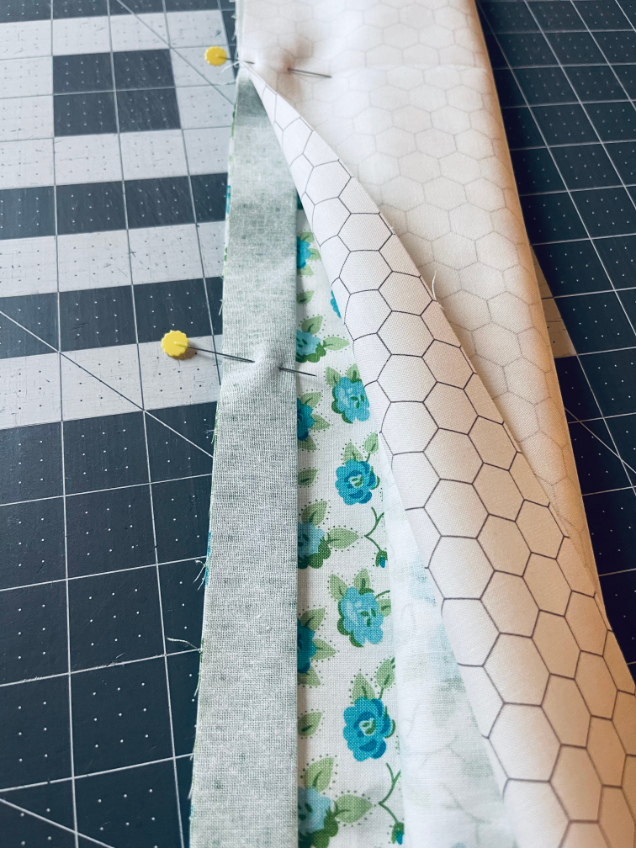
Pin all the layer in place using clips or straight pins.
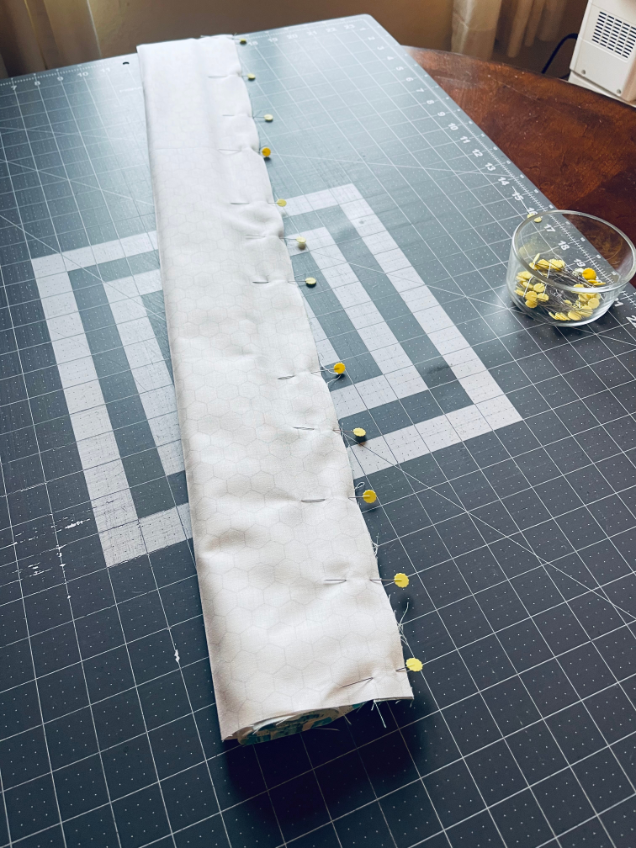
It will look like a burrito. Sew 1/2″ inch seam allowance along edge.
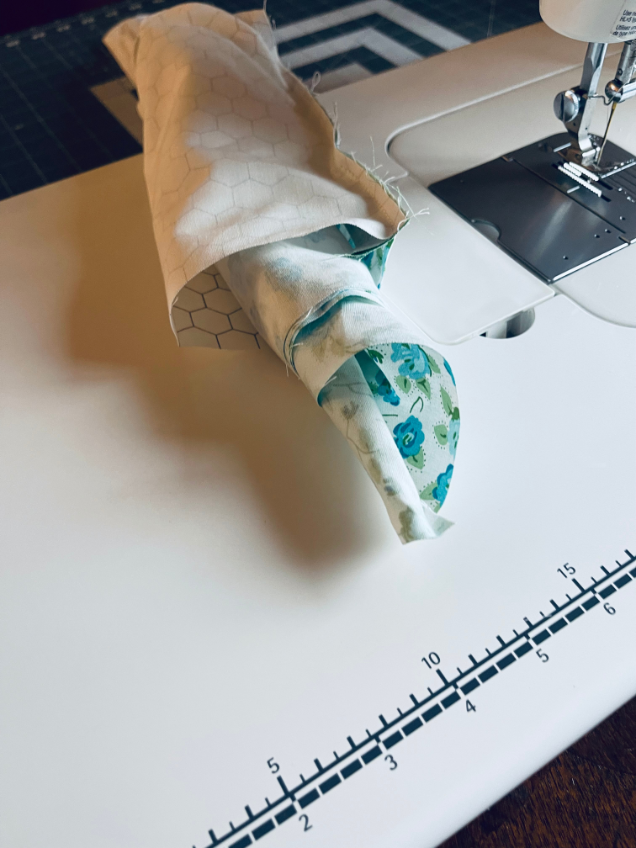
Pull tube out, grabbing main fabric from the inside of burrito. Press with iron.
Fold pillowcase over on top of itself (right sides facing each other).
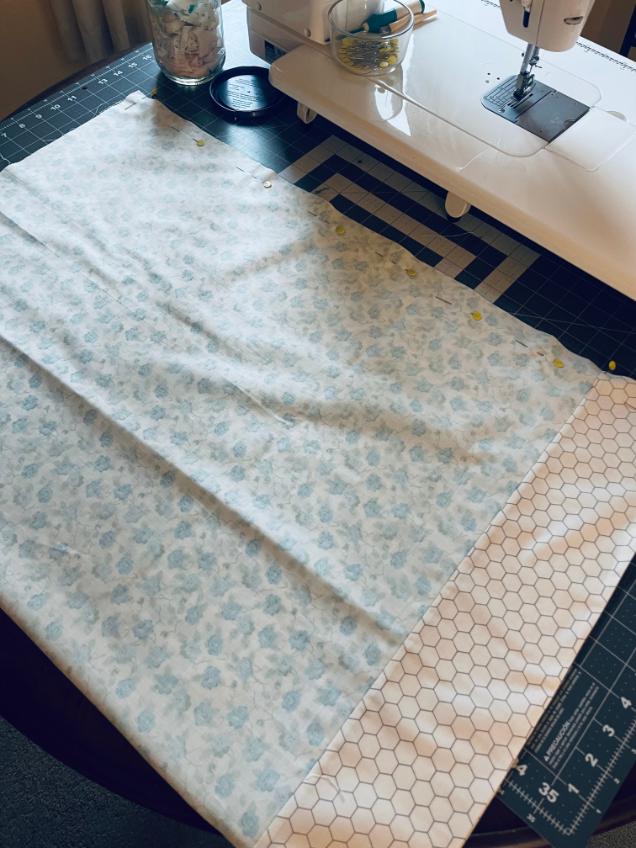
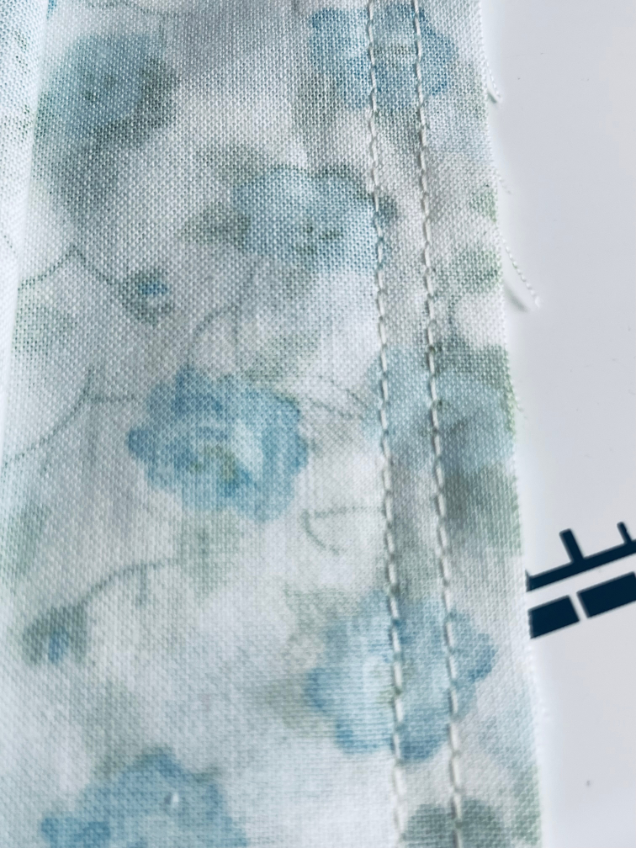
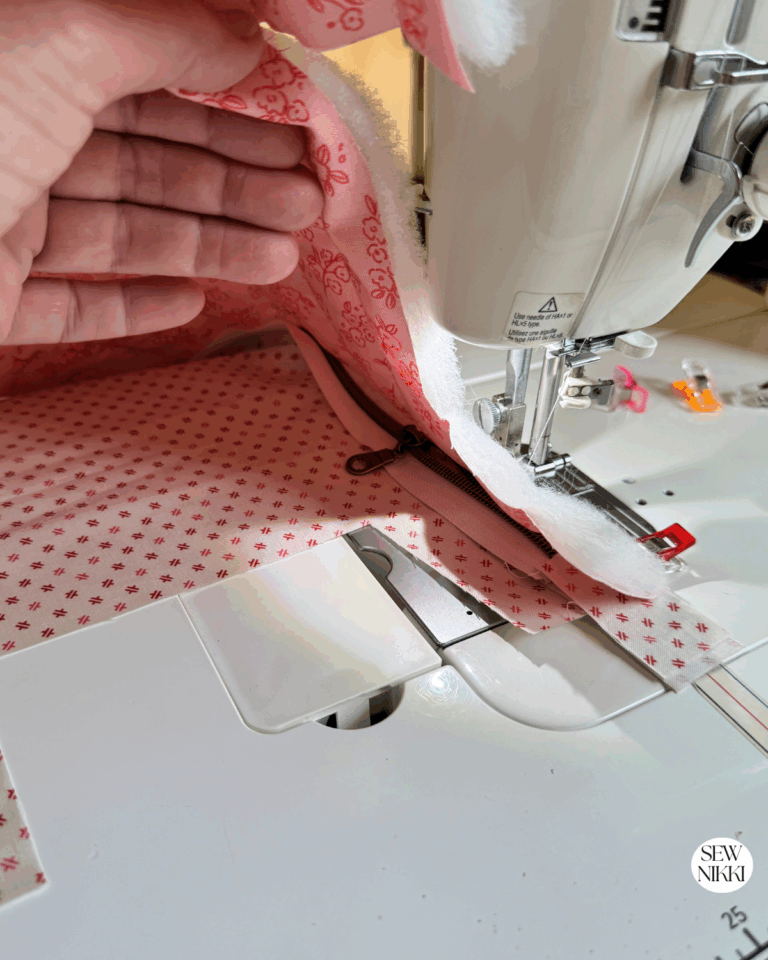
Sew the two sides up with a 1/2″ seam, make sure to line up at the piping side seams and the top of pillowcase.

Then sew the two sides again with 1/4″ seam to create a double seam line. Note: My Juki is the only machine I own and can only straight stitch. You just need to finish the seam line to make it durable. You can use a serger machine, zigzag stitch or french seam too.
Give your pillowcase a crisp finish by pressing it with an iron. Pay special attention to the seams and corners for a polished look.

BEGINNER QUILTING SUPPLIES
Here are some quilting tools and supplies I recommend. I make a small commission if you purchase through the links, this helps to support this free content. For more info, check out Supplies for Beginners (Best Tools To Start).
Rotary Mat Cutting Mat (Self-Healing Mat)
28 mm Rotary Cutter Replacement Blades
45 mm Rotary Cutter with Sharp Blade (start with this one)
45 mm Rotary Cutter Replacement Blades (start with this one)
60 mm Rotary Cutter Replacement Blades
4.5″ Square Ruler for half square triangles
12.5″ Square Ruler for blocks
SAVE THIS PIN FOR LATER!
ABOUT SEW NIKKI
If this is your first time stopping by, welcome! Your place for free crochet, sewing and quilt patterns for beginner to intermediate skill levels. Want a digital pattern? We have those too! Plus tutorials to walk you through how to make each item from start to finish.
Follow me on social media (Pinterest, Instagram, Facebook and Twitter) so you get notifications when I post new patterns and tutorials.
Looking for your next quilt project? Then head on over to my free “Pattern Index”. It’s a page dedicated to all of my free patterns separated by categories for crochet, sewing and quilting.
If you prefer an ad-free printable version, head over to my shop and browse the Digital Patterns. These are instant digital downloads you print yourself.
This post contains ads and affiliate links, which means I make a small commission at no extra cost to you. See my full disclosure here.


I’ve been wanting to do more sewing, and I’ve heard a pillowcase is a great way to start! Thanks for the detailed instructions, I’m going to go take a look around your blog now!!
I would love to sew this! Many years ago I used to sew, but got buy after I had my twin and sold my sewing machine and table. Maybe one of these days I’ll buy another one. Your tutorial looks so easy to follow.
Such a great thing to have as a tutorial! I remember making these years ago, and they can be hard to figure out, so this tutorial would be great for a beginning sewist!