How Much Fabric for a Pillowcase – Formula and Chart
Sewing tutorial on how much fabric you need for a pillowcase. It takes about one yard of fabric to make a pillowcase, a king size pillowcase about 1.5 yards of fabric. I’ll show you the sewing math and what measurements you need to determine your total fabric requirements. Once you start sewing your own pillowcases, you may not be able to stop. So, grab your measuring tape and let’s unravel this fabric mystery together!

Pillow case sizes
There are several pillow case sizes, they are as follows according to Google. Standard size pillowcase is 20″ x 26″. Queen size pillowcases are 20″ x 30″. King size pillowcases are 20″ x 36″. Body pillow cases are 20″ x 54″. Here’s a chart outlining standard pillowcase sizes:
| Pillow Size | Pillowcase Size |
|---|---|
| Standard | 20 inches x 26 inches |
| Queen | 20 inches x 30 inches |
| King | 20 inches x 36 inches |
| Body Pillow | 20 inches x 54 inches |
As you can see, there are several sizes you can sew for pillow cases. I measured my own pillowcases and didn’t pay attention to pillow case sizes, just followed the measurements of the pillow cases that were already on each pillow but that was being lazy. I do recommend you know your pillow size and use the chart above. Or you take the current pillow case measurements and then refer to the chart above.
Fabric shrinkage
With most sewing projects, it’s best to pre-wash your fabric first. All fabric will shrink, some more than others. If you skipped this step and already made a pillow case, just wash in cold water and air dry to prevent shrinkage.
How much bigger should a pillowcase be than the pillow?
Generally pillow cases are one to two inches larger than the actual pillow but you can make them larger. It’s really a personal preference, like most things are.
If you tuck your pillow case inside of it, you should consider making it longer. I tuck my pillow case inside of itself for all my down pillows because they are super soft and tend to leak goose feathers. Again, if you like your current pillow cases then go with those measurements. It’s not rocket science after all.
MAKE SURE YOU CHECK THESE OUT!
After you read this post, make sure you also check out Learn How to Quilt for Absolute Beginners. It’s jam packed with information to make your first quilt. It also has links and resources that are so helpful when you’re first learning. There’s lots of free quilt patterns that are great for beginners and all skill levels too. So make sure you check this out, seriously don’t forget!
Make sure you grab a copy of my free Quilt Planning Journal. It’s filled with graph paper and note pages to help you design at least 4 quilt or sewing projects! Use it to jot down ideas, fabrics, patterns and inspiration all in one place. Or create your own patterns and share with others. Pin in fabric swatches, photos of your finished quilts and enjoy your creative process!
Calculating Fabric Requirements
Before we jump into the sewing machine action, let’s tackle the first step: calculating how much fabric you’ll need for your pillowcase project. The amount of fabric required depends on several factors, including the size of your pillow and any additional embellishments you might want to add. Fear not, though! We’ve got a handy formula to guide you through the process:
- Measure Your Pillow: The first step is to grab your trusty measuring tape and determine the dimensions of your pillow. Measure the width, length, and depth of your pillow to ensure accurate results.
- Add Seam Allowance: Next, you’ll need to factor in seam allowance. A standard seam allowance for pillowcases is typically ½ inch. Remember to add this to both the width and length measurements of your pillow.
- Calculate Fabric Size: Now that you have your adjusted measurements, it’s time to calculate the fabric size needed for your pillowcase. Here’s the formula:
Fabric Width = Pillow Width + 2 × Seam Allowance Fabric Length = Pillow Length + Pillow Depth + 2 × Seam Allowance
For example, let’s say you have a standard pillow measuring 20 inches by 26 inches with a depth of 4 inches. Using the formula:
Fabric Width = 20 inches + (2 × ½ inch) = 21 inches Fabric Length = 26 inches + 4 inches + (2 × ½ inch) = 31 inches
So, you’ll need a piece of fabric that’s 21 inches wide and 31 inches long to make a pillowcase for your standard pillow.
Choosing Your Fabric
Now that you have your fabric requirements sorted, it’s time for the fun part: selecting the perfect type of fabric for your pillowcase! When it comes to choosing fabric, the possibilities are endless. From cozy cotton to luxurious satin, there’s a fabric out there to suit every taste and style.
For a classic pillowcase, you can’t go wrong with a soft and breathable cotton fabric. Look for high-quality cotton or cotton blends that are gentle on the skin and easy to care for. If you’re feeling adventurous, why not experiment with fun prints, bold colors, or even textured fabrics to add a pop of personality to your pillowcase?
Now, let’s dive into the nitty-gritty of actually making a pillowcase. Follow along with these simple step-by-step instructions:
Instructions for Making a Simple Pillowcase
Materials and Basic Sewing Tools Needed:
- Fabric (as calculated using the formula above)
- Matching thread
- Scissors
- Pins
- Sewing machine
Trim Fabric
Using your calculated fabric dimensions, cut out a piece of fabric for the main body of your pillowcase. this easy project only requires one piece of fabric that is folded over and sewn together to make the pillow case. there is no front or back piece. Also, if you’re using a directional print, you may need to cut it slightly different to keep elements of the print going in the correct direction.
Make Flap
With wrong side of the fabric facing upwards, fold the fabric over 4″ on the long side of the fabric, pin in place. Now sew 1/4″ seam allowance along the raw edge and 1/4″ seam allowance where you folded.

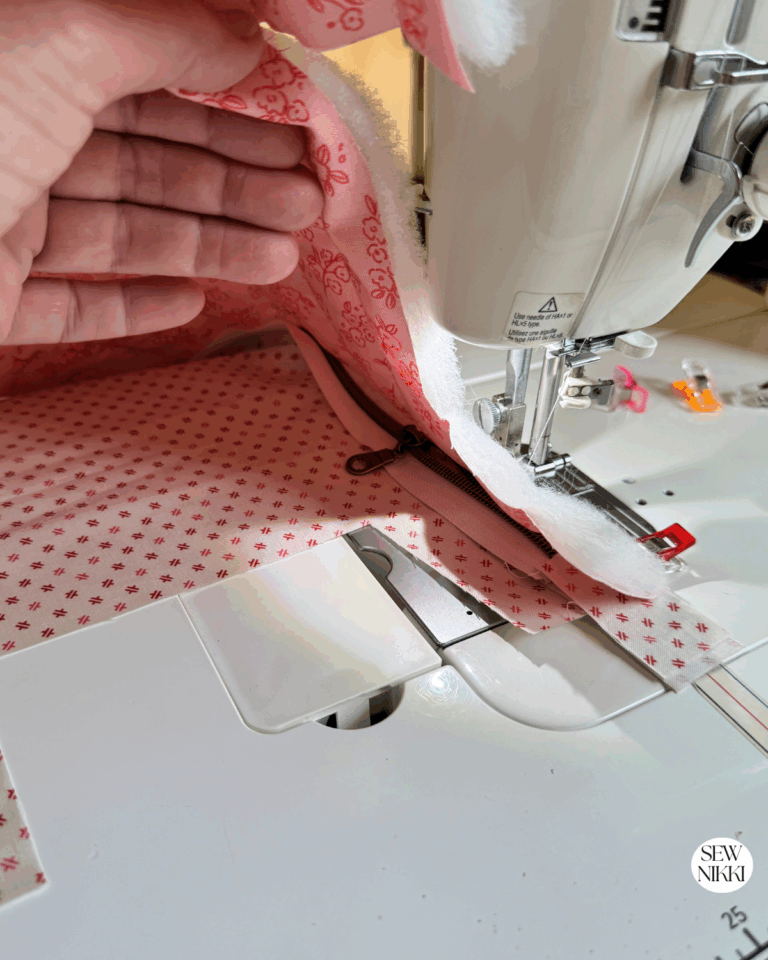
Sew Side Seams
Fold the fabric in half widthwise, right side together. Pin the raw edges of the fabric together along the side and bottom edges of the pillowcase. Using 1/2″ seam allowances, sew along the pinned edges, backstitching at the beginning and end to secure the straight seams.

Finish Raw Edges
To prevent fraying, finish the raw edges of your pillowcase with a zigzag stitch or serger. If your machine only has a straight stitch and you don’t have a serger, then sew along the side and bottom edges of the pillowcase again using 1/4″ seam allowance. This step is optional but can help extend the longevity of your pillowcase.

Note: You could also do french seams. After you have sewn your 1/2″ seam allowance, press seams open, then sew each side of the seam as close to the side edges of the seam as possible (about 1/8″).
Turn Out
Take sewing scissors and trim the corners so they are curved. Then turn the pillowcase right side out and poke out the corners and along the seams to make it pretty. I just use a chopstick for this but use what you have. Press with iron and you are done.

Note: You could get creative and have different fabrics for the front and back. Or make the folded flap a different fabric from the main fabric. Just add 1/2″ for the seam allowance if joining two pieces of fabric to create your pillow case. There are so many different ways you can tackle this project, so have fun and be creative!
I have another tutorial and free pattern for a simple pillowcase using the burrito method that has a decorative flap, check that out here.
Save This Pin for Later!

ABOUT SEW NIKKI
If this is your first time stopping by, welcome! Your place for free crochet, sewing and quilt patterns for beginner to intermediate skill levels. Want a digital pattern? We have those too! Plus tutorials to walk you through how to make each item from start to finish.
Follow me on social media (Pinterest, Instagram, Facebook and Twitter) so you get notifications when I post new patterns and tutorials.
Looking for your next quilt project? Then head on over to my free “Pattern Index”. It’s a page dedicated to all of my free patterns separated by categories for crochet, sewing and quilting.
If you prefer an ad-free printable version, head over to my shop and browse the Digital Patterns. These are instant digital downloads you print yourself.
This post contains ads and affiliate links, which means I make a small commission at no extra cost to you. See my full disclosure here.


Thanks for the easy formula and size chart. Making a pillowcase this weekend using your pattern. Thanks!