Simple Curtains DIY – Patchwork with Rod Pocket
Learn how to make simple DIY curtains for any size window. These adorable curtains are made with large patchwork sections and raw edges are finished off using the French seam technique. French seams give it a polished professional look and are so easy to sew. This half-day project will transform any room. These are unlined curtains, it’s really just a simple curtain panel with a curtain rod pocket. I’ll walk you through the easy steps.

First Thing
I’m sewing a simple curtain for one of my bedroom windows. Let me show you how I used scrap fabrics to make a curtain panel with a rod pocket. This took me about 5 hours to do, making it up on the fly to add my own personal patchwork flare. Once you see how this was done, you can customize your own patchwork curtains.
Rod pocket curtains are really easy to make, and you can purchase curtain rods with hardware inexpensively at several local retailers. Rod pocket curtains are great for tension rods too, that’s what my window has. Tension rods fit inside the window frame and curtains rods are hung about 6″ outside of the window frame on both sides.
MAKE SURE YOU CHECK THESE OUT!
After you read this post, make sure you also check out Learn How to Quilt for Absolute Beginners. It’s jam packed with information to make your first quilt. It also has links and resources that are so helpful when you’re first learning. There’s lots of free quilt patterns that are great for beginners and all skill levels too. So make sure you check this out, seriously don’t forget!
Make sure you grab a copy of my free Quilt Planning Journal. It’s filled with graph paper and note pages to help you design at least 4 quilt or sewing projects! Use it to jot down ideas, fabrics, patterns and inspiration all in one place. Or create your own patterns and share with others. Pin in fabric swatches, photos of your finished quilts and enjoy your creative process!
Two Methods for New Curtains
There are two ways to tackle this project: take measurements of your current curtains or start from scratch. You can measure the current curtains and make new ones using your own fabric and modify. Or you can start from scratch which requires you to take measurements and do some sewing math.
Method one – take measurements of current curtains
If your window has curtains and you like the way they look and fit, I recommend taking measurements of your current curtains and make yours the same exact size. Take measurements of the curtain panel then use those measurements for the width and length. If they don’t have a rod pocket, this is the part at the top where the curtain rod slides through, then add 3 inches. This is the easiest method.
Method two – start from scratch
If there are no curtains on your window, grab a tape measure and go to your window. If you have a really small window or one that’s tall but not very wide (like mine) then just make one curtain panel. All other windows should have two curtain panels. Measure the width of the window. Now take that measurement and add at least 6″ to each side of the panel to make the curtains wider than your actual window. These will give you curtains that cover your window but will be really flat, no gathering in the curtain panel.

For fuller curtains that gather and have some ruffles and movement, take the widow width and multiply by 2.
If you have a small window and are only making one panel, this is your new curtain width.
If you have a regular size window you should make two panels, you will need to divide this number is half. This is the new width for each of your two panels. Since you are doubling the width, just disregard adding the extra 6″ on both sides of the panel. You should have plenty of fabric to hang your curtains 6″ from the window frame on both sides of the window.
More on curtain fullness
Decide on how full you want your curtains to be. If you make the curtains the exact width of your window, the curtains will be flat with no real gathers or ruffling. To make full curtains that gather and look ruffled, it’s recommended to make curtains 1.5 or 2 times the width of the window.
So my curtains are not full, they gather a tiny bit and I prefer more gathering. Again, when you sew curtains, it’s really about trial and error like most sewing projects are. Thank goodness you have this blog post to help you along!
Simple Curtains DIY
How to make simple DIY patchwork curtains with an easy rod pocket. I’ll show you how to make one for any size window, it was a lot of fun and really an enjoyable sewing project for any skill level. I’ll show you how to make your own curtains with simple curtain panels and finish off the edges with French seams. These are not lined, but you could easily add lining fabric.

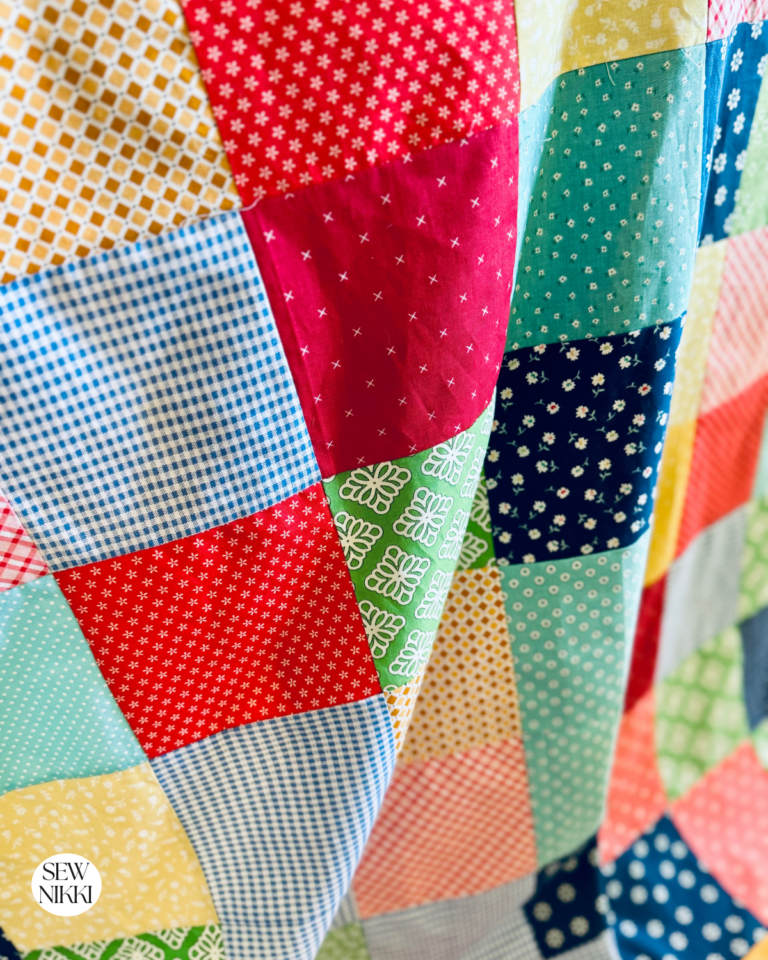
Why patchwork curtains? I’m a quilter and love patchwork, that’s really the reason why. It’s hard for me to just make things in one fabric, seriously, it really is hard! Let’s move onto the tutorial.
Materials Needed
- Fabric scraps or fat quarters to your liking
- Measuring tape
- Curtain rod and hardware or tension rod
My Window Measurements
Note: My window measurements are for your reference only, please follow your windows measurements
Window 34″ x 46″ with tension rod placed inside of the window frame
Current curtains 44″ x 50″, new curtains with rod pocket 44″ x 50″
Patchwork cut into 11″ x 15″ sections, some sections cut in half
4 rows of patchwork at 45″ before edges were finished
Measure Your Window
I measured my current curtain panel and modified it. Added an extra 6″ to the width and shortened the length. Then added more width as I was making the panels just to be on the safe side. The length was shortened to fall just under the window frame and remain off of my bed.
Start by measuring the width and length of your window to determine the size of your curtains. Add extra length to account for hemming and extra width to for desired fullness. It’s recommended to multiple the width of the window by 1.5 or 2 for full curtains.
Select Your Fabrics
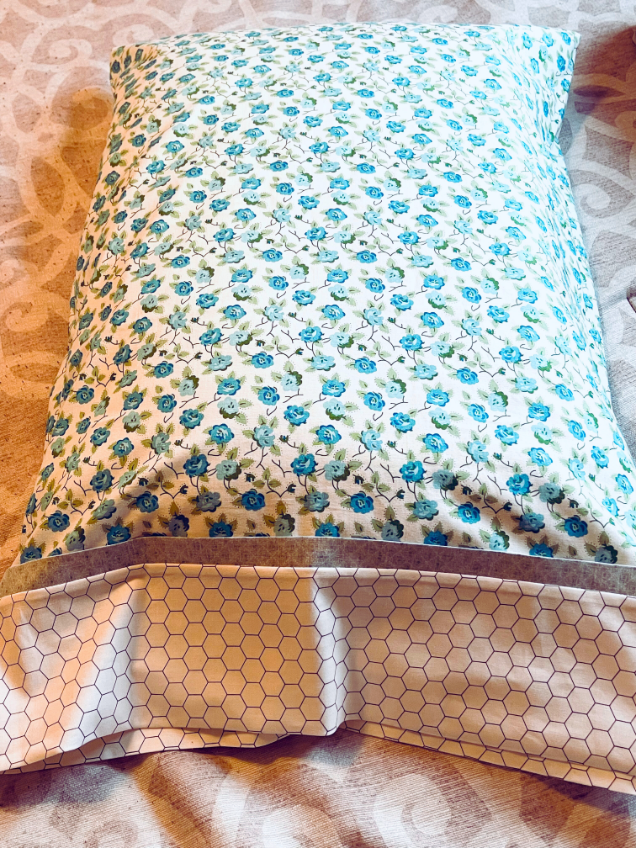
The fabric in my curtains match two pillowcase tutorials listed below: burrito method pillowcase with flap and simple pillowcase. Both pillowcases only around 10 minutes to sew. Fabric used was Granny Chic Vintage Blue Roses, Bee Backgrounds Stitched Circle Green, Bee Backgrounds Clover Cottage Blue, Bee Backgrounds Green Cool, and Bee Background Stitch White Cottage. All of these fabrics were bought in the discount racks at my local fabric store for $3.49/yard. Check out how to shop for the best quilting fabric like a pro for more info.

Patchwork Cutting Information
This is a personal preference but based on my particular window, I cut my patchwork fabric 11″ x 15″. Then some where cut in half to give the curtains more personality. The key is to make your rows the width you want for your curtains.

Sew Patchwork Into Rows
You want to sew your patchwork pieces together until they are the desired width of your new curtains. Again, flat curtains will be around 6″ more than the window width on both sides. For full curtains then 1.5 or 2 times the width of window measurement.
Using a 1/2 inch seam allowance, sew your patchwork pieces together to create rows. Now add French seams, you can do this as you go or before you connect the rows together.
French Seams
You can press the seams open with an iron or just skip this step like I did. Open up the 1/5 inch seam allowance and sew each side seam down sewing as close to the raw edge of each side seam as possible. This gives it a professional polished look and adds texture to the front of the curtains too. Sounds fancy but is great is you don’t have a zig zag stitch or serger to keep the raw edges from fraying.

Make Curtain Panels
Sew rows together to form curtain panel. Make sure it’s your desired length plus 3″ for the rod pocket panel.

Add Hem and Rod Pocket
Hem around the bottom edge of each curtain panel to your desired length, folding the fabric under once and stitching in place. Then, fold over the top edge 3″ to create a rod pocket, stitching along the bottom edge to secure. Do not stitch the sides or you will accidentally close the pocket.

Hang Your Curtains
Once your curtains are complete, hang them on your curtain rod using the hardware provided or on the tension rod. Adjust the gathers and folds until you achieve the desired look, and stand back to admire your new DIY simple curtains!
SAVE THIS PIN FOR LATER!

ABOUT SEW NIKKI
If this is your first time stopping by, welcome! Your place for free crochet, sewing and quilt patterns for beginner to intermediate skill levels. Want a digital pattern? We have those too! Plus tutorials to walk you through how to make each item from start to finish.
Follow me on social media (Pinterest, Instagram, Facebook and Twitter) so you get notifications when I post new patterns and tutorials.
Looking for your next quilt project? Then head on over to my free “Pattern Index”. It’s a page dedicated to all of my free patterns separated by categories for crochet, sewing and quilting.
If you prefer an ad-free printable version, head over to my shop and browse the Digital Patterns. These are instant digital downloads you print yourself.
This post contains ads and affiliate links, which means I make a small commission at no extra cost to you. See my full disclosure here.