How to Make a Pom Pom with Yarn (Step-by-Step Guide)
If you’re wondering how to make a pom pom with yarn, you’re in the right place. Using a plastic maker is the easiest way to create fluffy, full pom poms every time. Whether you’re adding them to hats, blankets, or home decor, this guide will walk you through each step to get them perfect for your next project.
What You’ll Need
- Plastic pom pom maker (any size)
- Yarn of your choice (worsted or bulky yarn works best)
- Sharp scissors
- Strong thread or yarn for tying

Step 1: Open the Pom Pom Maker
Plastic pom pom makers have two sets of curved arms that swing out from the center. Start by opening both sets of arms outward. These arms will be the base where you wrap your yarn.

Step 2: Wrap Your Yarn
Pick one side of the plastic maker and begin wrapping your yarn tightly around both curved arms. For a fuller pom, wrap generously. Continue until the arms are fully covered with yarn. The more yarn you use, the fluffier your poms will be.

How many times should you wrap yarn for a pom pom?
Wrap until the curve in the arm is flat and packed with yarn. The fuller it looks, the fluffier your poms will turn out.
Pro Tip: Use multiple strands of yarn at once to speed up the process and add fun color combinations.
Step 3: Close and Repeat
Once the first side is wrapped, close the arms securely back into place. Now repeat the same wrapping process on the other side of the maker.

Step 4: Cut the Yarn
With the plastic maker’s arms securely closed, take your scissors and carefully snip along the groove in the middle of each set of arms. This groove guides your scissors and ensures an even cut.

Step 5: Tie It Off
Cut a piece of strong yarn or thread about 12 inches long. Slide it into the groove where you just cut the yarn. Pull it tightly around the center, knotting it securely. For extra durability, wrap the thread around twice before knotting.

Step 6: Release the Pom Pom
Open the arms on both sides, then pull apart the two halves of the pom pom maker. Carefully fluff the yarn to reveal your pom pom.

Step 7: Trim for Perfection
Use your scissors to shape and trim the pom pom until it’s round and even. Don’t be afraid to trim a little extra for that perfectly fluffy look.

Creative Pom Pom Variations
Want to mix things up? Try these fun pom pom ideas:
- Two-Color: Wrap one color on one curved arm and a second color on the other for a bold split design.
- Striped: Alternate yarn colors every few wraps for a striped effect.
- Speckled: Add short bursts of a contrasting color randomly throughout your yarn wrapping for a playful speckled look.
- Ombre: Start with a darker shade and gradually transition to a lighter one for a subtle ombre effect.
Bonus Tips for Flawless Poms
- For extra fullness, wrap more yarn than you think you’ll need. Poms shrink when trimmed.
- Sharp scissors make all the difference — dull blades can leave your poms looking scraggly.
- Use wool or acrylic yarn for sturdy, long-lasting poms.
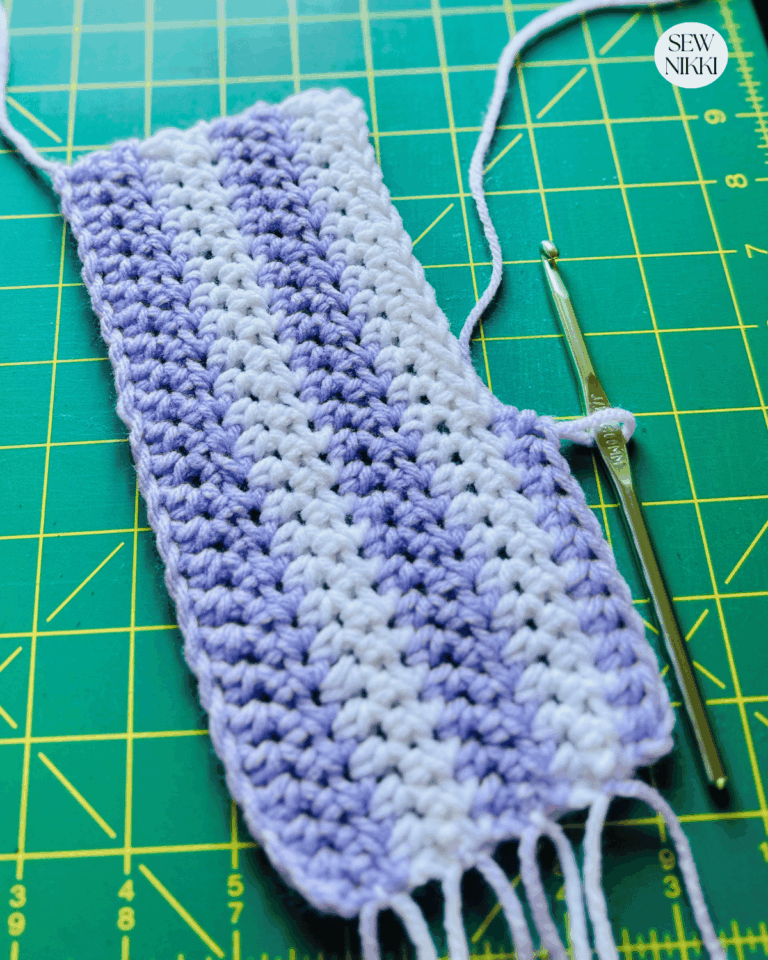
Pictured above are two free crochet baby blankets with printable patterns that include pom pom corners. This is a follow up post on how to make these. First photo is Modern Stripes Baby Blanket and the second photo is my Paddy Baby Blanket made with a granny rectangle.
Why isn’t my pom pom fluffy?
If your poms looks thin or limp, chances are you didn’t wrap enough yarn. Be sure to fill the curve of each arm until it’s completely flat.
How do you make an extra-large pom pom?
The size of your pom pom maker determines your pom pom size. For oversized pom poms, use the largest plastic pom pom maker you can find.
What’s the easiest way to make a pom pom?
A plastic pom pom maker is by far the easiest method. Sharp, small scissors will also make the cutting process easier and neater.
Fun Project Ideas with Pom Poms
- Add to the corners of your crochet blankets.
- Create a garland with multiple poms for seasonal decor.
- Sew onto scarves or hats for a playful touch.
- Make a snowman by stacking three different-sized poms together.
- Turn into a keychain by attaching it to a ring loop — perfect for backpacks, handbags, or totes.
With these tips, you’ll be making perfect pom poms in no time. Happy crafting!
Need more help?
Watch this video tutorial if you are unsure how to use the plastic pom pom makers. Clover Pom Pom Maker, check out this tutorial by Happy Berry Crochet.
You can buy this great 4 pack for just a few dollars. It’s not Clover brand but it’s pretty darn close and less expensive. I used the 48mm pom pom maker pictured below recently on two adorable baby blankets. It was the perfect size and so easy to use.

I already owned two Clover Pom Pom Makers but they were too large and I needed to order smaller ones but I wasn’t sure which size. That’s when I found this 4-pack and was sold after comparing the price with the price of a single Clover maker. The quality of the plastic is not as good but who cares. It doesn’t effect the finished poms.

Pin It for Later!
Save this post on Pinterest so you can find it easily when you’re ready to start your project!

This post contains ads and affiliate links, which means I make a small commission at no extra cost to you. While the ads are annoying, it helps keep this blog going. See my full disclosure here.
About Sew Nikki
If this is your first time stopping by, welcome! I’m Nikki, a maker obsessed with quilting, crochet, and all things fabric. Here, you’ll find easy-to-follow patterns, helpful tutorials, and plenty of inspiration for your next handmade project. Grab your fabric (or yarn), and let’s create something beautiful together!
Follow me on social media (Pinterest, Instagram, Facebook and Twitter) so you get notifications when I post new patterns and tutorials.
Want to learn how to quilt? Then check out this post, Learn How to Quilt for Absolute Beginner’s.


These are so cute and fun!
Love the flower bouquet! Someday when I have more time for hobbies, I really want to learn to knit or crochet.