Rectangle Granny Square Baby Blanket Pattern (PDF)
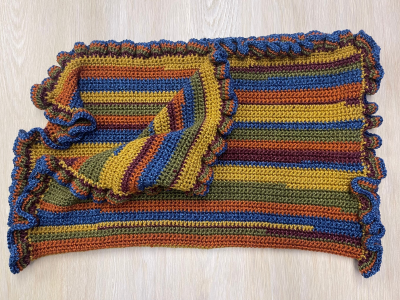
As a follow up to my post on how to make a granny rectangle, here is a finished pattern from that post. Introducing “Paddy”, a new rectangle granny square pattern. Finished size is 28.5″ x 33.5″, perfect for baby.
This is a beginner friendly pattern and one you will make over and over again. Granny rectangles can be made into so many different patterns and designs. Just play around with the foundation row to get different size blocks. You can go really small or really long. Sign up for my newsletter to download the free pattern and start stitching your new favorite granny square blanket today!
Made this blanket just before St. Patrick’s Day and love light blue and darker green. The name of the green yarn is Paddy Green, hence the blanket name. The green gives baby blanket the luck of the Irish. Use any color combo you like or just do it with one color. The choice is always yours, you are in charge of what you create at the end of the day. Hope you like this new crochet granny rectangle pattern.
If you want to refer back to my Basic Granny Rectangle Tutorial, please do so. I’m only posting the pattern today, no other fluff in this blog post.
Stitch Count
It bears repeating that if you want to change the size of the foundation chain, you need to adjust in multiples of 3 + 2. Count your foundation chain in 3’s and then add 2. If you need to make it longer, add in 3’s. If you need to make it shorter, subtract in 3’s. That’s the crochet formula for this stitch pattern.
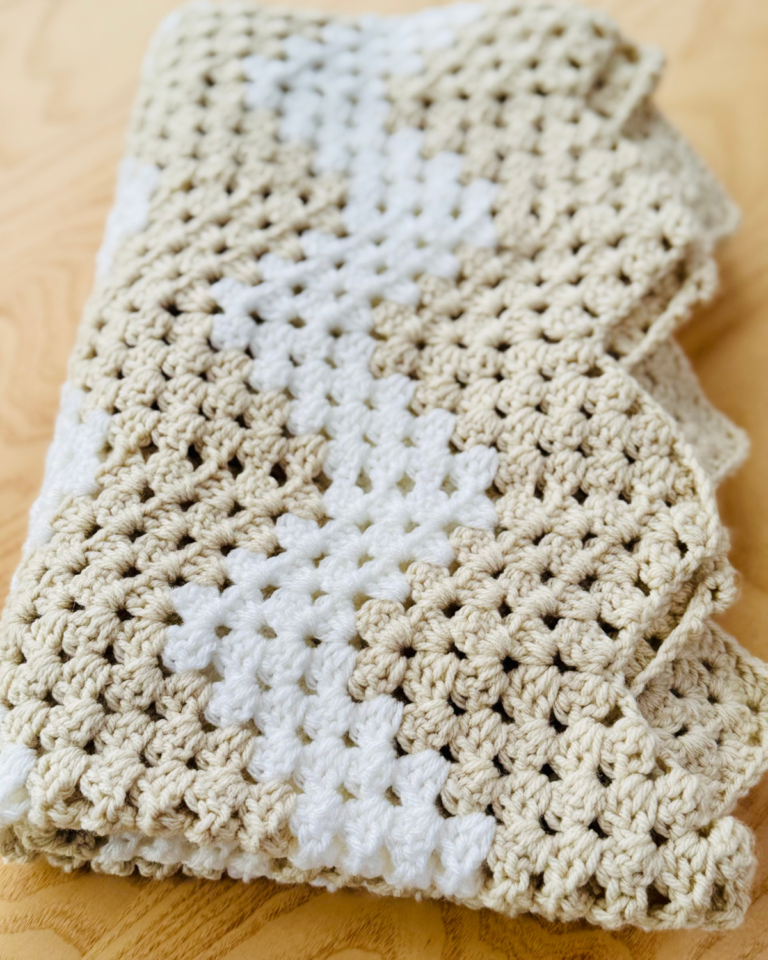
This pattern is for a rectangle granny baby blanket. The main difference between a granny square and granny rectangle is just the shape. That’s the only thing that’s different. The stitch pattern is the same for the corners and sides for the most part. This pattern is based on the traditional granny square but shaped into a rectangle. It’s made up of granny clusters, these are three double crochet stitches in the same chain. You will get a rectangle granny blanket which is slightly different than a square blanket. This free pattern uses a simple variation of the classic granny square.
Cast on anywhere
When you start new rounds, you can start anywhere you like on the block. It doesn’t have to be on the corners. You also don’t need to flip your work but I noticed that as my work got bigger, it wasn’t laying flat. That’s when I decided to flip my work and it helped it lay flatter.
When your new granny rectangle crochet pattern is done, make sure the right side of the block is facing up. Look at the very center line of the block, don’t look at the granny clusters. You can see the foundation starting chain looks better on one side of the block. Use the side that looks best for the front of your work.
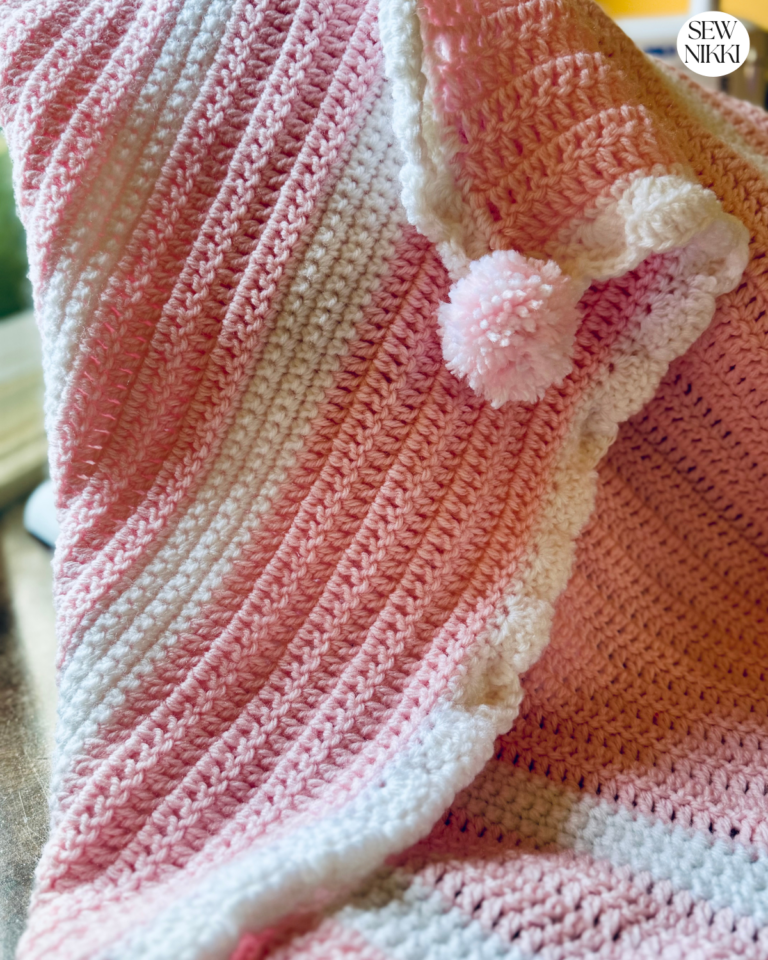
The rectangle shape is really perfect for baby blankets. I’m not done yet, still thinking of adding little pom poms that hang on all four corners.
Supplies Needed
- Yarn in Sample: Red Heart White, Red Heart Paddy Green, Red Heart Light Blue (one skein of each).
- Crochet Hook: Select your crochet hook size that matches the yarn weight you’ve chosen. My sample used a H or 5.00 mm crochet hook.
- Scissors: For changing colors of yarn only when you run out of a color.
- Yarn Needle: For weaving in ends.
Paddy Baby Blanket Crochet Pattern
I will be using crochet short abbreviations in this post. You will notice most of these basic stitches but let’s talk more about the Granny Cluster and Granny Corner.
Granny Cluster – A granny cluster is just 3 double crochet stitches in the same chain. These 3 double crochets are called a granny stitch or granny cluster. Technically, Granny Clusters are used everywhere on a block but for this pattern it’s used on the sides only. You simply place 3 double crochet stitches in the same chain or chain space, depending on what round you are on. I’ve got another term for the granny clusters used for the corners.
Granny Corner – A basic granny corner on any shape block (rectangle or square) is made up of 2 Granny Clusters with 2 chains in between. Those 2 chains create a chain space for the next round. This chain space is the actual corner of the block and allows you to turn direction with your work. Once chain for each side of your work. It makes sense when you break it down. Granny Corners are always the same for granny squares but are different in the first round of a granny rectangle. Because we are turning a foundation row into an oval shape, the first round corners require 3 Granny Clusters. It’s easy but I wanted to point this out.
Pattern Abbreviations
CH = Chain
CH-SP = Chain Space
ST(s) = Stitch(es)
SL ST = Slip Stitch
SK = Skip
SC = Single Crochet
DB = Double Crochet
Foundation Row
With white yarn, CH 20, turn. Start in 3rd CH from hook, SC in all STS, CH 3, turn. (This CH 3 counts as the 1st DC of the Granny Cluster in 1st round).
First Round:
Still using white yarn, add 2 DC in 1st CH (counts as first Granny Cluster). SK 2, 3 DC, repeat to end. In the last CH of row (3 DC, CH 2, 3 DC, CH 2, 3 DC).
Continue on other side. SK 2, 3 DC, repeat to end. In last CH (3 DC, CH 2, 3 DC, CH 2). SL ST into the top of the starting DC to join. Tie off, knot, snip with scissors. Leave a long tail to weave in later.
Second Round:
With Light Blue yarn, cast on in the upper left hand corner and crochet 3 DC in the corner CH-SP. SK 2, 3 DC, repeat to end. In corner CH-SP (3 DC, CH 2, 3 DC). In next corner CH SP (3 DC, CH 2, 3 DC).
Continue on other side. SK 2, 3 DC, repeat to end. In first corner CH-SP (3 DC, CH 2, 3 DC). In next corner CH-SP (3 DC, CH 2). SL ST into the top of the starting DC to join. Tie off, knot, snip with scissors. Leave a long tail to weave in later.
Third Round:
Flip work over. With White yarn, cast on in the upper left corner CH-SP (3 DC, SK 2), repeat to end. In corner CH-SP (3 DC, CH 2, 3 DC), 3 DC next CH-SP, in corner CH-SP (3 DC, CH 2, 3 DC).
Continue on other side. SK 2, 3 DC, repeat to end. In first corner CH-SP (3 DC, CH 2, 3 DC). Then 3 DC in next CH-SP. In next corner CH-SP (3 DC, CH 2), SL ST into the top of the starting DC to join. Tie off, knot, snip with scissors. Leave a long tail to weave in later.
Get the Full Pattern!
Visit my shop for the full pattern, only $5.
There is no border on this granny rectangle crochet pattern but feel free to add one of these free crochet borders.
Another option is to add little pom pom’s in each corner. Here are 3 different ways to make this adorable accessory.
How to make a pom pom with card stock from Sheep & Stitch.
Or this with empty toilet paper rolls by The Nervous Knitter.
Or with the Clover Pom Pom Maker, check out this tutorial by Happy Berry Crochet.

Here are more granny patterns you may like:
Sunburst Granny Square Blanket
Pin It for Later!
Save this post on Pinterest so you can find it easily when you’re ready to start your Paddy Blanket!
This post contains ads and affiliate links, which means I make a small commission at no extra cost to you. While the ads are annoying, it helps keep this blog going. See my full disclosure here.
ABOUT SEW NIKKI
If this is your first time stopping by, welcome! I’m Nikki, a maker obsessed with quilting, crochet, and all things fabric. Here, you’ll find easy-to-follow patterns, helpful tutorials, and plenty of inspiration for your next handmade project. Whether you’re stitching up a cozy quilt, crocheting a vintage-inspired blanket, or diving into upcycled sewing, I’m here to make the process fun and stress-free. Grab your fabric (or yarn), and let’s create something beautiful together!
Follow me on social media (Pinterest, Instagram, Facebook and Twitter) so you get notifications when I post new patterns and tutorials.
Want to learn how to quilt? Then check out this post, Learn How to Quilt for Absolute Beginner’s.