Pinwheel Quilt Pattern – Jolly Table Topper
Easy printable pinwheel quilt pattern, Jolly Table Topper with framed blocks. Beginner quilters can make these classic quilt blocks with ease, it’s all about nesting the seams to get the points spot on. This awesome pattern comes together so fast and makes a wonderful gift. Full beginner friendly pinwheel quilt block tutorial to make this classic quilt pattern but in a tiny table topper. A scrap quilt is a great way to use up any left over fabric from another project or in this case left over pinwheel quilting blocks from a quilt pattern. Finished measurements 20″ by 20″.

This is my second pinwheels quilt pattern and my third quilt pattern using half square triangles or HST units. There are so many different quilt designs you can create if you know how to make half square triangles. Beginner friendly instructions along with a free pinwheel quilt block pattern below. If you missed my easy pinwheel quilt pattern for a throw size quilt, check it out here. My first half square triangle quilt pattern was for a chevron throw quilt, if you missed that free pattern you can check it out here.
Just trying to bust through some of my stash and make room for new fabrics. So, if you’ve been searching for the perfect pinwheel quilt pattern, you’re in the right place. This tutorial and free table topper pinwheel quilt block pattern is beginner friendly and comes together in no time!

In this post, I’ll guide you through the steps to create perfect pinwheel quilt blocks, simple blocks for beginners. Plus, I’m offering a free printable pinwheel quilt pattern for a table topper featuring framed blocks. Using up fabric from my stash but here are other fabric options below that you could use.
Fabric Options for Pinwheel Quilt Pattern
Here are fabric options you can use: fabric yardage, fat quarters, fabric stash or layer cake squares. All make great options but will need to be cut and sub cut prior to sewing. The easy way is to use precut charm packs. Charm packs consist of around 40 – 5″. You will need 5″ charm squares to get a 4.5″ finished half square triangle. This quilt block tutorial sample quilt is made with Lori Holt Prim by Riley Blake Designs, cut into 5″ x WOF strips, then sub cut into 5″ squares. I used white blocks for the background squares, also cut into 5″ squares. Lori Hold Bee Background Clover Tea Rose by Riley Blake Design for the sashing.
You will need the following quilting skills to complete this pattern successfully: half square triangles, nesting seams, free motion quilting OR can straight line stitch on a domestic sewing machine. So basically quilters of all skill levels should be able to complete this beautiful pattern with ease.
MAKE SURE YOU CHECK THIS OUT!
After you read this post, make sure you also check out Learn How to Quilt for Absolute Beginners. It’s jam packed with information to make your first quilt. It also has links and resources that are so helpful when you’re first learning. There’s lots of free quilt patterns that are great for beginners and all skill levels too. So make sure you check this out, seriously don’t forget!
Grab a copy of my free Quilt Planning Journal. It’s filled with graph paper and note pages to help you design at least 4 quilt or sewing projects! Pin in fabric swatches, photos of your finished quilts and enjoy your creative process!
Printable Pinwheel Quilt Pattern – Table Topper
Cutting Sizes
8 – 5″ background squares
8 – 5″ green squares
9 – 1.5″ red cornerstone squares
12 – 8.5″ x 1.5″ sashing strips
Backing and binding fabric
Make Half Square Triangles (HSTs)
First thing you need to do is cut your fabric to the cutting sizes above. Now it’s time to make the half square triangles. Take 1 – 5″ print square and 1 – 5″ background square, place right sides together. Next, draw a diagonal line from one corner to the opposite corner using a pencil, pen or fabric marker. Sew a quarter inch seam line down both sides of the diagonal line. Cut the square in half, cutting directly on the diagonal line to create two half square triangles (HSTs). Square up with square quilting ruler to 4.5″.
If you are brand new to quilting and don’t know how to make half square triangles (HSTs), check out my tutorial How to Make Half Square Triangles (HSTs) – Easy Formula Chart.
Arrange and Sew Traditional Pinwheel Blocks
The pinwheel block is an easy block to make using four half square triangles. Use the half square triangles you made in the step above to form blocks. Make four blocks total.
Arrange your half-square triangles into 4 pinwheel blocks (as shown below), with the contrasting fabrics forming a pinwheel design. Sew the top half square triangles together by placing the square on the right facing down on the square on the left. Nest the seams and pin in place then sew together using a quarter inch seam allowance. Now repeat this step for the squares on the bottom.
Pro Tip: Nesting your seams before you sew is the key to sewing these blocks.

Finally, take the two rows and sew together using a quarter inch seam allowance to form the block. Press seams open for a flat and neat finish.
Chain sew the rows together to complete the traditional pinwheel block. That’s all there is to making these easy blocks. Also, I didn’t trim any of these blocks before forming the quilt top. You shouldn’t have to either.
Written Instructions – Pinwheel Table Topper Pattern
Simple Pinwheel Table Topper Pattern
For this framed block pinwheel table topper measuring approximately 20″ by 20″ here’s what you’ll need:
- 4 pinwheel blocks (created following the steps above)
- Sashing strips and cornerstones (cut following the directions above)
Arranging Pinwheel Table Topper Pattern
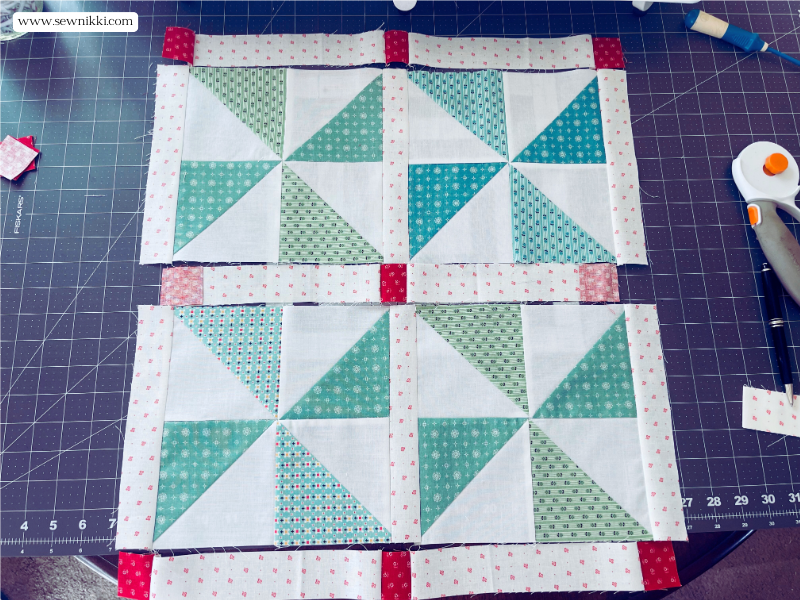
Arrange the four pinwheel blocks into two rows with sashing strips laid out below. You will need to attach the sashing to the blocks from left to right working each row separately.

Attaching the Sashing
Place three sashing strips for each row, one before the block, in between the blocks and to the right of the last block. Do this for both rows. Take the first row to sewing machine and attach sashing strips using a quarter inch seam allowance. Press seams and iron flat. Repeat this for the second row.
Take the remaining sashing strips and cornerstones to the sewing machine and make three horizontal strips for the top, middle and bottom border of the table topper. You will need 3 cornerstones and 3 sashing strips to make each border strip. Each strip should start and end with a cornerstone with a cornerstone in the middle. See picture below for more info. Always sew with a quarter inch seam allowance, which is easy to do with a quarter inch presser foot.
Now attach these sashing strips with cornerstones to the top of the first row, then to the bottom of the first row.
Backing Pattern
You can use any backing fabric or backing pattern you desire. Here is how I made my backing with left over fabric scraps. Fabric cutting sizes: 2 – 2.5″ x 21″ red strips (same fabric as cornerstones), 1 – 5″ x 21″ background fabric and 2 – 6.5″ x 21″ background fabric. The backing background fabric used was Cozy Christmas background by Lori Holt of Riley Blake Designs.
Layout your fabric as shown in the picture below then sew rows together using a quarter inch seam allowance. Your backing should be slightly larger than the quilt top.
Order of rows: 6.5″ background strip, 2.5″ red strip, 5″ background strip, 2.5″ red strip and finally the 6.5″ background strip. Makes a simple pieced quilt backing for your project.
Basting Quilt
Time to make a quilt sandwich with your quilt top, batting and backing fabric. Baste the layers together with 505 Adhesive Spray Baste or curved quilting safety pins.

Quilting On Domestic Sewing Machine
You can opt for straight line quilting, free motion quilting, or any other quilting design that inspires you.

Squaring Up
Once quilting is done, square up your table topper with straight line quilt ruler, rotary cutter and cutting mat.

Attaching Binding
Once quilting is complete, bind the edges of your quilt to give it a polished look. Use a single fold binding using 1.5″ x WOF strips until it’s long enough to fit around the table topper. I used fabric scraps to make a scrappy border and added little bits of red fabric as well. Sew strips together to form a continuous strip.

Attach binding to the back of quilt first using a quarter inch seam, then finish by attaching to the front side of quilt by folding bolding and folding again. Pin in place with sewing pins, line your presser foot to the left of the binding and sew slightly to the right without going off the border to finish. Your project is done, enjoy your free printable pinwheel quilt pattern (table topper).
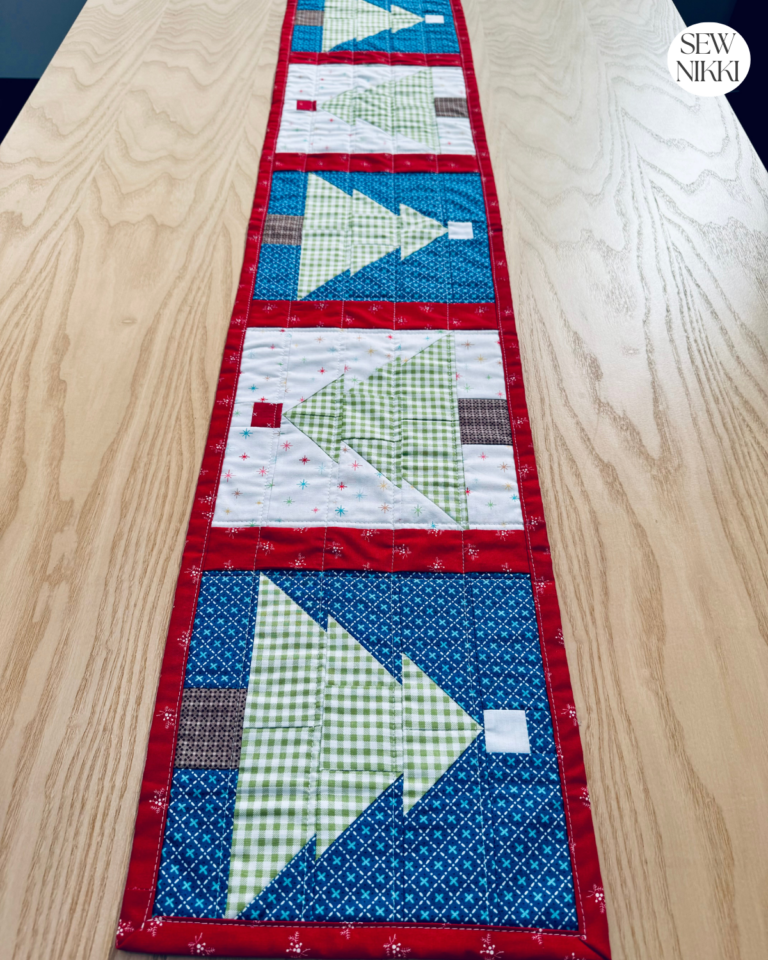
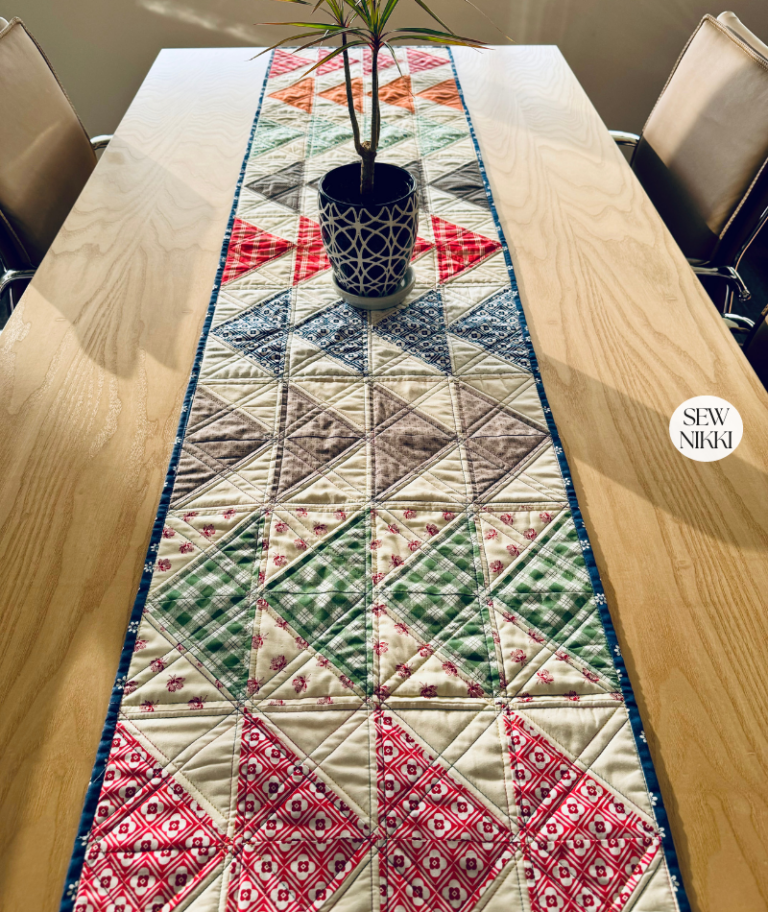
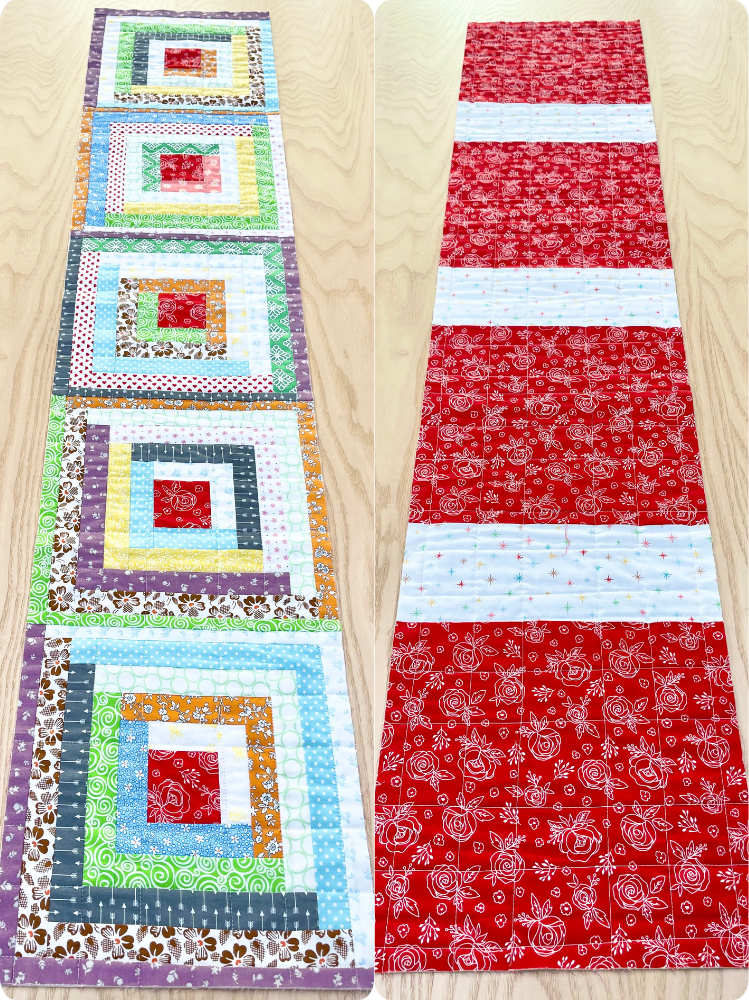
More Table Runner Patterns
SAVE THIS PIN FOR LATER!

If You’re New Here
I’m really glad you found your way here.
If you’re new to quilting, then welcome. The learning curve is fast, and yes, you will face challenges. But I’ve got you. If I can do it, so can you!
Here’s where to go next:
- Learn to Quilt Page – every step of making and finishing a quilt
- Free Pattern Index – all my free patterns in one place
- Digital, ad-free patterns – clean, printable, and beginner-friendly
My blog is built for the home sewist and quilter who wants to make a quilt from start to finish all by themselves. Take a full tour of this blog so you know your way around. Subscribe to the newsletter so you don’t miss out on new patterns or tutorials. And follow me on Pinterest, Instagram and Facebook.
ABOUT SEW NIKKI
If this is your first time stopping by, welcome! Your place for free crochet, sewing and quilt patterns for beginner to intermediate skill levels. Want a digital pattern? We have those too! Plus tutorials to walk you through how to make each item from start to finish.
Follow me on social media (Pinterest, Instagram, Facebook and Twitter) so you get notifications when I post new patterns and tutorials.
Looking for your next quilt project? Then head on over to my free “Pattern Index”. It’s a page dedicated to all of my free patterns separated by categories for crochet, sewing and quilting.
If you prefer an ad-free printable version, head over to my shop and browse the Digital Patterns. These are instant digital downloads you print yourself.
This post contains ads and affiliate links, which means I make a small commission at no extra cost to you. See my full disclosure here.


Cute design and I love how it’s beginner friendly!