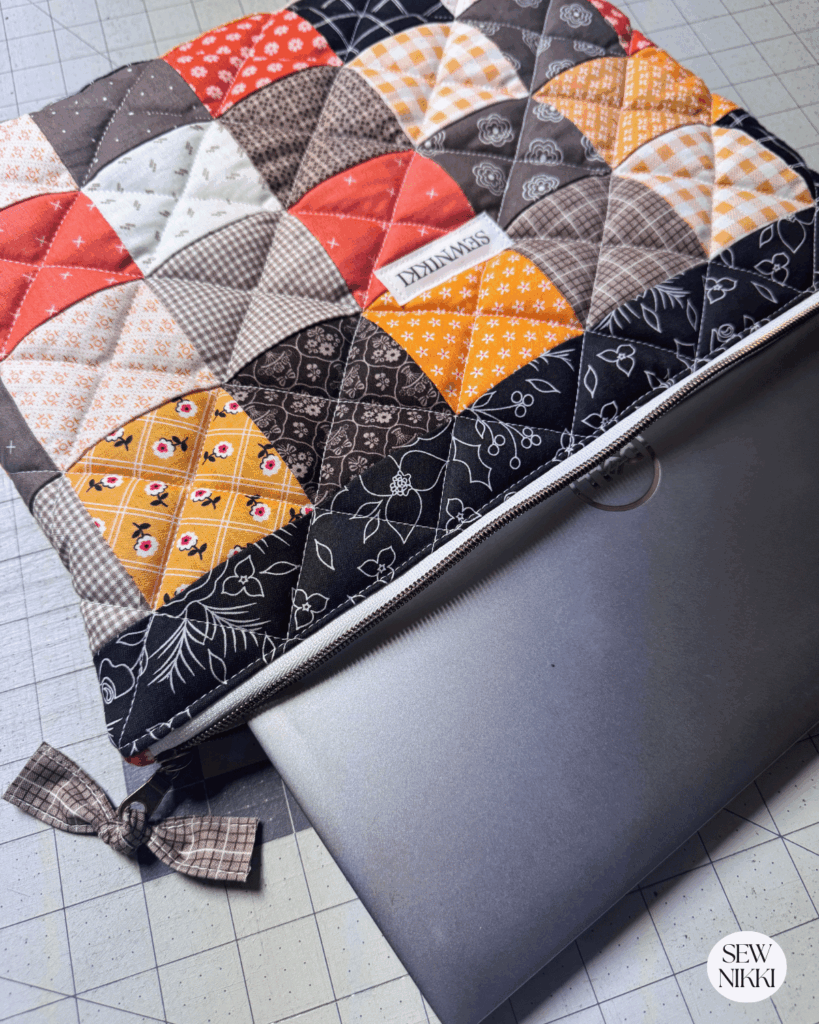
Patchwork Zippered Laptop Sleeve Sewing Pattern
This patchwork zippered laptop sleeve sewing pattern is a quick sew and fun to make. It’s a simple quilted envelope with a zipper closure. The design follows the same construction steps as my zippered book sleeve sewing pattern, but scaled up to fit a laptop and finished with simple patchwork panels.
This is an hour DIY laptop sleeve sewing tutorial, it works up so fast. Now others may call this sewing pattern different names, here are a few and they just protect your computer: laptop bag, padded case, laptop pocket, quilted laptop case, and laptop case.
Whatever you call it, free pattern in this post and a PDF pattern available for download. All my sewing tutorials show the step-by-step process, pattern pieces sizes and detailed instructions.
Why Sew Your Own Laptop Sleeve
Store bought laptop sleeves are often bulky, poorly padded, or made from materials that do not hold up over time. Sewing your own gives you control over the size, fabric, and padding so yours fits your laptop properly and slides easily into a bag.
This patchwork zippered laptop sleeve is:
- Slim and easy to carry
- Lightly padded for everyday protection
- Made from leftover fabric scraps
- A quick project that does not require advanced skills
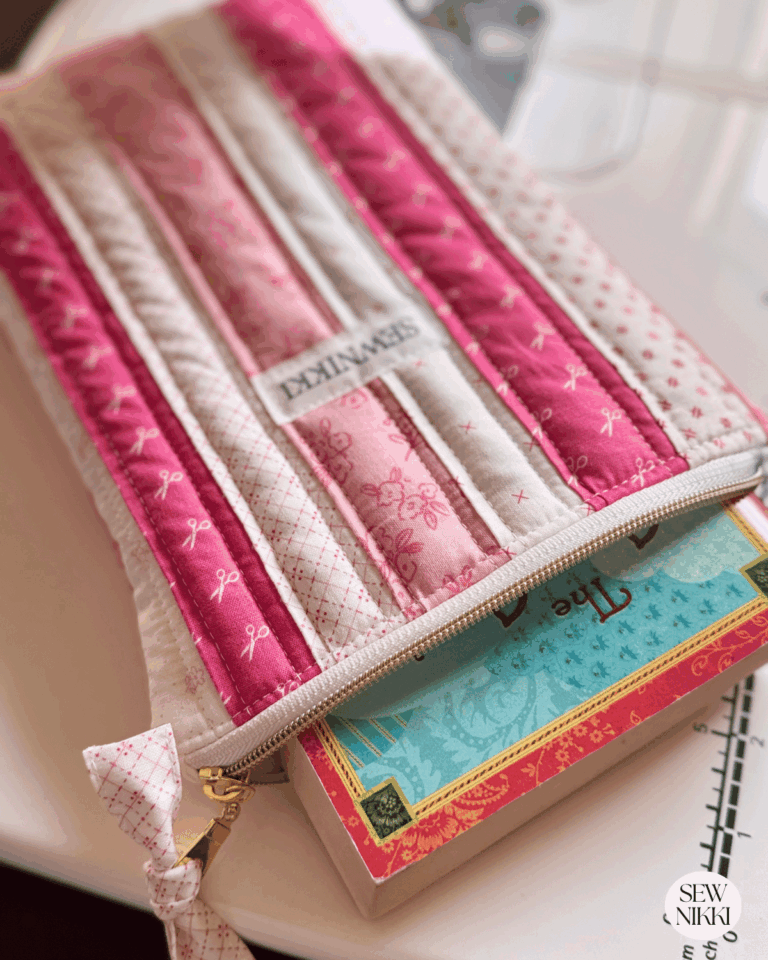
It is also a great follow up project if you have already made smaller zippered items like pouches or book sleeves.
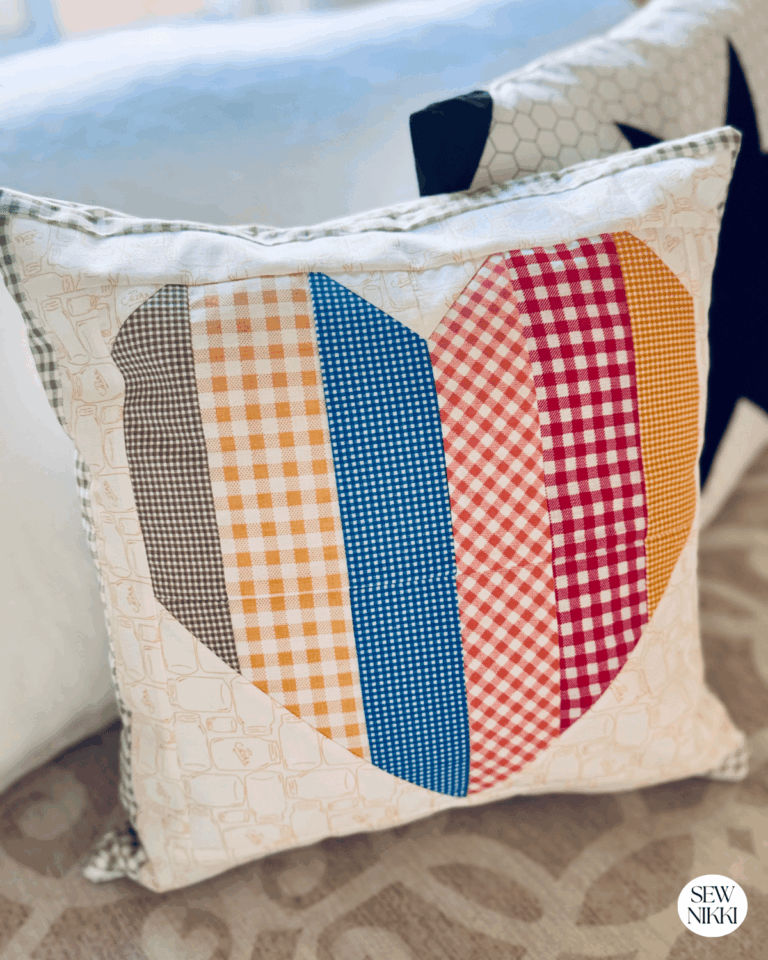
If you enjoyed my Zippered Book Sleeve Sewing Pattern, this laptop sleeve uses the same step by step process with adjusted measurements.
Finished Size and Laptop Fit
This pattern is written to fit a standard thirteen inch laptop. Always measure your own device first, since sizes can vary slightly between brands.
Finished sleeve size is approximately:
- 14.5 inches wide
- 11.5 inches tall
This allows room for padding and seam allowance without feeling loose or bulky. If you need a larger size, you can easily add another patchwork row to the width or height.
MAKE SURE YOU CHECK THESE OUT!
Grab a copy of my free Quilt Planning Journal. It’s filled with graph paper and note pages to help you design at least 4 quilt or sewing projects! Pin in fabric swatches, photos of your finished quilts and enjoy your creative process!
Materials Needed
Here’s what you’ll need to make one quilted zippered laptop sleeve.
Fabric & Notions
- Front fabric: 3″ x 6″ rectangle fabric scraps
- Back fabric: 3″ x 6″ rectangle fabric scraps
- Batting: slightly larger than panels
- Lining fabric: 1 fat quarter
- Metal zipper (7.5” zipper with zipper pull)
- Small fabric strips for zipper tab (1.5 x 4″)
- Bow fabric (2.5″ x 5″) or make Mini pom pom with yarn
- Coordinating thread
Tools
- Sewing machine
- Rotary cutter & ruler
- Pins or clips
- Zipper foot
- Iron
Not All Batting Is The Same
Please note that I make a lot of quilted makeup bags and zippered pouches and prefer to use a high loft polyester batting for maximum fluffiness. The key to keeping these quilted bags fluffy is to avoid ironing once you assemble. Ironing will only flatten the batting but it’s my personal preference. There are several good high loft battings, here are the ones I’ve bought and recommend. Mybecca Quilt Batting Multipurpose or Fairfield Hi-Loft Batting
Patchwork Zippered Laptop Sleeve Sewing Pattern
This tutorial includes a full free pattern with cutting measurements and step-by-step instructions.
If you prefer:
- No ads
- Easy printing
- A saved copy
You can grab the digital PDF download from my shop. It’s perfect if you plan to make more than one or want it handy for gifting season.
Not All Laptops Are The Same
There are different size laptops with different laptop dimensions so my pattern was written for a standard 13″ laptop size (13.5″ x 10″). The laptop sleeve will be 1.5″ smaller on the inside due to the zipper tabs and the metal zipper pull.
To adjust this pattern to a custom size laptop, cut your finished panels and lining so they are at least 1.5″ more in height and width. Your zipper should be 1″ shorter that the trimmed length of your panels and lining.
Step 1: Cut Your Fabric Pieces
Cut the following for a standard size laptop:
- Front panel fabric: 1 piece (14″ x 17″) or fabric rectangles sewn together
- Back panel fabric: 1 piece (14″ x 17″) or fabric rectangles sewn together
- Batting: 2 pieces (14″ x 17″ for both pieces)
- Lining fabric: 2 pieces (11.5″ x 15.5″)
- Zipper tabs: 2 pieces (1.5″ x 5″)
- Zipper: 14.5″ zipper
Your front and back panels should be the same size.

Step 2: Quilt Front & Back Panels
I’m cutting the two batting pieces 14″ W x 17″ H. And I’ve decided to do pieced panels with left over fabric rectangles from my stash fabric. This project is an excellent way to use what you have in terms of fabric to cover the batting on both panels. You want pieced fabric or one piece of fabric cut to the same size.
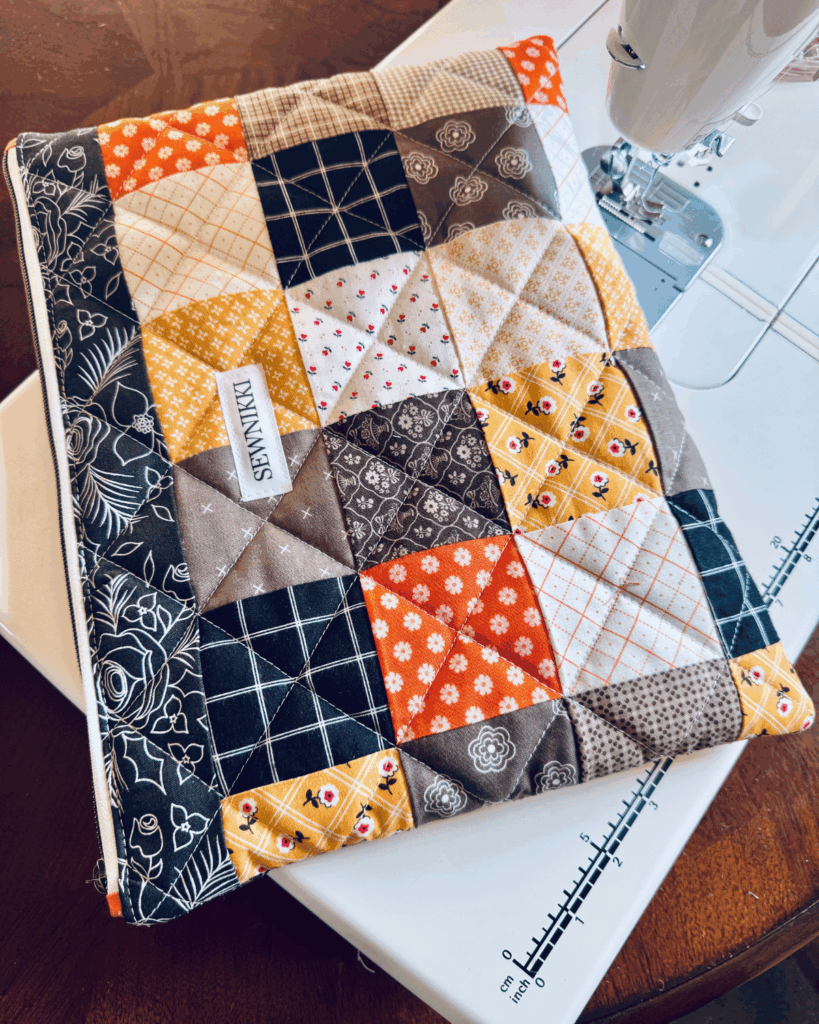
Using 3″ x 6″ fabric rectangles, layer them onto each panel into rows. I have 7 rectangle per row and made 5 sets to cover both panels. Sew rectangle rows together and then trim in half to make square strips.

You will need 5 square strips for each panel. Add a solid fabric strip to the top of each panel to finish, this should cover your batting with a little extra.
Sew the rows for each panel together, nesting our seams and using a 1/4″ seam allowance. Then place both fabric panels over your batting pieces. The panels will hang over the batting and that’s ok. We will trim the panels before sewing the laptop sleeve together.

Place each fabric panel right side up on top of its batting piece.

Quilting
This project is made for straight line quilting, which makes it perfect if you’re quilting on a regular home sewing machine or use your own quilt design with free motion quilting. For this project, I went with a cross grid pattern quilt design by quilting straight lines diagonally through each of the patchwork squares and plain strip at the top going in both directions.

Once quilted, trim the panels so both are the exact same size. I’ve trimmed these to 15.5″ W x 12″ H. If you want to attach a sewing label to the front of the laptop sleeve, now is the time to do that. I have a post on how to make your own custom labels for pennies if you want more information.
Step 3: Prepare the Zipper & Zipper Tab
For this project, I trimmed my zipper to 14.5″ in length (it’s 1.25″ wide) then added the zipper tabs on both ends with the rectangle 1.5″ x 5″ fabric pieces. If your zipper is longer than needed, you can shorten it — or just let the ends get caught in the seams.
To make the zipper tab:
- Lay the fabric strip on your sewing machine near the plate, right side up.
- Place one end of the zipper half way down the strip then fold the extra fabric up and over the zipper.
- Slowly stitch 1/4″ seam allowance to finish.
- Repeat with the other zipper end. Note: When sewing the end with the zipper pull, pull the zipper back and pinch the zipper before folding the extra fabric up and over the zipper.
- Slowly stitch 1/4″ seam allowance to finish.
- Pull the fabric back to reveal the zipper when done with both ends.

Full step by step tutorial on how to sew a zipper if you need more visuals.
Step 4: Attach the Zipper
Place the zipper (face down with the zipper pull starting at the left) onto the top edge of the front panel, right side facing you. Pin in place. Lay a lining piece on top, right side down, re-pin in place.

Take piece to sewing machine, and sew on the batting side. Sew on the batting side using a zipper foot, back stitch at beginning and end. Press the lining fabric away from front panel and sew a topstitch along the zipper if desired.
Place the back panel face down on top of the right side of the front panel. Line up the sides then pin in place. Turn over and lay the lining fabric face down onto the front panel lining fabric. Line up the sides then re-pin in place. Repeat for the back panel and remaining lining piece.

Take back to sewing machine and sew on the lining side. If using a quilting foot, line foot to the edge of the unit and attach using 1/4″ seam allowance. Backstitch at beginning and end. Press the lining fabric away from front panel and sew a topstitch along the zipper if desired.
Note: Lift your presser foot to high to accommodate the bulk from the quilted panels and zipper. Adjust your stitch length to 3 or 3.5 too. Lower back to normal setting when sewing the lining pieces together.
Step 5: Assemble the Laptop Sleeve
Open the zipper halfway (important!). If you don’t open the zipper, you will break your sewing needle when sewing the sides where everything meets at the zipper.

Pin or clip around the edges listed below:
- Quilt panels right sides together
- Lining pieces right sides together
Sew around the perimeter using 1/4″ seam allowance, taking your time where the zippers meet on the sides. Go slow to avoid breaking your sewing needle. Leave a 6” opening in the lining bottom for turning right side out. You will close the opening later on.

Step 6: Turn & Add Zipper Pull Bow
Turn the laptop sleeve right side out through the lining opening. Use a turning tool or chop stick to get in the corners and push them out. Finally, stitch the lining opening closed by machine by folding the seam inwards and top stitch as close to the edge as possible, back stitching at the beginning and end.
To make the fabric bow for the zipper pull bow, take a piece of fabric 2.5″ x 5″ and lay it right side down. Fold 1/3 of the way in, then fold the other side on top of your fold and finger press. Pin with clips then sew as close to the edge on both sides.

Fold fabric bow in half and work fabric into the zipper pull. I used these metal zippers and pulls for this project but use what you have. Just tie once into a know and trim the ends. You are done!
If you can’t get fabric through your zipper pull, try making a yarn pom pom and adding that instead. Need help? I walk through this step in detail in my How to Make a Pom Pom tutorial.
This little detail adds so much personality and makes the book sleeve extra gift worthy, especially for folks who love crochet.
Finished laptop case sewing pattern measures 14.5″ x 11.5″.
Great Beginner Tips for Success
- Use a metal zipper for a polished finish
- Don’t skip opening the zipper before sewing the sides
- Quilt first, then trim — not the other way around
- Straight line quilting keeps everything flat and easy
Helpful Video Tutorials From Other Sewists
If you like seeing the process before you sew, these vlog style tutorials are helpful visual references. Each shows a slightly different approach to sewing a laptop case with a zipper.
- Sewing a quick and easy table sleeve – Sew Many Creations
- Beginner friendly zippered laptop case tutorial – The Little Green Bean
- Another beginner laptop case tutorial – She Sews Seams
Watching a few different approaches can really help if this is your first sleeve project. As we all have learned, there are many ways to do the same thing when you sew or quilt. That’s one of the reasons we love to sew, we have options!
Other Posts You May Like
If you enjoyed this tutorial, you might also love:
Cluck Cluck Sew – Beginner Brightly Pattern
Save This Pin for Later

Patchwork Zippered Laptop Case Sewing Pattern
This patchwork zippered laptop case sewing pattern and tutorial is proof that small projects can still feel special. Whether you’re making one for yourself or a stack for gifting, it’s a satisfying sew from start to finish.
Don’t forget:
- The free pattern is included in this post
- A digital PDF sewing pattern is available in my shop
- You can customize everything — fabric, quilting, zipper, pom pom
If you make one, I’d love to see it. Tag me or share your version — handmade projects are always better when shared 💛
About Sew Nikki
Welcome to Sew Nikki. Your place for free crochet, sewing and quilt patterns for beginner to intermediate skill levels. Want a digital pattern? We have those too! Plus tutorials to walk you through how to make each item from start to finish.
If this is your first time here and you are new to quilting, start by checking out my Quilting 101 page. Then move onto the Quilting Tutorial page with full tutorials for each step in the quilt process. Finally, find a free quilt pattern or quilt project in The Pattern Index.
Follow me on social media (Pinterest, Instagram, Facebook and Twitter) so you get notifications when I post new patterns and tutorials.
This post contains ads and affiliate links, which means I make a small commission at no extra cost to you. See my full disclosure here.