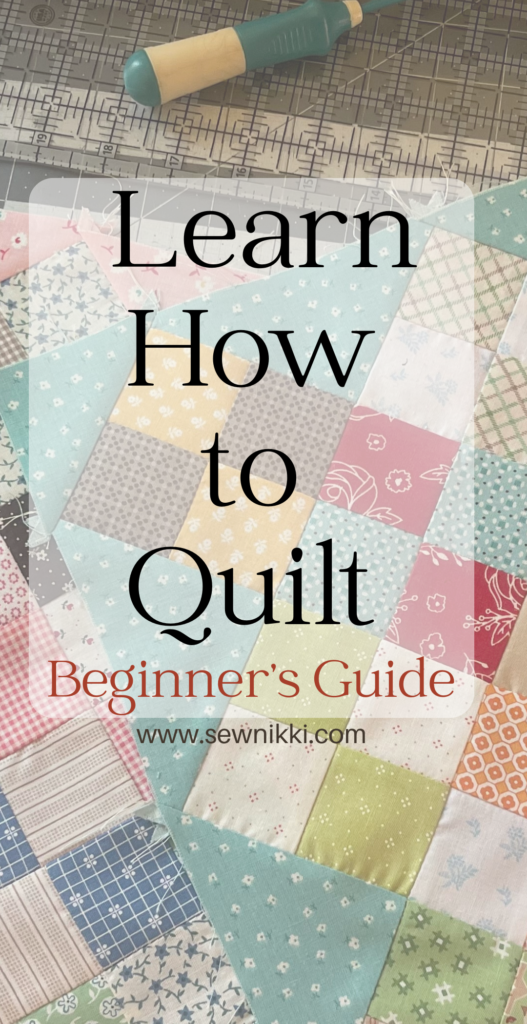
Learn How To Quilt for Absolute Beginner’s
Welcome to Sew Nikki! If you’ve always wanted to learn how to quilt but didn’t know where to start, you’re in the right place. Quilting is creative, practical, relaxing, and incredibly rewarding. My goal is to make the art of quilting accessible and enjoyable for everyone with simple instructions, realistic expectations, and beginner to intermediate free patterns. Want a digital pattern? We have those too!
Whether you’re brand new to sewing or you’re jumping into quilting with zero experience, this guide breaks everything down step-by-step. No perfection required, no quilt police here. Let’s get you confidently making your first quilt!
Why Learn How to Quilt?
Quilting gives you the chance to be creative with fabric and transform simple pieces into something beautiful and useful. From blankets and table runners to pillows, bags, and home décor — every project is unique and handmade by you.
But if you’re new, it can feel overwhelming. There are new tools, new terms, and lots of steps. This guide walks you through everything you need so you can stop feeling stuck and start sewing with confidence.
How to Learn How to Quilt (Even If You’ve Never Sewn Before)
Many beginners think they need to know how to sew before learning to quilt — but you can learn both at the same time. And honestly? YouTube is your best friend.
Start With Visual Learning
Look up beginner-friendly videos on:
- How to thread your sewing machine
- How to wind a bobbin
- How to adjust tension
- How to sew straight lines
Some viewer favorites include:
Watch, pause, rewind, and sew along at your own pace. Your confidence will grow quickly.
FREE Quilt Planning Journal
Make sure to grab my free Quilt Planning Journal— packed with graph pages and note space to help you map out quilt ideas, patterns, fabric swatches, and sketches for at least four projects. It’s the perfect tool to stay organized and inspired.
Quilting Basics: What You Need to Know Before You Start
Quilting is simply sewing layers of fabric together to make something padded — like blankets, table runners, pillows, potholders, handbags, tote bags, and more. A quilt has three layers:
- Quilt top
- Batting
- Backing
These are stitched together in the quilting stage.
Here’s what you need to begin.
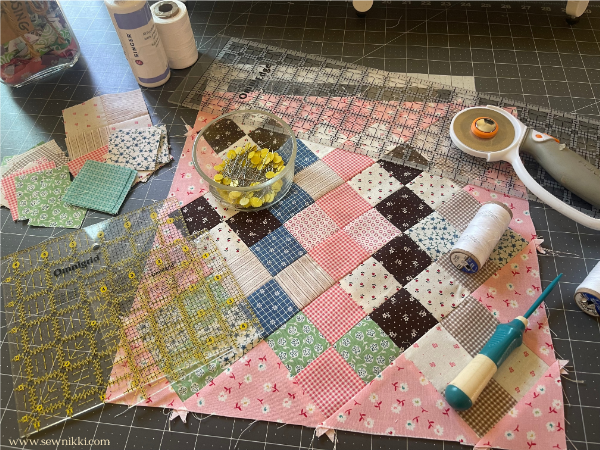
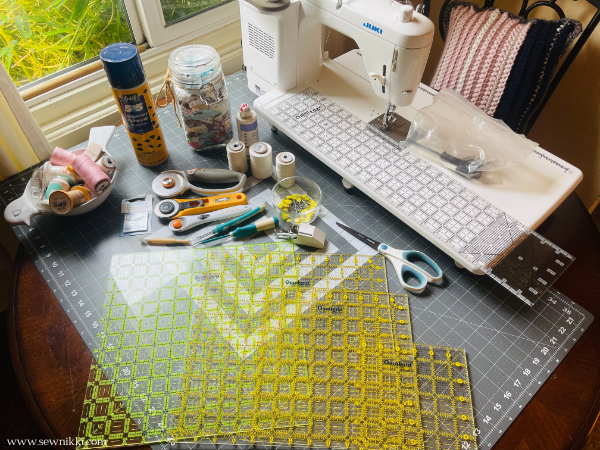
Beginner Quilting Tools
Start with the essentials:
- Sewing machine
- Rotary cutter
- Self-healing cutting mat
- Acrylic quilting ruler
- Fabric (cotton)
- Thread (cotton or polyester)
There is a Resources Page that lists all the supplies I use and recommend for sewing and quilting.
As you progress, you’ll add tools like specialty rulers, different blade sizes, and more advanced supplies — but these are the basics you need to make your first quilt.
Basic Quilting Terminology
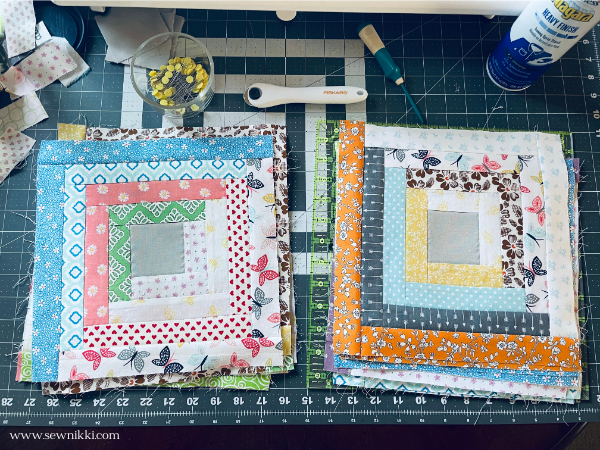
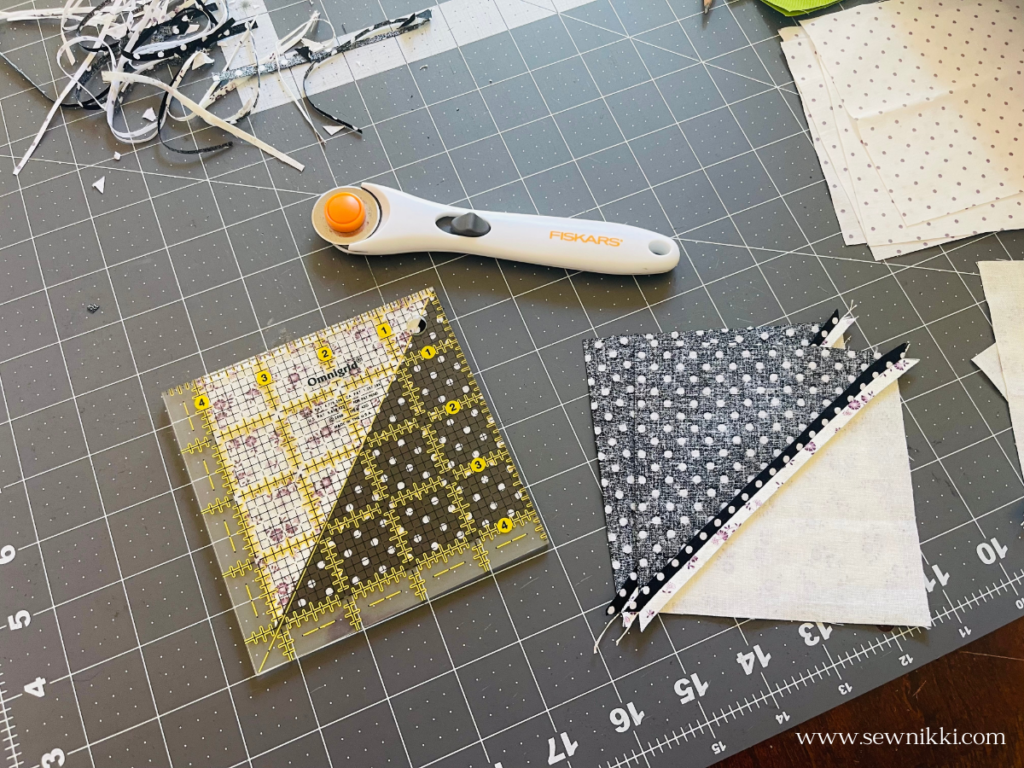
- Block – A pieced unit that makes up your quilt top
- HST (Half-Square Triangle) – A block made from two triangles sewn into a square
- Sashing – Strips between blocks
- Binding – Fabric strip covering the edges of the quilt
- Backing – Fabric on the back of the quilt
- Batting – Middle layer for warmth
- Quilting – Stitching the three layers together
- Scrappy – A mix of fabrics for a patchwork look
- Basting – Prepping and securing all quilt layers
- WIP – Work in progress
You’ll learn the lingo quickly as you sew!
Learn How to Quilt: 10 Great Beginner Quilt Patterns
If you’re just starting out, these are the best patterns to try first — all simple, beginner friendly, and all are free on my site:
- Checkerboard Quilt Pattern (16 Patch Block)
- Blushing Blocks Quilt (Square-in-a-Square)
- Jagged Quilt (Chevron HST)
- Flight Quilt (Flying Geese Lap Quilt)
- Tic-Tac-Toe Upcycled Denim Quilt
- Christmas Tree Table Runner
- Big Stars Baby Quilt (8 Point Star Block)
- Log Cabin Table Runner
- Detour Table Runner (Flying Geese)
- Spin Cycle Pinwheel Quilt (Pinwheel HST)
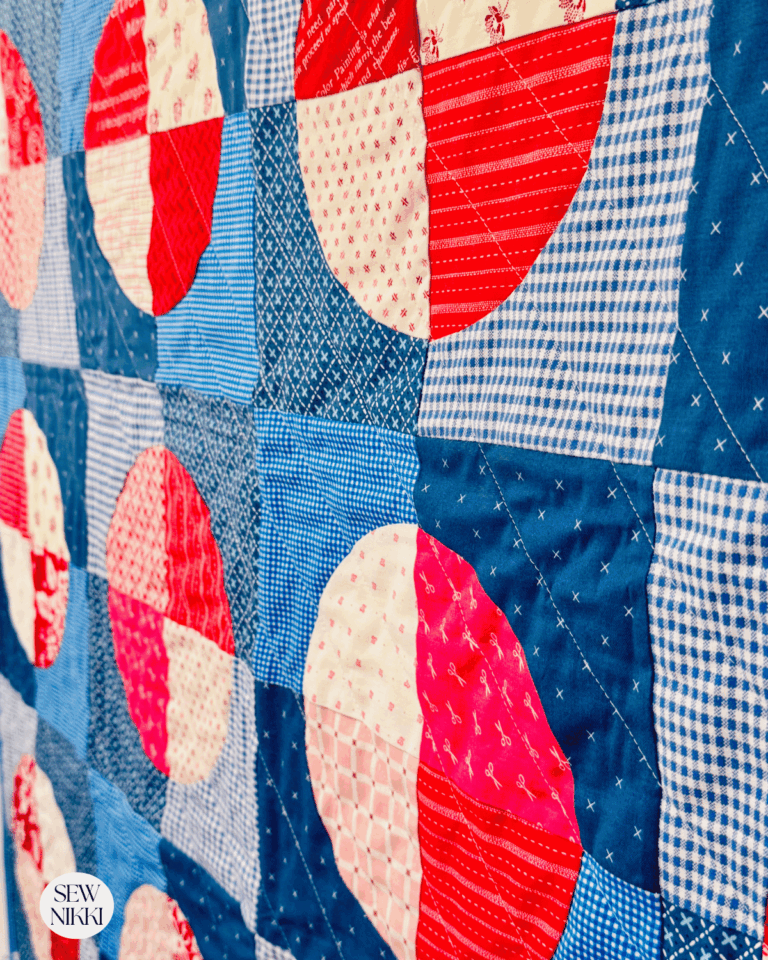
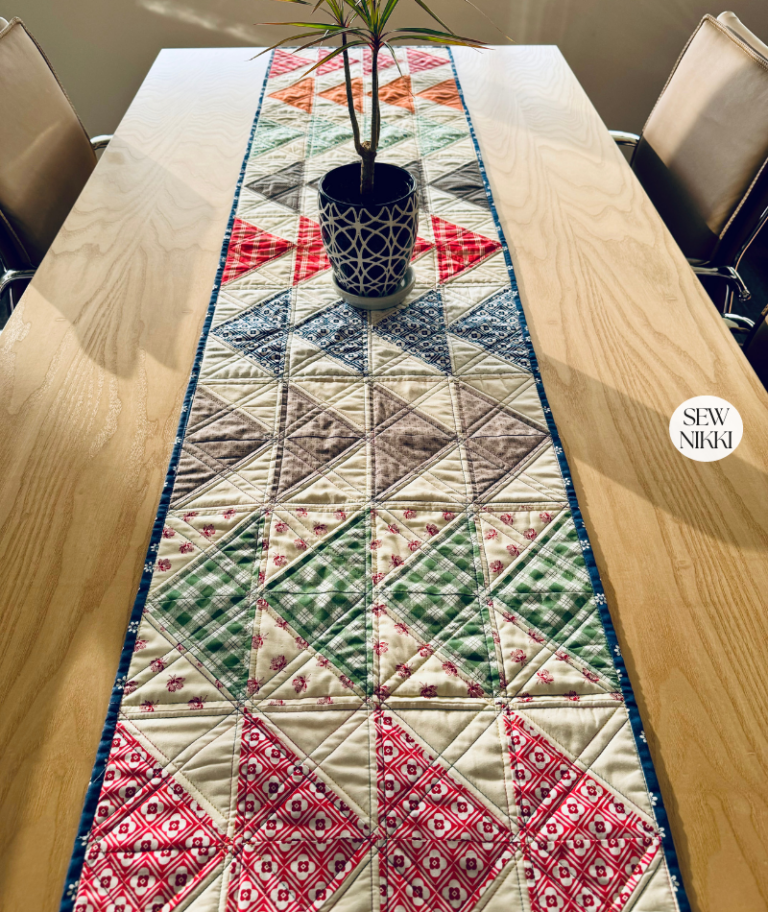
These patterns give you plenty of variety: squares, HSTs, stars, log cabin blocks, and simple strip piecing without overwhelming you.
Your First Quilt: A Step-by-Step Beginner Guide
Here’s the simple, stress-free roadmap to completing your first quilt:
1. Choose a Beginner Pattern
Start with squares or large blocks. Charm square quilts are the easiest.
2. Choose Your Fabric
Quilting cotton is the easiest to work with. You can:
- Use charm packs
- Grab sale bundles
- Borrow scrap fabric from friends
Stick with 3 to 5 colors and a neutral for the cleanest look.
3. Cut Your Fabric
Use a rotary cutter, ruler, and mat.
Beginner tip: Use pre-cut 5″ charm squares to skip this step entirely.
If you’re cutting yourself:
- Keep fingers far from the blade
- Use cut-resistant gloves
- Measure twice, cut once
4. Lay Out Your Quilt Top
Use the floor, a table, or your bed. Play with the arrangement until you love it.
5. Sew Squares Into Rows
Use a 1/4″ seam allowance. This is the golden rule of quilting.
Press seams after every row toward the darker fabric.
6. Sew Rows Together
Your quilt top will grow fast. Match seams, go slow, and enjoy the process.

7. Baste (Create the Quilt Sandwich)
Layer your:
- Backing (right side down)
- Batting
- Quilt top (right side up)
Secure everything with safety pins or spray baste.
8. Quilt It
For your first quilt, stick to:
- Straight-line quilting
- Stitch in the ditch
- Diagonal lines
Clean, modern, and beginner-friendly.
9. Bind the Edges
Binding is what gives your quilt a polished finish.
You can:
- Make your own binding
- Use premade binding
Sew it to the front, fold it over, and stitch it to the back to finish.
10. Celebrate Your First Quilt!
It won’t be perfect and that’s ok. You cannot expect perfection when you are learning and you have to start somewhere. Every quilt teaches you something new.
More Resources
If this is your first time here and you are new to quilting, start by checking out my Quilting 101 page. Then move onto the Quilting Tutorial page with full tutorials for each step in the quilt process. Finally, find a free quilt pattern or quilt project in The Pattern Index.
Essential Sewing Skills Every Beginner Quilter Should Practice
Before (or during!) your first quilt, practice:
✔ Straight stitching
✔ Holding a consistent ¼” seam allowance
✔ Backstitching (only when needed)
✔ Pressing seams correctly
✔ Accurate rotary cutting
✔ Pinning or clipping
✔ Matching seams
✔ Chain piecing
Quilting is just practicing these skills again and again. That’s how you get good.
Keep Learning and Experimenting
Your quilts will get better with every project — guaranteed.
Try new block types, experiment with fabric styles, and learn new techniques. Mistakes are normal. Creativity grows with practice.
Quilting is art, and every quilt tells a story.
Tips for Beginner Quilters
- Take your time — quilting isn’t rushed
- Embrace mistakes
- Join quilting groups or forums
- Ask questions
- Try new patterns
- Practice seam allowance like crazy
The more you sew, the more your confidence grows
Your First Quilt: A Step-By-Step Guide
Now that we’ve covered the basics, it’s time to start on your first quilt! Here’s a step-by-step guide to get you started:
Pattern
Select your pattern. For beginners, it’s best to start with a simple charm square pattern that doesn’t require complicated techniques. Check my beginner pattern but make it smaller, free charm square quilt patterns.
Select Fabric
Choose your fabric. Cotton is generally the easiest to work with and is available in a wide range of colors and prints. You can also grab any fabric bundle on sale at the local craft store to get you started. After all, you just want fabric you can practice with. If you have friends or family members that sew, why not ask for some of their scrap fabric or older fabrics they no longer want.
Cutting Fabric
Cut your fabric pieces according to the pattern instructions. Be sure to measure twice and cut once! Use 5″ squares for your first quilt. Buy one or two Pre Cut Charm Packs. If you are cutting the fabric yourself, be careful using the rotary cutter for the first time. Invest in cutting gloves to protect your hand and fingers so you don’t cut them off!
The best ruler for beginners is the 5″ x 24″ straight acrylic quilting ruler. It’s long enough to cover your WOF (width of fabric and it’s 5″, the same size you want your charm squares to be for your first quilt. Check out beginner quilting supply list from my website for links to all the best tools.
Sewing Squares
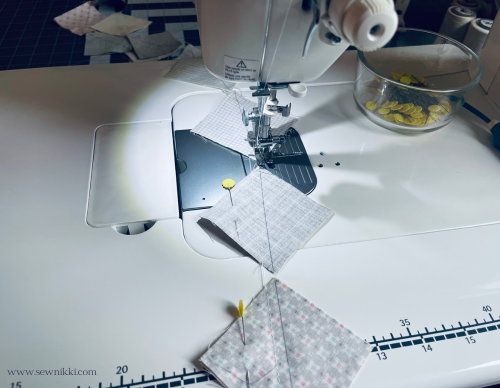
Use the floor, bed, sofa or any other flat surface to layout your 5″ squares before sewing. Once you like the layout, sew your fabric pieces together. Start by sewing individual pieces together into rows, then sew the rows together to form the quilt top.
Basting and Machine Quilting
Add batting (the middle layer of the quilt) and backing fabric, then sew all three layers together. This is known as “basting” and “quilting.” I have several tutorials on basting, machine quilting with walking foot and straight line quilting.
Binding
Finish your quilt by adding a binding around the edges. This gives your quilt a clean, finished look and protects the edges from wear and tear. Please check out these quilt binding tutorials that include how wide to make your binding, single fold or double fold and how to join the binding ends. Use the top tool bar, search for binding for all posts on this topic.
Congratulations, you’ve just completed your first quilt! Remember, practice makes perfect, so don’t be discouraged if your first few quilts aren’t perfect. The most important thing is that you’re learning and having fun.
Practice Basic Sewing Skills
Learning how to quilt can be a little intimidating. It’s even more intimidating if you don’t know how to sew, but it doesn’t have to be. It’s all about trying the skill and practicing it over and over, it’s that simple. Here are some basic sewing skills that new quilters should learn before making their first quilt, along with details for each skill:
Straight Stitch
Straight stitching is the foundation of quilting. It involves sewing a straight line of stitches, which is used for piecing the quilt top and quilting layers together.
Set up your sewing machine and practice sewing straight lines on scrap fabric. Focus on maintaining a consistent seam allowance (usually 1/4 inch in quilting) and keeping the stitches even.

Seam Allowance
Seam allowance refers to the amount of fabric between the stitching line and the edge of the fabric. In quilting, a 1/4 inch seam allowance is commonly used for piecing quilt blocks.
Use a quilting ruler or a seam guide on your sewing machine to help you maintain a consistent 1/4 inch seam allowance. Practice sewing with this precise seam allowance to ensure your quilt pieces fit together accurately.
Backstitch
Backstitching is a technique used to secure the beginning and end of a seam. It prevents your stitches from unraveling. Please note that you do not need to backstitch on most quilt tops. I personally don’t backstitch except when attaching the binding.
When starting a seam, sew a few stitches forward, then press the reverse button (if using a sewing machine) or manually reverse the stitch to sew backward for a few stitches. After backstitching, sew forward again to continue your seam.
Pressing
Pressing is the act of ironing your fabric to flatten seams, set stitches, and create a smooth surface. Proper pressing is crucial in quilting for accuracy.
Always press your fabric before cutting and after sewing seams. Use an iron set to the appropriate temperature for your fabric type. Press seams open or to the side as your pattern instructs. Avoid dragging the iron; instead, press with an up-and-down motion.
Cutting Fabric Accurately
Accurate cutting is essential for piecing your quilt blocks together neatly. It involves measuring and cutting fabric precisely according to your quilt pattern.
Use a self-healing rotary cutting mat, a quilting ruler, and a rotary cutter to cut fabric accurately. Align the ruler with the measurements specified in your pattern, and make sure the fabric is flat and smooth before cutting.
Pinning or Clipping
Pinning or clipping holds fabric layers together securely while you sew, preventing them from shifting during stitching.
When piecing quilt blocks, use pins or quilting clips to hold fabric pieces together at intersections or along seams. Place pins perpendicular to the seam line to prevent them from interfering with your sewing machine foot.

Matching Seams and Corners
In quilting, precise alignment of seams and corners is crucial for achieving neat and accurate quilt blocks.
Pay close attention to your pattern’s instructions for matching seams and corners. Use pins to align the edges before sewing. Sew slowly and stop with the needle down to adjust alignment if necessary.
Chain Piecing
Chain piecing is a time-saving technique where you sew multiple seams in a row without cutting the thread between each on
After sewing one seam, leave a small gap between pieces without cutting the thread. Continue sewing your next seam, and the machine will automatically chain them together. Cut the thread between sets when you’re finished.
These basic sewing skills provide a solid foundation for quilting. As you gain proficiency in these techniques, you’ll become more confident in your quilting projects and be able to tackle more complex patterns and designs. Practice and patience are key to mastering these skills, so take your time to build your expertise and enjoy the process of quilting.
Keep Learning and Experimenting
Quilting is a skill that improves with practice. Don’t be discouraged if your first quilt isn’t perfect because most likely it won’t be, and that’s ok. Continue learning, trying new patterns, and experimenting with different quilting techniques.
Remember that quilting is not just a craft; it’s a form of art that allows you to express your creativity. Enjoy the process and the satisfaction of creating beautiful quilts!
Beginner Quilting Supplies I Recommend
Rotary Mat Cutting Mat (Self-Healing Mat)
28 mm Rotary Cutter Replacement Blades
45 mm Rotary Cutter with Sharp Blade (start with this one)
45 mm Rotary Cutter Replacement Blades (start with this one)
60 mm Rotary Cutter Replacement Blades
4.5″ Square Ruler for half square triangles
12.5″ Square Ruler for blocks
SAVE THIS PIN FOR LATER!
ABOUT SEW NIKKI
Welcome to Sew Nikki. Your place for free crochet, sewing and quilt patterns for beginner to intermediate skill levels. Want a digital pattern? We have those too! Plus tutorials to walk you through how to make each item from start to finish.
Follow me on social media (Pinterest, Instagram, Facebook and Twitter) so you get notifications when I post new patterns and tutorials.
This post contains ads and affiliate links, which means I make a small commission at no extra cost to you. While the ads may seem annoying, it helps keep this blog going. See my full disclosure here.


Quilting is such a beautiful way to spend time. I remember decades ago when my grandmother taught me how to sew and we made a quilt together. Your post reminded me of those special moments, thank you for providing so much detail and instruction, I will be able to start back up where I left off all those years ago.
You have been so thorough with your tutorials and, in my opinion, have made it pretty impossible to fail if each are followed ‘step-by-step’ as described.
You are such a blessing to those who are starting out for the first time learning to sew or croquet. Even those who learned in the past, but haven’t done either for a long time, can use your website as a great refresher course!
Keep up the good work!
I just came upon your site and really like it. I have a question about binding – bring the back around to make the binding. I am planning on diagonally quilting the baby blanket and my question is how far do I quilt so that my backing looks “clean”.? Thank you
You would attach the binding by machine to one side, then hand stitch on the second side for that clean look. I prefer to sew the binding on both sides of the quilt and am ok with the line that will show on the backside. Hope this helps.