I wanted to write a post about the things that scared me the most when I began quilting. It didn’t help that I had to start at square one and learn to sew first. But sewing is a must if you want to make quilts, so here were my biggest fears as a beginner and how I conquered them all. Bottom line, if you want to do something bad enough and you don’t give up, you will succeed!
Are you looking for a new hobby and quilting has caught your eye? All those pretty quilts, pillows, bags and table runners with matching place mats. Well this was me, empty nester living away from her hometown and looking for a creative outlet other than crochet. It’s been a very rewarding journey and I’m still on it. The quilts I make are not perfect but they are mine to do with as I please. Some quilts are for me but most are given to others as gifts. Gifting handmade things is something I have done for years and brings me joy.
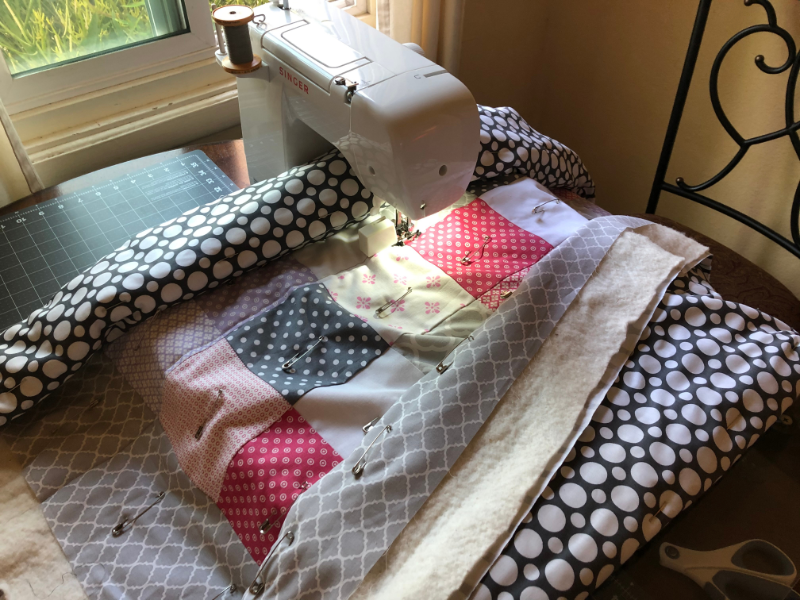
Here are the biggest fears that I experienced when learning how to sew. The good news is that each was learned and I became a quilter. If I can do it, honey so can you!
- How to buy the right sewing machine
- How to thread and insert the bobbin
- How to adjust the tension
- How to pick the right supplies
- How to use rotary cutter
Make sure you check this out!
After you read this post, make sure you also check out How To Learn How To Quilt: Beginner Quilting Guide. It’s jam packed with even more information, links and resources that are so helpful when you’re first learning. It also has a section with free quilt patterns that are great for beginners. So make sure you check this out, seriously don’t forget!
Grab the Learn to Quilt for Absolute Beginner’s Guide, filled with helpful information to make your first quilt. Click the link below for the free download.
Biggest Fears as a Beginner – Learn to Sew
Buying a Sewing Machine
Obviously you need a sewing machine so this is really the first thing to acquire. Beginner sewing machines were priced anywhere from $100 to around $250 dollars brand new at the local craft store but they were small. They didn’t look like the sewing machines everyone on YouTube or quilting television programs were using. It felt kind of odd spending this much for just the machine since I still had to get other supplies to sew. I asked around, family and friends, to try to find someone in my circle who knew how to sew and could help me get started. What I was really looking for was a machine I could borrow to try test drive it before buying one.
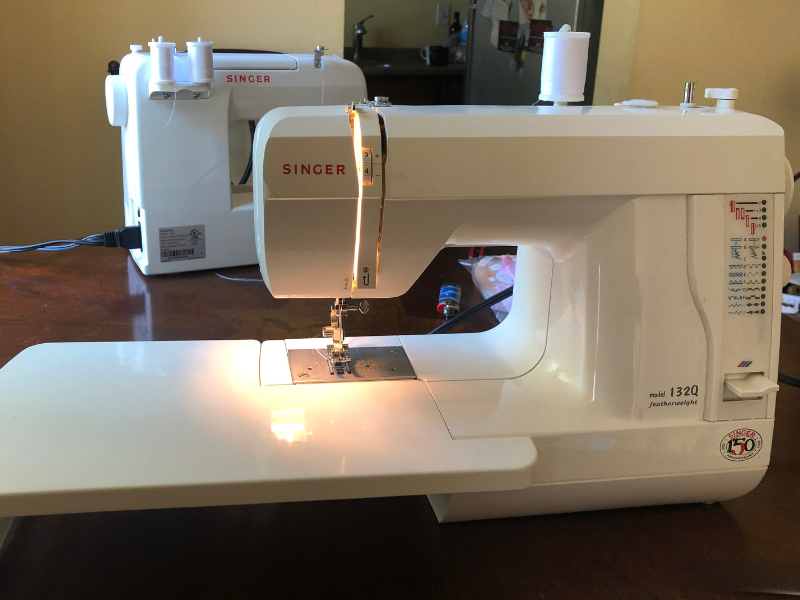
My friend let me borrow her machine, it was about 50 years old and turns out was used in schools to teach sewing. I just couldn’t get it to work after I changed the thread in the bobbin. Or tried to change the thread. Could not find a user manual online and this was disappointing to say the least.
My first machine
So the $100 Singer Start seamed like the most reasonable machine to buy, so I did. Bought the machine in November 2018 and it sat in the box unopened until February 2019. Too busy crocheting slippers for Christmas gifts and didn’t want to bother learning something new until after the holidays. My friend Dee gave me her sewing machine and it had an extension table. Only problem was that I played with one of the dial for needle placement or something while trying to sew and it jammed up on me. I was never able to unjam it.
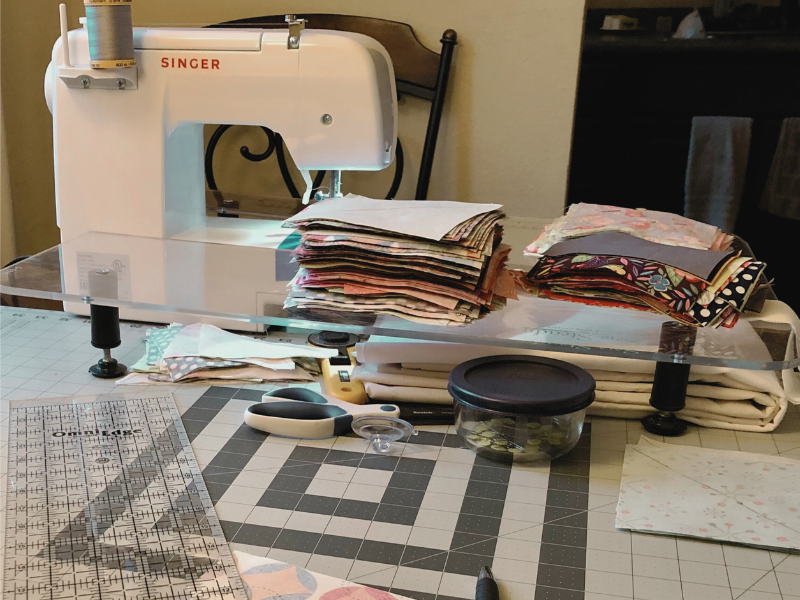
The Singer Start was used to quilt a large quilt and was the first sewing machine I actually used to learn to sew. I even had a custom extension table made for it that cost more than the actual machine. What was I thinking?! That little Singer Start was used until I wore it out. It’s not meant to quilt, the tension was all wrong anyway after I had sewn the entire king size quilt. Took me 3 weeks to rip out all the stitching. My stitch length was not set correctly either, I quilted the entire thing with 1.5 stitch length. Definite learning curve for sure.
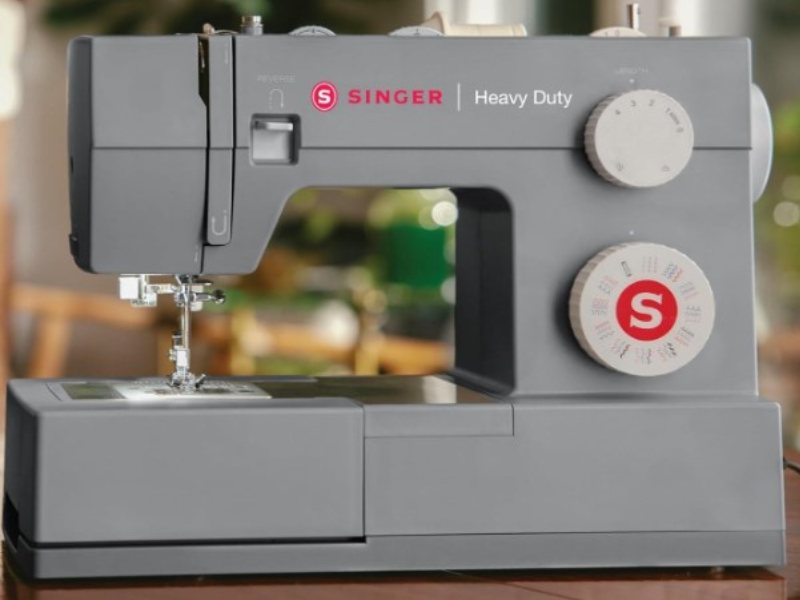
The next sewing machine was a Heavy Duty Singer with extension table and tons of attachments for $250 at the local craft store. Bought this because I wanted to finish that king size quilt. This machine was so much better than the little Singer Start. I really liked this machine but outgrew it really fast. The next machine and my current machine is a Juki at bought it off Amazon for $700 after researching machines for 9 months before pulling the trigger.
Threading the Bobbin
Ever heard of 4H? It was a group for kids and one program they offered was sewing. I signed up but the teacher couldn’t handle my sewing and never really taught me to sew. She ended up sewing my project for me that was then entered in the local fair and won first place and third place ribbons. Didn’t learn a thing but remembered how hard the bobbin was to work with. The second time I touched a sewing machine was at my grandma’s house expecting my first baby. She helped me sew two large panels to make a crib quilt, I hand tied with yarn for the quilting. She dealt with the bobbin on her machine, I couldn’t figure it out then either and I was 23 at that time. Fast forward 30 years and the bobbin and I are reunited. I’m was not excited, I’m scared and frustrated.
Threading the bobbin was by far the biggest fear to learn to sew. Thank goodness it’s like breathing air once you figure out how to do it. Did you know that bobbins are not in the same place or have the same set up on all sewing machines? All 3 of my machines were different. Singer Start has a side bobbin under the plate, Singer Heavy Duty is visible when sewing and directly under the sewing needle, Juki’s are under inside machine entering through the bottom side. Once you figure out how to do it on one machine, those skills are transferable to any other machine. You will know the basic concept, it’s just a matter of figuring out how to insert the bobbin and where the thread tail needs to go
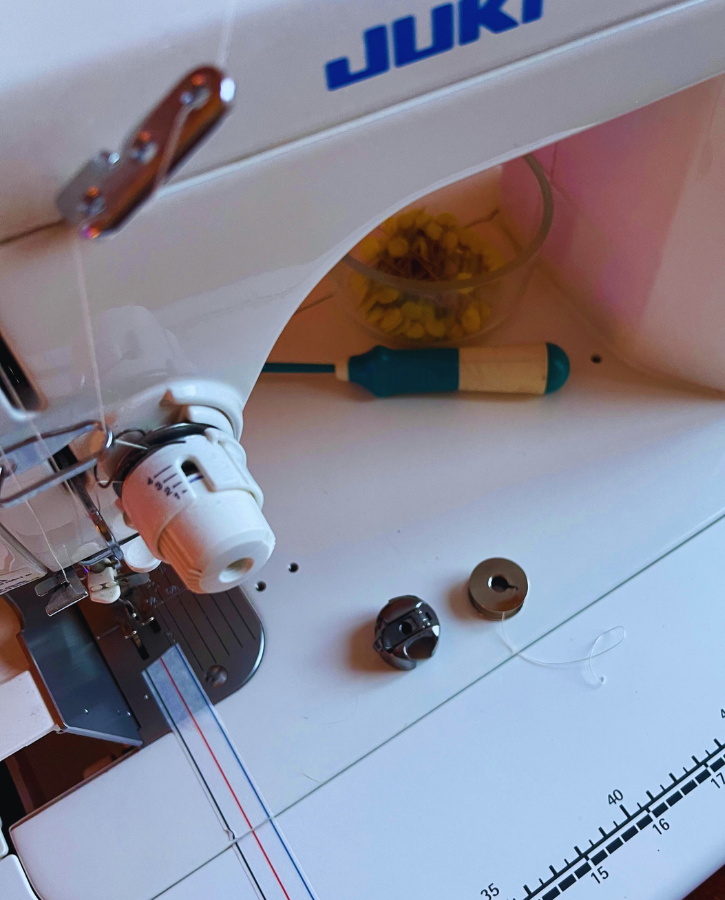
Pro tip: Read the manual on how to thread bobbin but find a YouTube video that you can watch a couple times, pause, restart, or re-watch the video a hundred times until you successfully do it. The hardest part is the thread tail and the slit on the bobbin case it needs to run through. Slip the bobbin case with bobbin into your sewing machine and twist it left and right to make sure it’s clicked in properly. If you can pull it out, it’s not in properly. It should lock into place.
Adjusting the Tension
Did I mention that new sewing machines do not come with written user manuals anymore, this was 2019. Fear not, you just need to do a google search by typing in your sewing machine name and model or go to the manufacturer’s website and look for resources. For example, to find a Singer manual go to www.singer.com, go to resources tab, select manuals, then insert Singer. A list will appear and you need to search by model number.
This past Christmas my machine froze up and I thought the foot pedal had gone out. Took it to a sewing machine shop for it’s first ever tune up and now it works like a dream. Turns out that Singer’s need to be oiled every time you use them but not with the more expensive machines. I had a pool of oil inside the machine, I’m glad there wasn’t more damage done.
Back to adjusting the tension. I’ve been sewing since 2019 and had never learned how to properly adjust the tension dial. My dial was set incorrectly so he fixed it. He also gave me a lesson on needle sizes and what type of needle works best for my machine. Gave me new bobbin spools, new organ needles and a chart that tells you what size needle to use for what type of fabric or textile. The cost was $170.
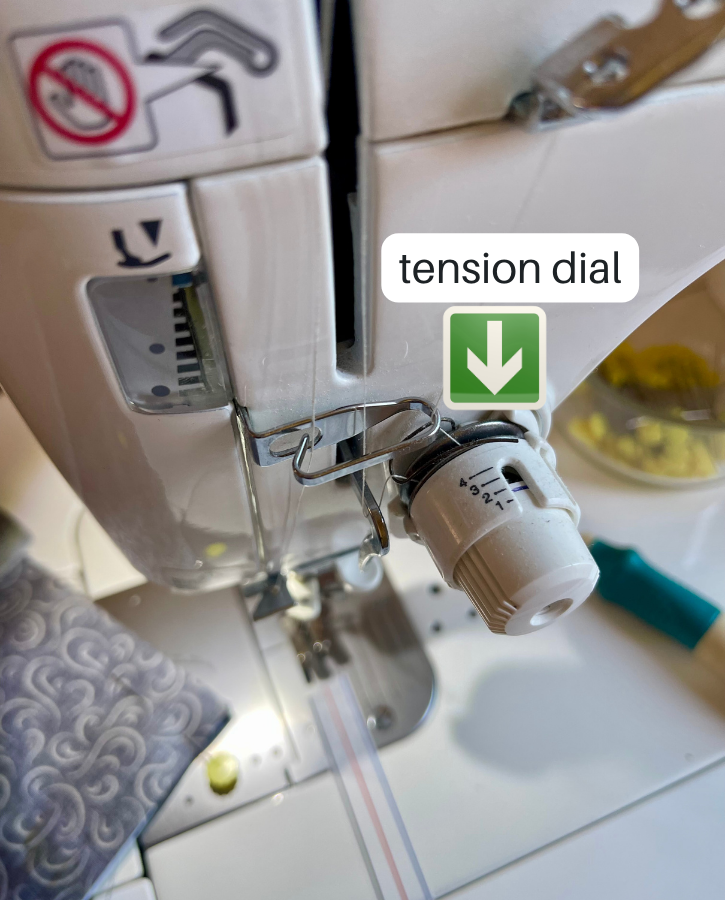
Find your local sewing machine repair shop. Call them first to see how friendly they are, then tell them your issue and if you can bring your machine in. In most cases, they will set it up for free unless you really broke it somehow. Ask questions, they will tell you and SHOW you the answer.
If you don’t have a local repair shop, try finding a local fabric store that offers sewing classes and see if you can get help. Stay determined and you will overcome your issue.
Picking The Right Supplies
This craft is going to add up fast, that much I could tell after seeing how much sewing machines were. The funny thing is beginner quilters are focused on the quilt top and not even thinking about batting, backing and binding fabric. Again, not sure if this is a phase or if I will like quilting. Trying to buy the bare necessities just to make a sampler first quilt. Melanie Ham videos gave me the confidence to do a charm quilt and had absolute beginner series which I followed to the letter.
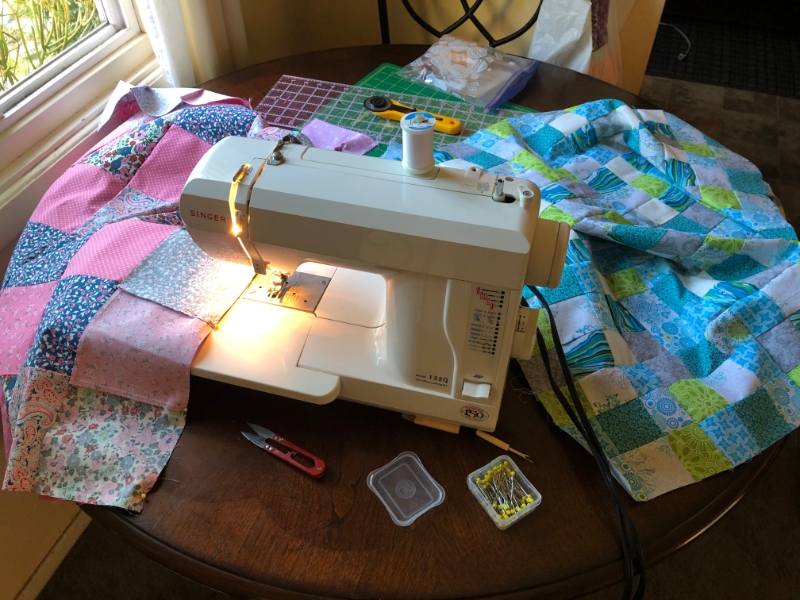
There’s a list of supplies for beginners down below but the bare necessities are small cutting mat, rotary cutter, straight ruler, sewing pins, thread and some pre cut fabric. Your sewing machine already has the sewing needle but it may need to be changed. That’s ALL you need to get started plus the sewing machine of course.
Using a Rotary Cutter
Now this was getting more exciting, finally moving away from the mechanical stuff and touching fabric and cutting with that rotary cutter. Almost cut a finger off, definitely nicked my fingers a couple of times which scared the crap out of me. I didn’t want to spend more money on gloves. The cutting mat was super small, so that meant less cutting space and screwing up the alignment of my fabric to the measurement lines on the mat. Do I use the mat lines or my ruler lines?
Rotary cutters are very sharp. That’s great for cutting fabric but scary if you have never used them. The trickiest part was cutting straight. You need to keep the blade up against the ruler. The cutter like to veer off to the right but you need to slide it along the ruler which is a learned skill. The bigger the blade, the harder to use. But small blades are hard to use if you want to cut multiple layers of fabric. It’s best to grab the in between blade size which is a 45mm. Once you get good at using it, you may want to move up to the 60mm because it works better for any size project.
Be careful when you change your blade. The blades stick together in their container and are hard to separate. I just changed the blade on my 44mm rotary cutter and it turns out I had been trying to cut with two blades. For the last year I haven’t used this cutter because it worked like crap and that’s why. Go figure!
Make sure you get all the lint off by dusting it off your cutter. You can also extend the length of your blade by turning it over and screwing it back in plus dusting it off to get the cotton lint out of it too.
SEW NIKKI FREE RESOURCES
FREE PATTERNS
Flying Geese Throw Quilt – Flight
Pinwheel Table Topper Pattern – Jolly
Log Cabin Scrappy On Point Quilt
Chevron Placemat Quilt Pattern
Strip Quilt Block Pattern – Roundabout Quilt
TUTORIALS
How to Sew a Handbag with Recycled Jeans
Make Heat Proof Recycled Denim Potholders
Learn How to Quilt Beginners Guide
How Long Does it Take to Make a Quilt for Beginners
Learn to Sew – Conquering Your Fears as a Beginner
How to Quilt on a Regular Sewing Machine
How to Sew Binding on a Quilt – Quilting Tutorial
Best Fabric for Quilting: How to Shop Like a Pro!
How to Make Half Square Triangles – Easy Formula Chart
How to Baste a Quilt: Beginner Spray Basting Tutorial
10 Essential Quilting Tips for Beginners
How to Sew a Pillowcase With Flap in 15 Minutes
How to Sew Quilt Squares Together | Quilting Tutorial
Joining Quilt Binding Ends for Beginners
How to Cut Fabric for Quilting- Easy and Accurate
How Wide to Cut Quilt Binding & Make Easy Strips
Pieced Quilt Backing Ideas – Super Simple Backs
How to Make Quilt with Sashing and Cornerstones
Quilting Supplies for Beginners – Best Tools to Start
How to Machine Quilt with Walking Foot
Heat Proof Recycled Denim Potholders
How to Bind a Quilt – Easy Single Fold Binding
Learn To Sew – BEGINNER SUPPLIES
Here are some quilting tools and supplies I recommend. I make a small commission if you purchase through the links, this helps to support this free content. For more info, check out Supplies for Beginners (Best Tools To Start).
Rotary Mat Cutting Mat (Self-Healing Mat)
28 mm Rotary Cutter Replacement Blades
45 mm Rotary Cutter with Sharp Blade (start with this one)
45 mm Rotary Cutter Replacement Blades (start with this one)
60 mm Rotary Cutter Replacement Blades
4.5″ Square Ruler for half square triangles
12.5″ Square Ruler for blocks
Sewing Machine Beginner (see my about me page for more info on sewing machines for beginners to the one I use today).
This post contains affiliate links, which means I make a small commission at no extra cost to you. See my full disclosure here.
ABOUT SEW NIKKI
If this is your first time stopping by, welcome! My name is Nikki. I’m a weekend quilter, have a super small sewing space and taught myself how to sew and quilt by watching YouTube videos! My blog has How-To’s, Free Patterns and Pattern Reviews. Read more about me here.
Sewing is not for the faint of heart. Maybe it’s because I was teaching myself with YouTube videos and googling everything to research my new craft. Maybe it’s my age, I heard it’s harder to learn the older you are. All I know is that it was very intimidating, you don’t need much but you find out later that you really do.
If you really want to learn how to sew, you will do it. Overcoming obstacles and figuring out things on your own is frustrating but rewarding. Teaching yourself a new set of skills takes time, don’t be too hard on yourself. You don’t need perfection, your quilts will still be sweet and lovely just like you!
Follow me on social media (Pinterest, Instagram, Facebook and Twitter) so you get notifications when I post new patterns and tutorials.
Want to learn how to crochet? Then check out this post, How to Learn How to Crochet – Guide for Beginners.
Sew, quilt, crochet and repeat!

This was such a nice tutorial! As someone who wants to sew someday (once my kids are a bit older), I look forward to returning back to this blog post
This is great! I’m trying to get into sewing and it can be overwhelming.